Start with the light behind your subject
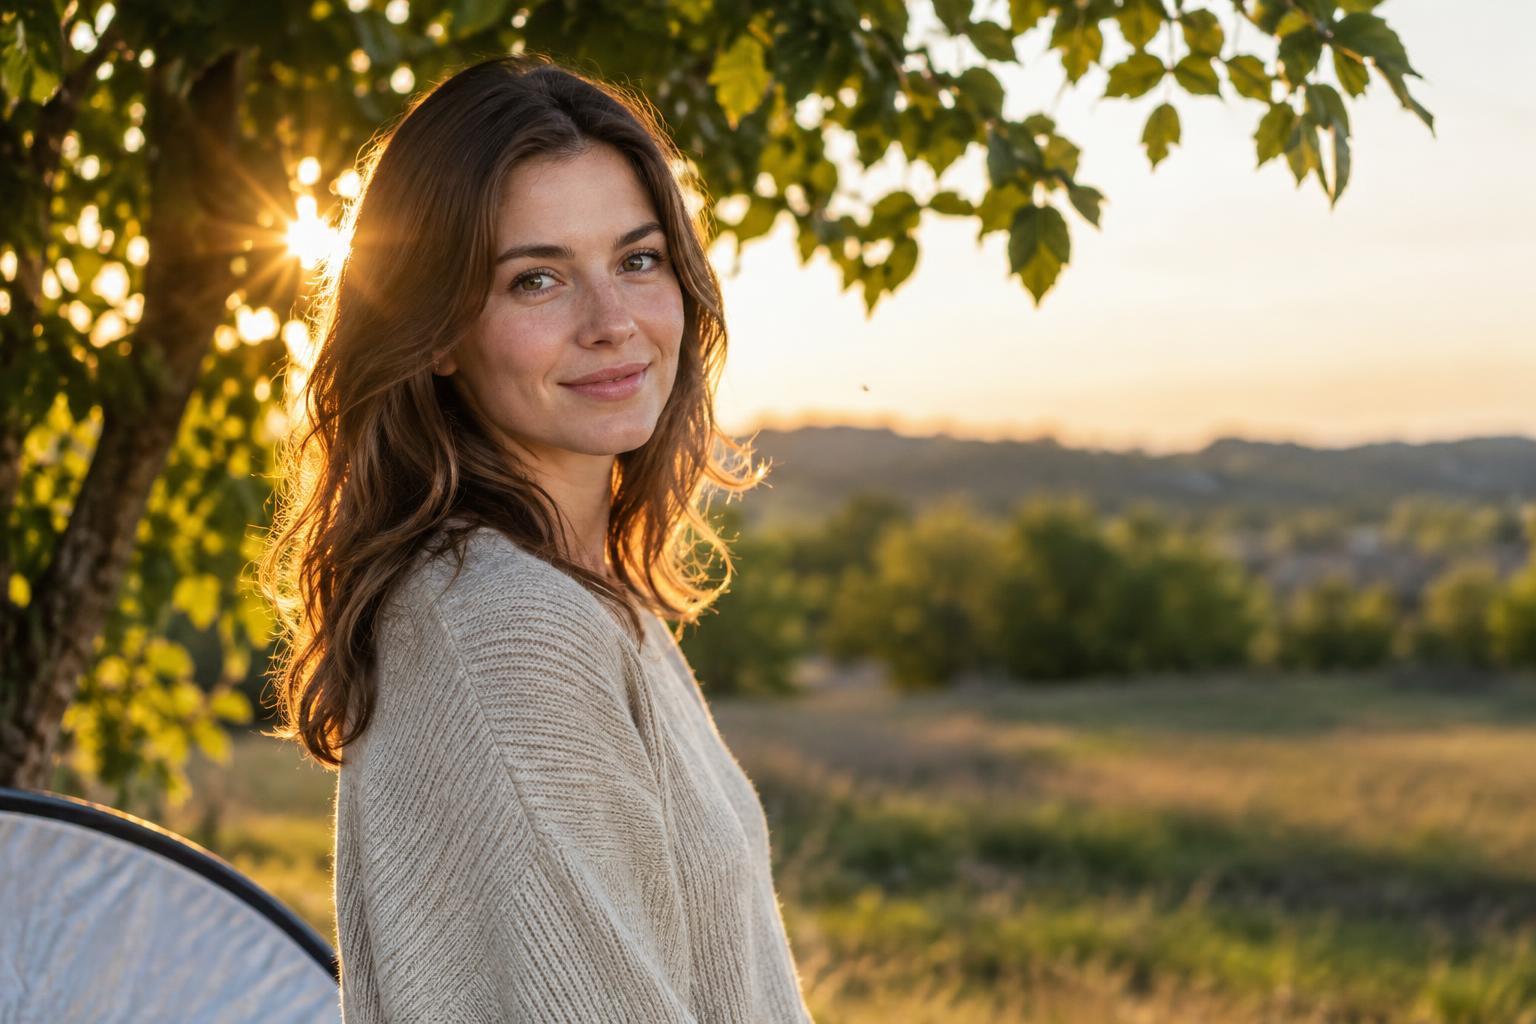
Backlight means the main light source sits behind your subject from the camera’s point of view. Sunlight coming through a person’s hair, a bright window behind a plant, or a lamp outlining an object can all create it. The appeal is separation: lit edges can help a subject stand out from a darker background. The challenge is that the camera may see a bright background and a comparatively dark face or object at the same time.
Begin by looking at where the light falls rather than pointing the camera straight at its source. Move a few steps around your subject and watch how the outline changes. A light just outside the frame may produce a clean rim along one side; a light directly behind the subject may give a more even glow. If you are photographing a person, ask them to turn slightly until light catches their hair or shoulder while their face still receives some light from the sky, a wall, or a nearby window.
Make small changes to control flare
Lens flare can appear as bright shapes, streaks, or a general loss of contrast. It is not always a mistake, but heavy flare can hide the detail and color that make a subject readable. Before changing equipment, adjust the angle between your lens and the light. Even a small shift in camera position can move a bright streak away from a face or reduce the haze across the frame.
Try placing the light partly behind your subject, a tree trunk, or the edge of a building. This blocks direct rays from reaching the lens while leaving enough backlight to outline your subject. A lens hood can also help when the light is just outside the frame. Check that the front of the lens is clean: smudges can make bright light look more diffuse. If you shade the lens with a hand or card, keep it outside the picture and avoid touching the glass.
Expose for the detail that matters
A bright background can cause automatic exposure to leave the subject too dark. For a portrait, prioritize the face: tap it on a phone screen or use your camera’s exposure controls to brighten it. Review the result and lower the exposure if important bright areas lose too much detail. A pale sky may still become white when the subject is correctly exposed, so decide whether the sky or the subject matters more to the photograph.
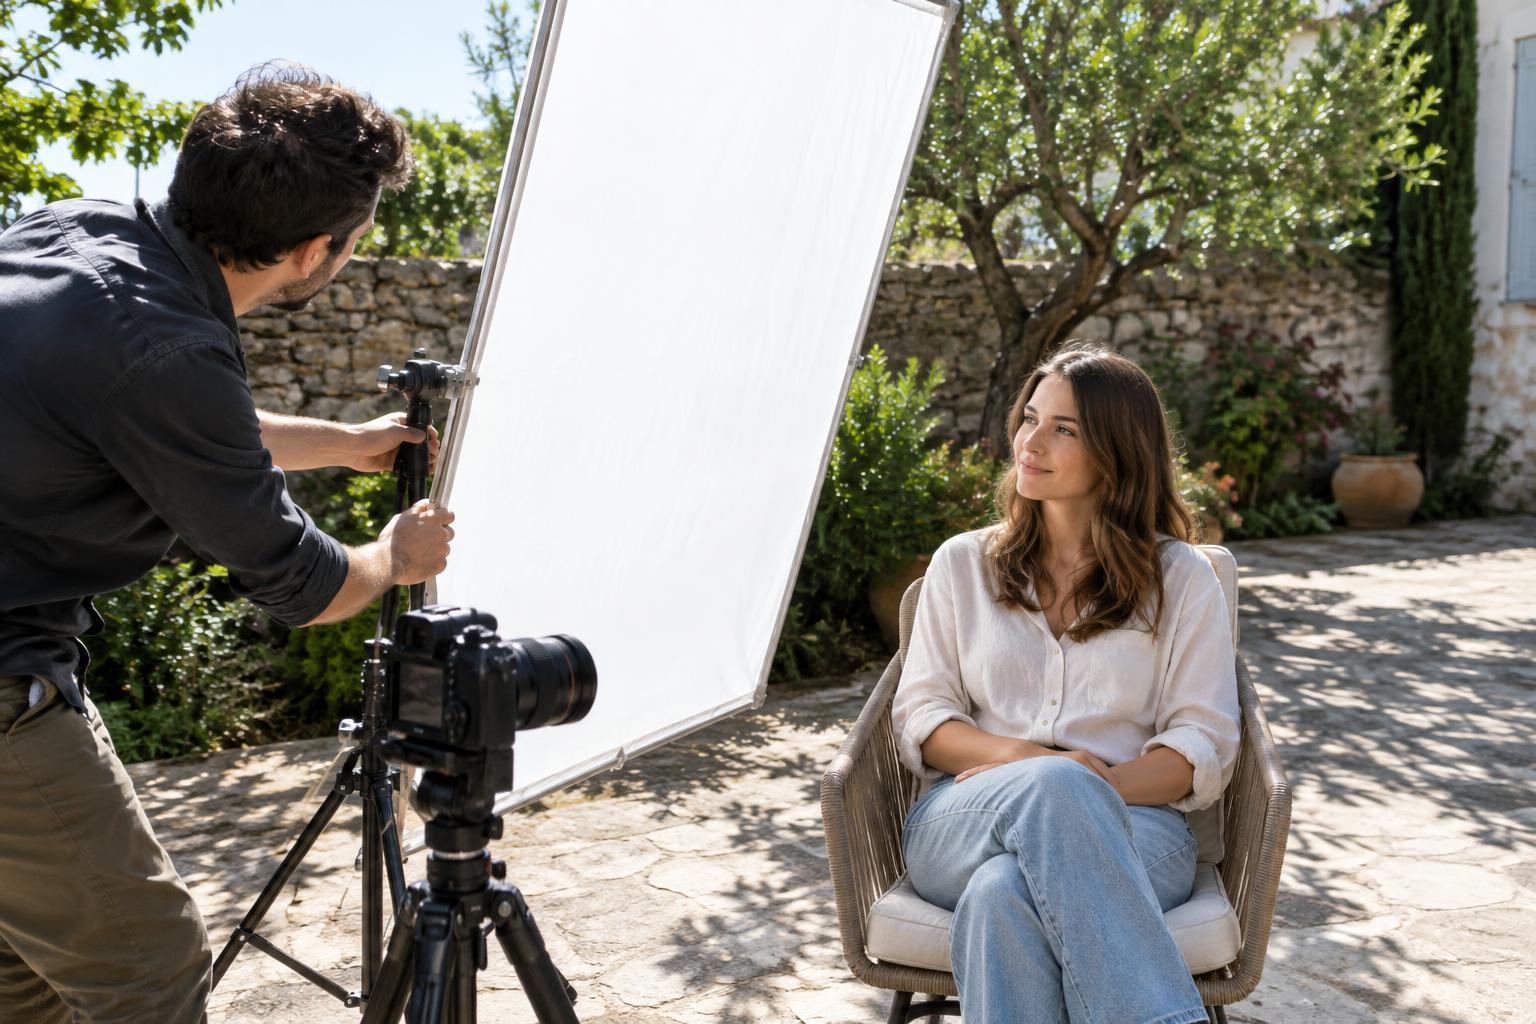
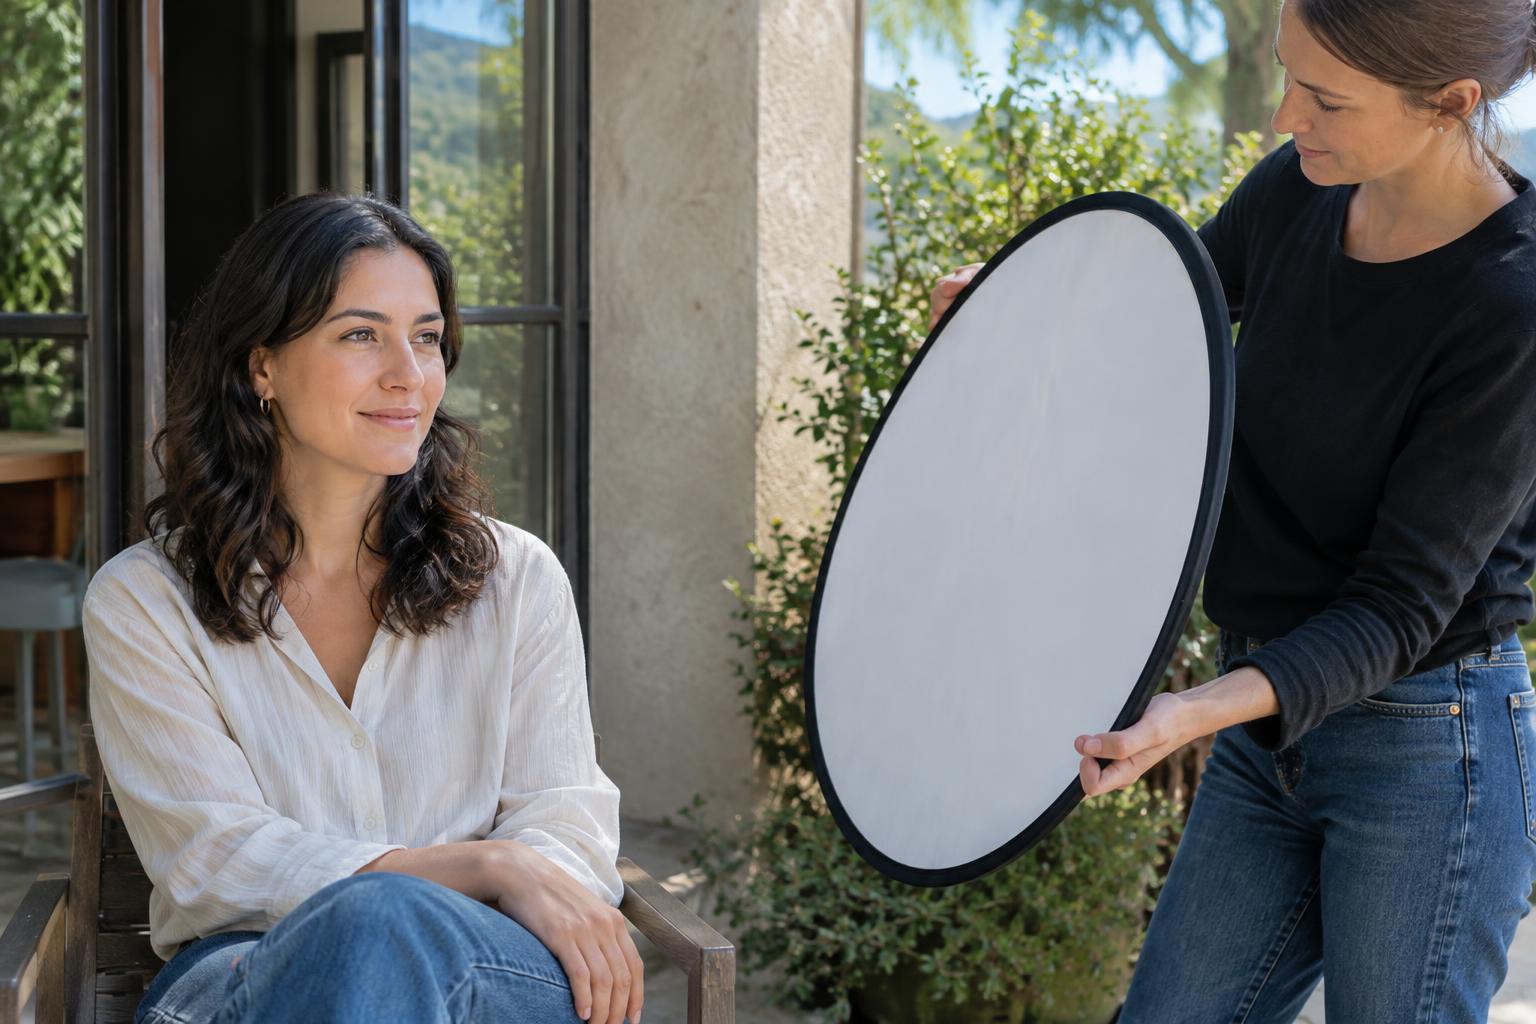
If both matter, reduce the brightness difference at the scene. Move your subject into open shade while keeping the bright light behind them, or position them near a light-colored wall that reflects light onto their front. A reflector can serve the same purpose; a simple white surface often gives a gentler effect than a shiny one. Fill flash is another option for a close subject, though it may look obvious if it is much brighter than the surrounding light. Take a frame, inspect it, and adjust rather than relying on one setting for every background.
Choose equipment for the problem you have
You do not need a particular camera or lens to begin practicing. A phone lets you quickly change position and tap to expose for your subject. On a camera with interchangeable lenses, a hood is a useful first tool for limiting stray light, while a reflector helps when the subject’s front needs more illumination. Neither solves every backlit scene: a hood cannot block a light source that is visible in the frame, and a reflector needs an angle from which it can catch and return light.
If your camera offers raw capture, it may give you more room to adjust bright and dark areas later than a heavily processed image. That room is not unlimited. Check a preview for lost highlights or an excessively dark subject before moving on, and capture a second exposure when you are unsure.
Practice with a three-frame backlight exercise
Choose a stationary subject near a window or a person willing to stand still outdoors. Keep the subject and background in roughly the same places for three frames. First, make a photograph with the light visible in the frame. Second, shift until the subject partly blocks it. Third, move so the light sits just outside the frame, using a hood if you have one. Expose each frame for the subject, then compare the shape of the glow, the amount of flare, and the detail you retain.
During editing, start with modest exposure and contrast adjustments. Lift shadows only as much as needed to make the subject clear; pushing them too far can make the image look flat or reveal distracting noise. If flare contributes warmth or atmosphere, keep it. The goal is not to remove every trace of backlight, but to decide which bright effects support your subject and which compete with it.