Start by reading the window
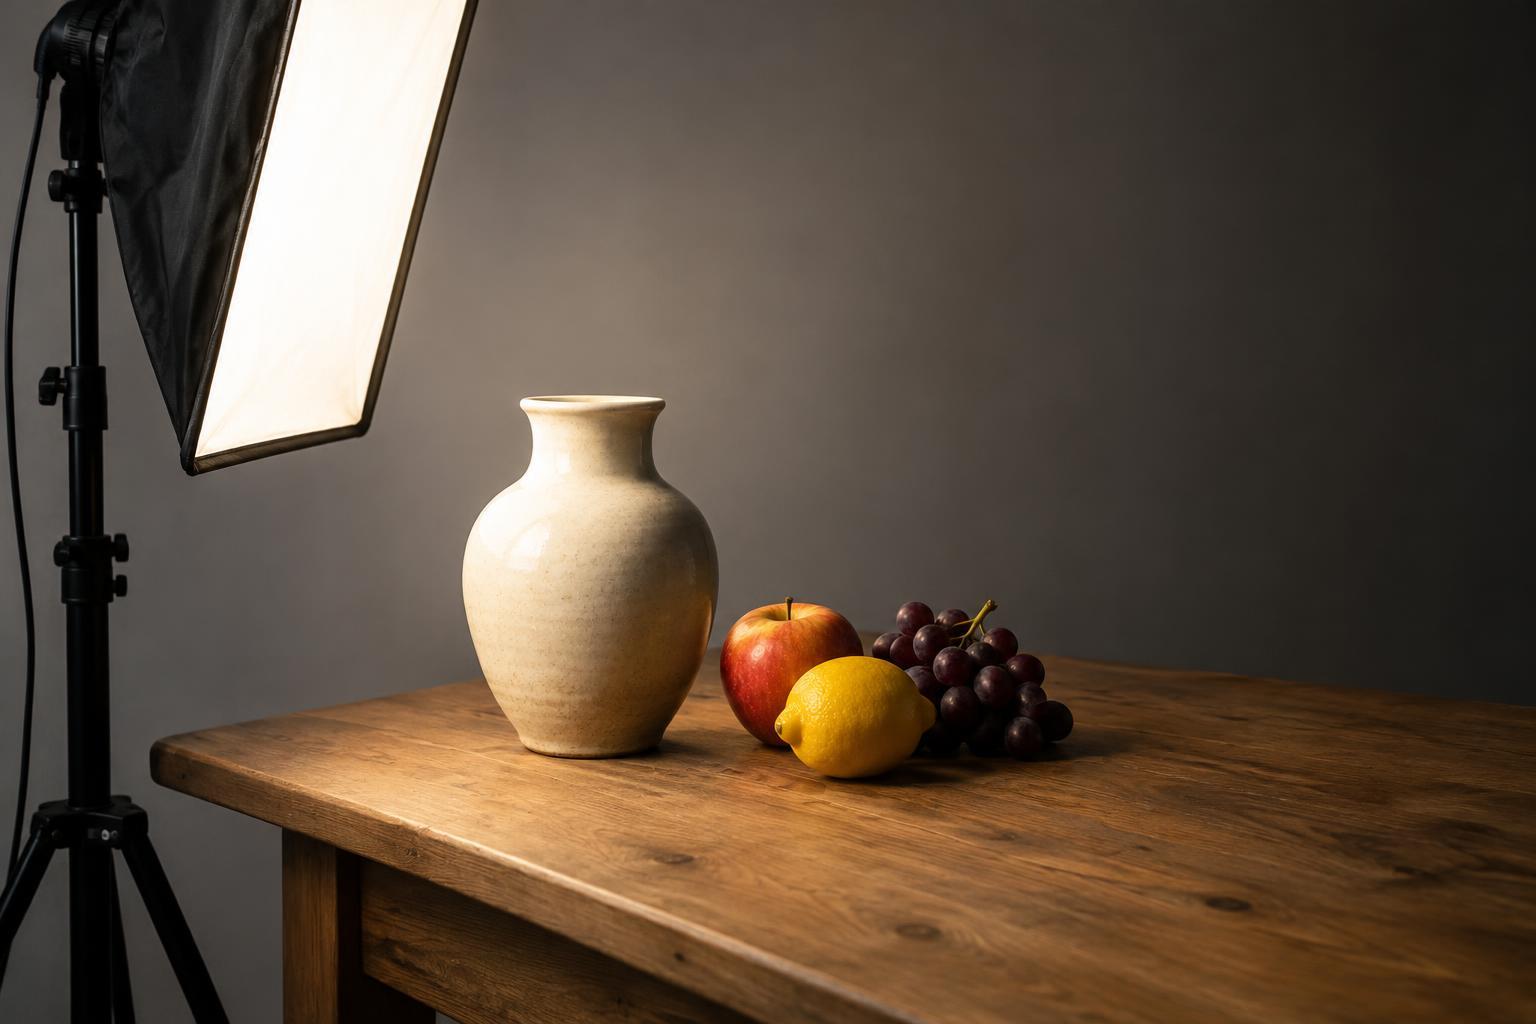
A window is a light source with a direction, size and color. Before placing your subject, look at the light falling on a wall or table nearby. Are the shadows broad and faint, or do they have sharp edges? Broad, faint shadows usually make it easier to create a gentle portrait or still life. Direct sunlight can create a harder look, even when it enters through a large window.
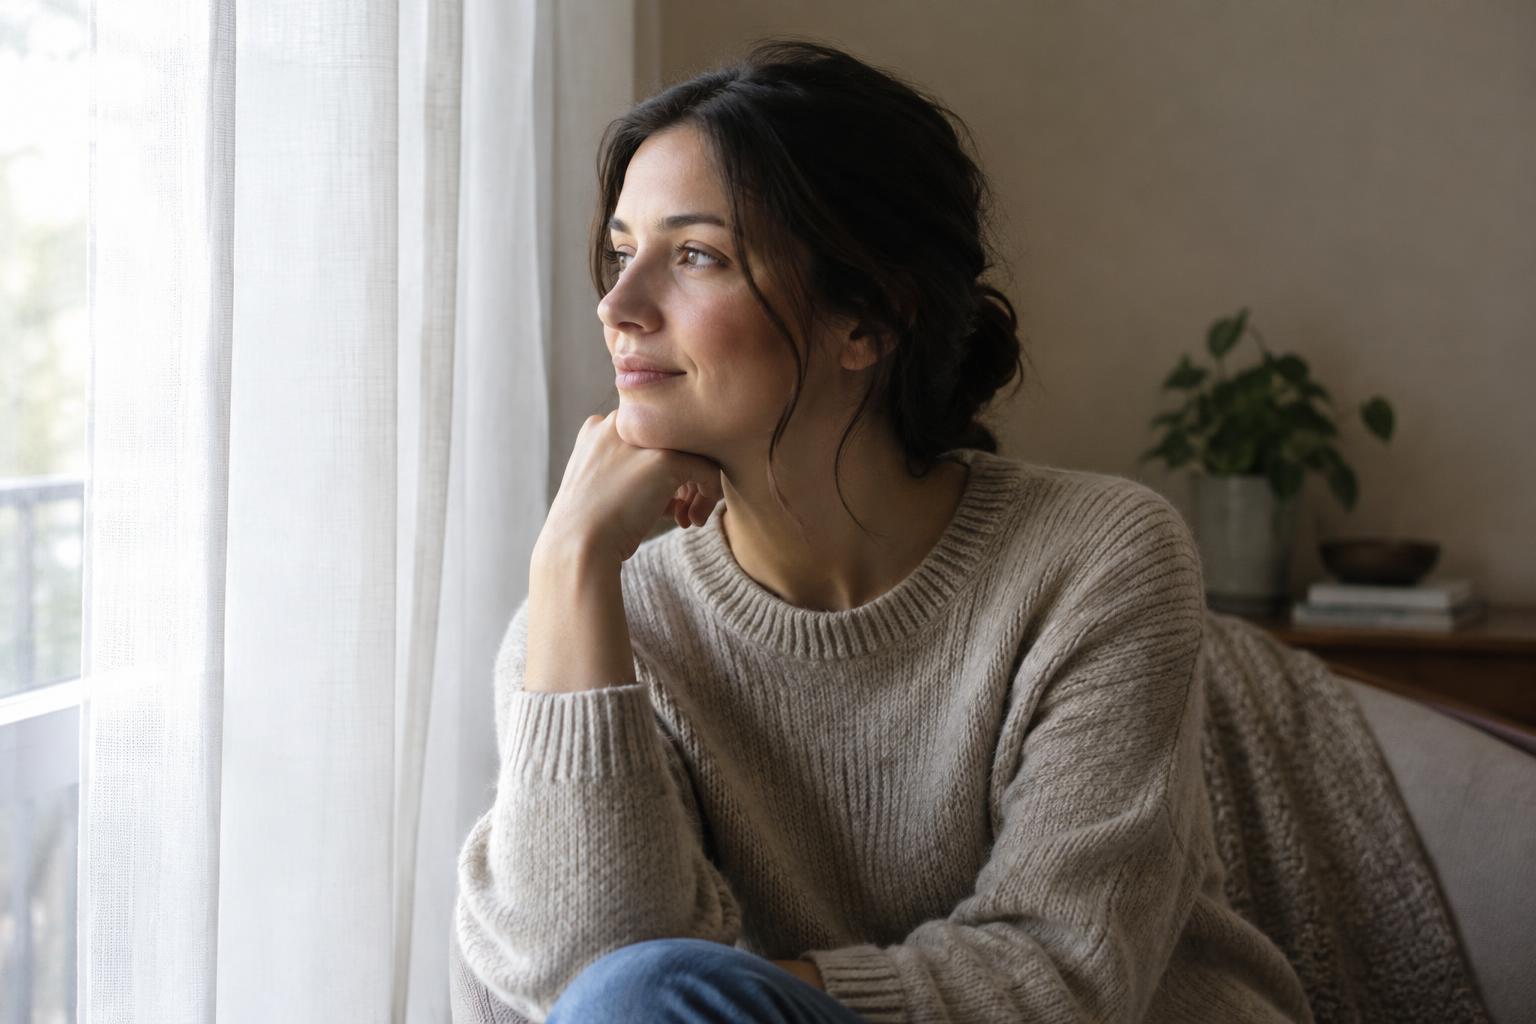
For a soft starting point, choose a window without a bright patch of sun on your subject. A sheer curtain can spread harsh sunlight, though a thick curtain may block more light than you want. Turn off nearby room lamps while you set up: their warm color can mix with cooler daylight and make skin or neutral objects harder to render consistently. You can add them back deliberately if you like the effect.
Place the subject before moving the camera
Position your subject close enough to the window that the light reaches them clearly, but leave room to adjust. For a portrait, try placing the person beside the window, then turn their face slightly toward it. One side of the face will receive more light while the other falls into a softer shadow. For an object, rotate it until its shape is visible in the pattern of highlights and shadows.
Next, change the subject’s distance from the window. Moving closer often makes the window appear larger relative to the subject, which can soften transitions between light and shadow. Moving farther away usually reduces the amount of light reaching the subject and may make the room’s other light sources more noticeable. Watch the image rather than relying on a fixed distance: window dimensions, curtains and surrounding walls all affect the result.
Use angle to control mood and detail
Start with the window to one side of the subject and the camera facing them from inside the room. This side-lit arrangement reveals texture and gives a face or object dimension. If the shadow side looks too dark, ask a portrait subject to turn a little more toward the window. A small turn can brighten the eyes and reduce contrast without changing your equipment.
For a flatter, brighter look, stand with your back near the window and photograph the subject facing it. Be careful not to block the light yourself. To make a silhouette or emphasize an outline, place the subject between the camera and the window instead. In that arrangement, a bright window can dominate the exposure; decide whether you want detail in the subject or a dark shape against the light, then expose accordingly.
Manage contrast, background and exposure
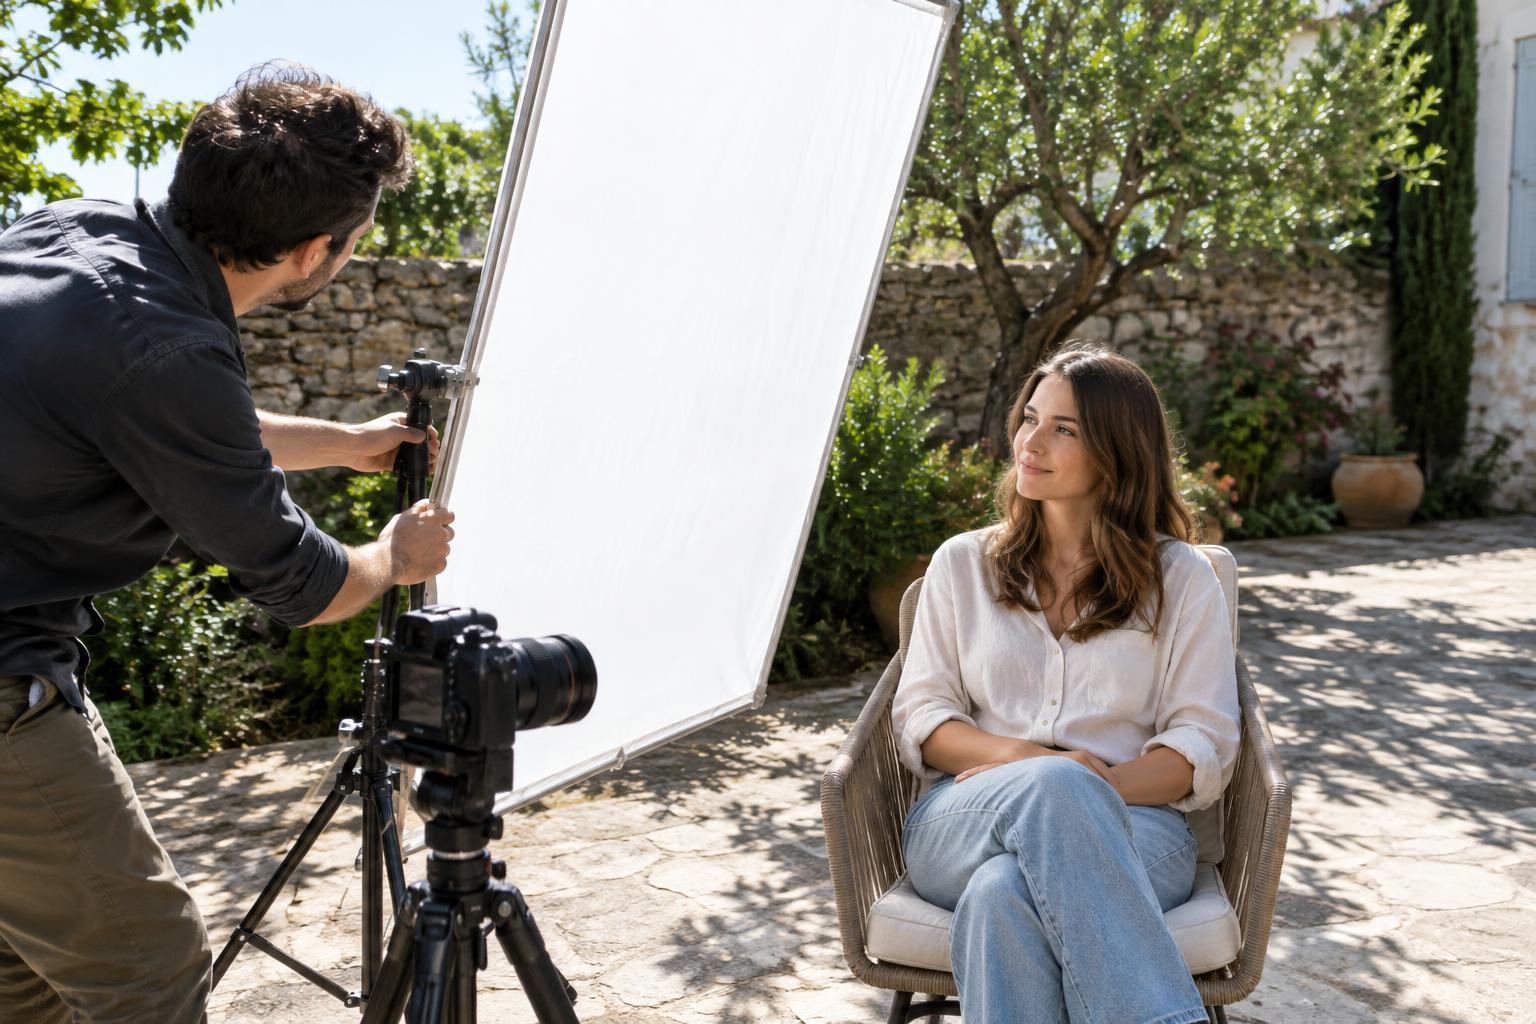
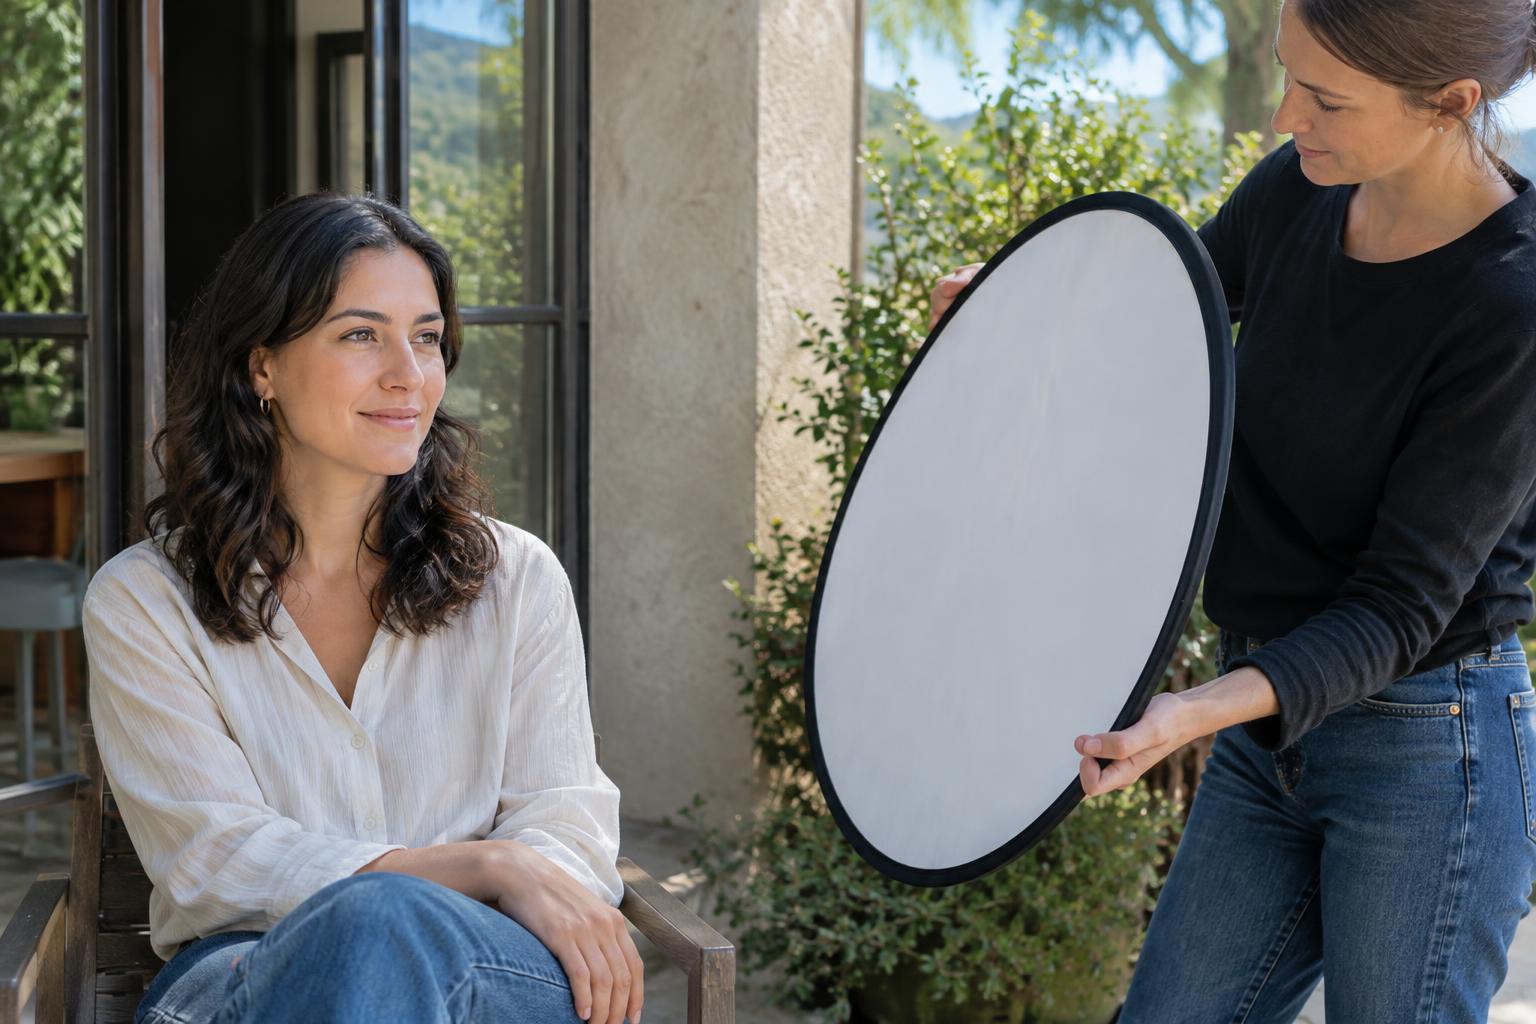
A pale wall opposite the window can bounce some light onto the shadow side. If the room is dark, a white foam board or a plain light-colored surface can serve the same purpose. Place it near the subject, outside the frame, and move it closer or farther away while watching the shadows. No reflector is required if you prefer deeper contrast. For stronger shadows, move the subject away from bright walls and other reflective surfaces.
Check the background before taking the final frame. A bright window behind the subject may distract from a softly lit face, while a darker area of the room can make the lit side stand out. Expose for the part of the subject that matters most, and review a test image for lost detail in bright areas. If your camera offers exposure compensation, adjust it after that review rather than assuming its first reading matches your intention.
Practice with one window and one subject
Try a short exercise with a person, plant or everyday object. Keep the camera position and settings as consistent as you can. Make one image with the subject facing the window, one with the window to the side and one with the window behind. Then repeat the side-lit image after moving the subject closer to the window. Compare the shadow edges, visible detail and separation from the background, not just which frame looks brightest.
For a final frame, choose the arrangement that suits your subject and simplify what surrounds it. A camera or phone is enough for this exercise; a sheer curtain and a white board are optional tools for changing the light, not prerequisites. Once you can predict how a turn or a small move will affect the image, window light becomes less of a lucky find and more of a choice you can make.