Decide what the sunlight is doing
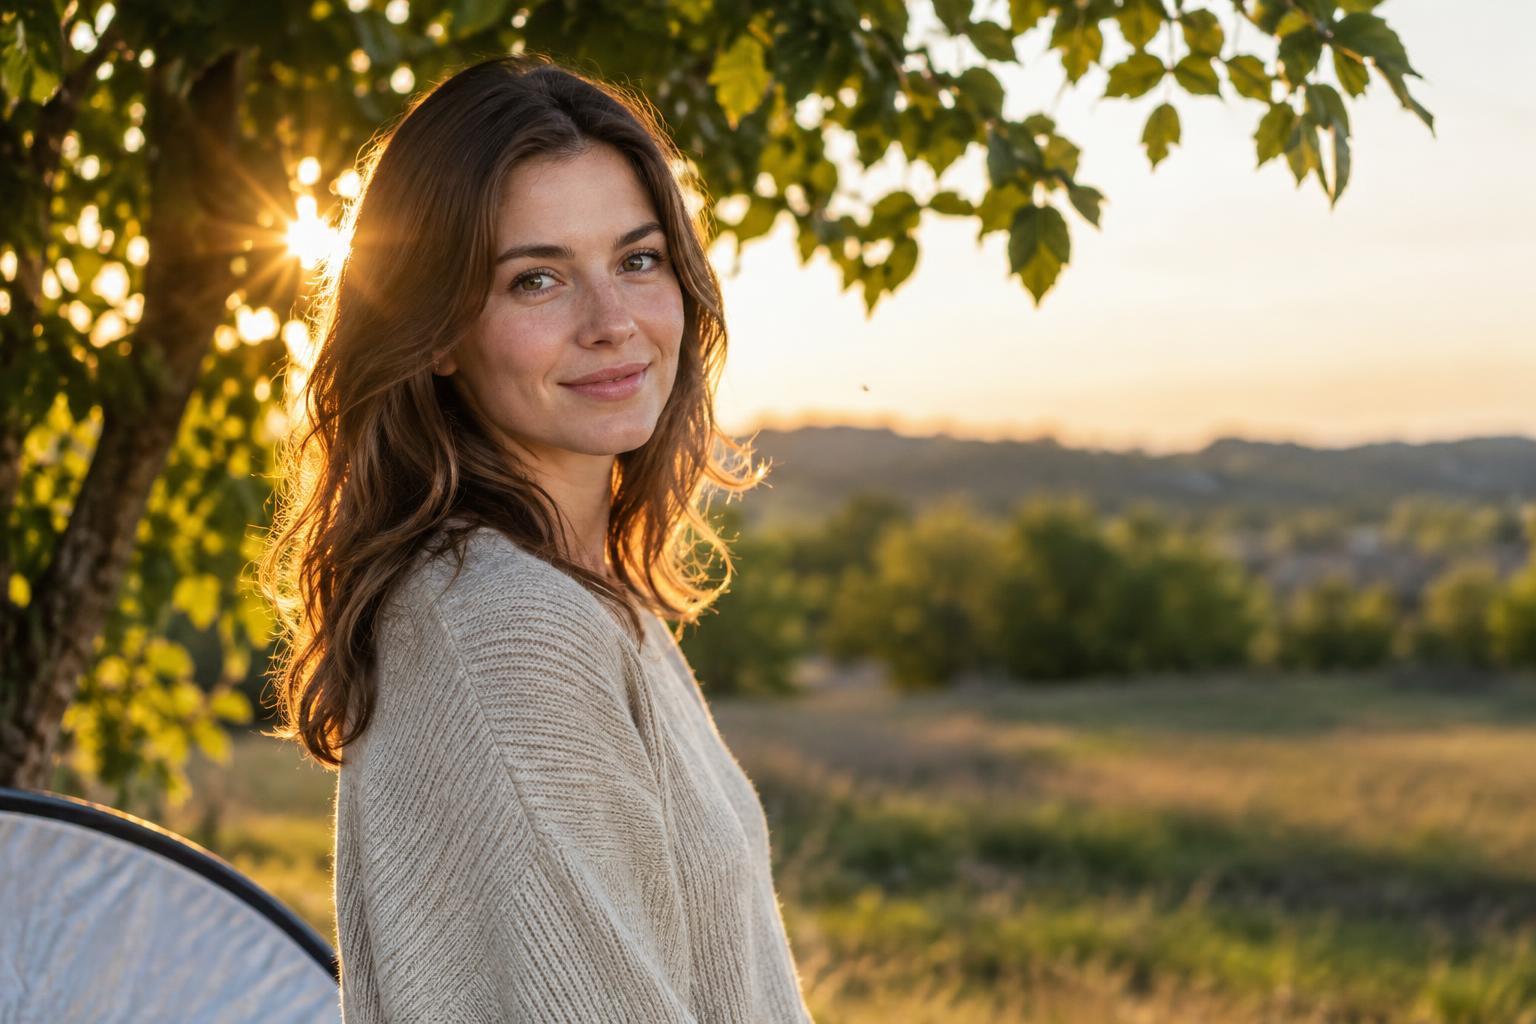
Direct sunlight is not automatically a problem. Its crisp shadows can define shape, reveal texture, and give an image a clear sense of time and place. Diffusion is useful when those qualities compete with your subject: a portrait sitter keeps squinting, a face has distracting shadows from a hat or nose, or a reflective object has bright patches that pull attention away from its form.
Before reaching for equipment, look at the scene without the camera. Notice where the shadow edges fall and whether important detail is getting lost. If you like the direction of the light but want gentler transitions between bright and dark areas, diffusion is a good choice. If the direction itself is unflattering, moving the subject or changing your camera position may help more.
Put the diffuser between the sun and the subject
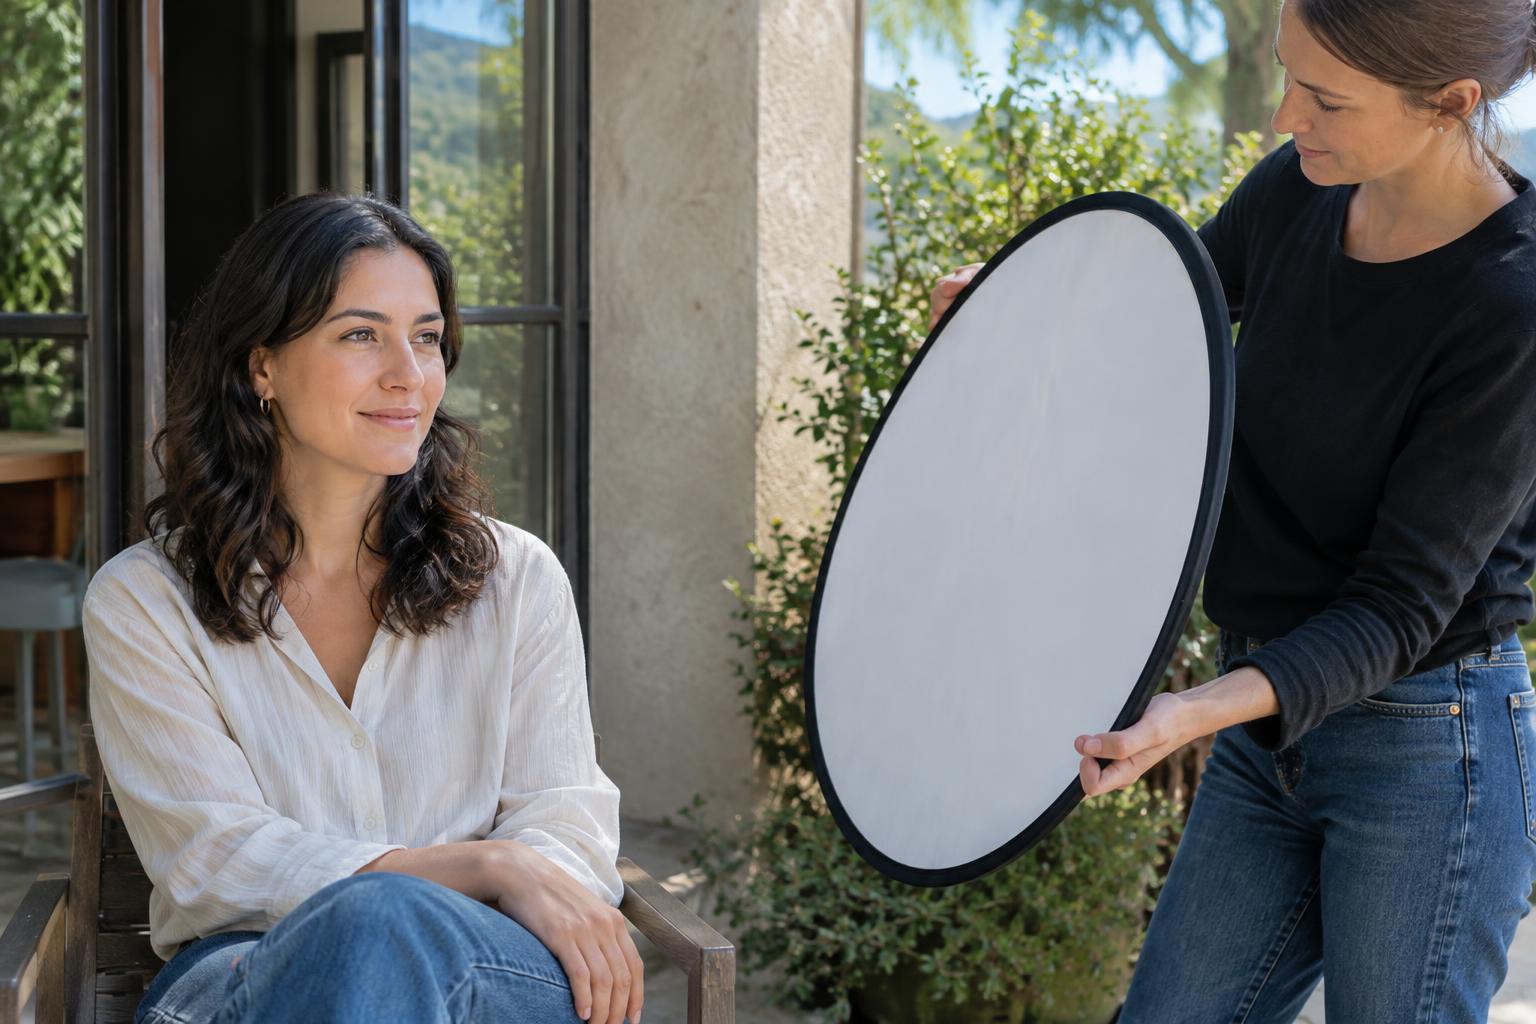
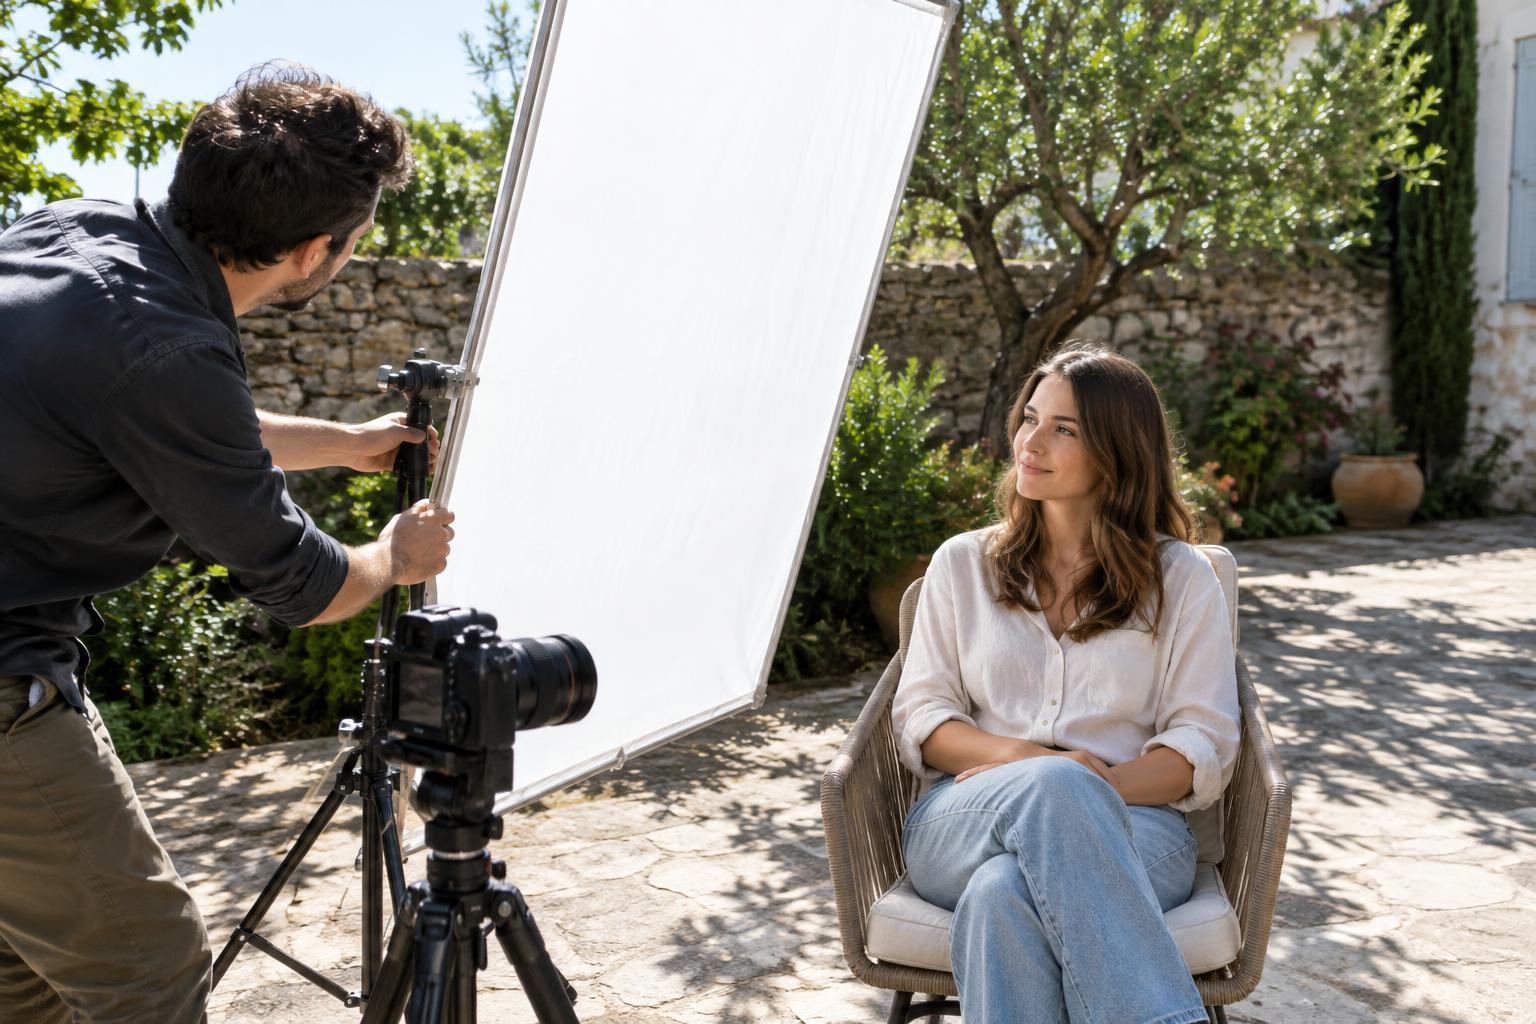
A diffuser is a translucent surface placed in the path of direct sunlight. A photography scrim, the translucent panel of a reflector kit, or a plain light-colored fabric stretched securely over a frame can all serve the purpose. Choose material that softens the light without adding an obvious color cast. Hold it between the sun and the part of the scene you want to soften, then check that its shadow fully covers that area.
Apparent size matters. A diffuser that looks large from the subject’s position tends to produce softer-looking shadow edges than a small one placed far away. Bring the panel closer to the subject when practical, while keeping it out of the frame and leaving enough room to work. For a head-and-shoulders portrait, cover the whole face and preferably the upper body; a partial patch of diffusion can leave an awkward line of hard light across clothing or skin.
Keep the setup stable. A lightweight panel can catch wind, so use a reliable stand and appropriate weights or ask a helper to hold it. Avoid positioning an unsecured frame where it could fall onto someone. If the panel is difficult to manage, open shade may be a simpler and safer way to get a similar result.
Check the background as well as the subject
Diffusing sunlight over a person reduces the light reaching them, but the background may remain in full sun. That difference can make the background appear much brighter than the subject. Take a test frame and look at both areas. You might turn the camera toward a darker background, move the subject so more of the scene shares the diffused light, or use a reflector to return a little light to the subject.
A diffuser also changes the character of the scene. With hard shadows softened, a portrait may feel calmer, but it can lose some of the contrast that made it interesting. Check the eyes, hair, and clothing for enough separation and shape. If the image looks flat, shift the diffuser slightly so a little directional light remains, or let the background carry more contrast.
Expose for the light you have created
After placing the diffuser, make a fresh exposure rather than relying on the settings you used in direct sun. The subject is now receiving less light, and an automatic exposure mode may react to a bright background in an unexpected way. Review a test image for important highlight detail and for shadows that are too dark for your intended look. A histogram or highlight warning can help, but judge the picture itself as well.
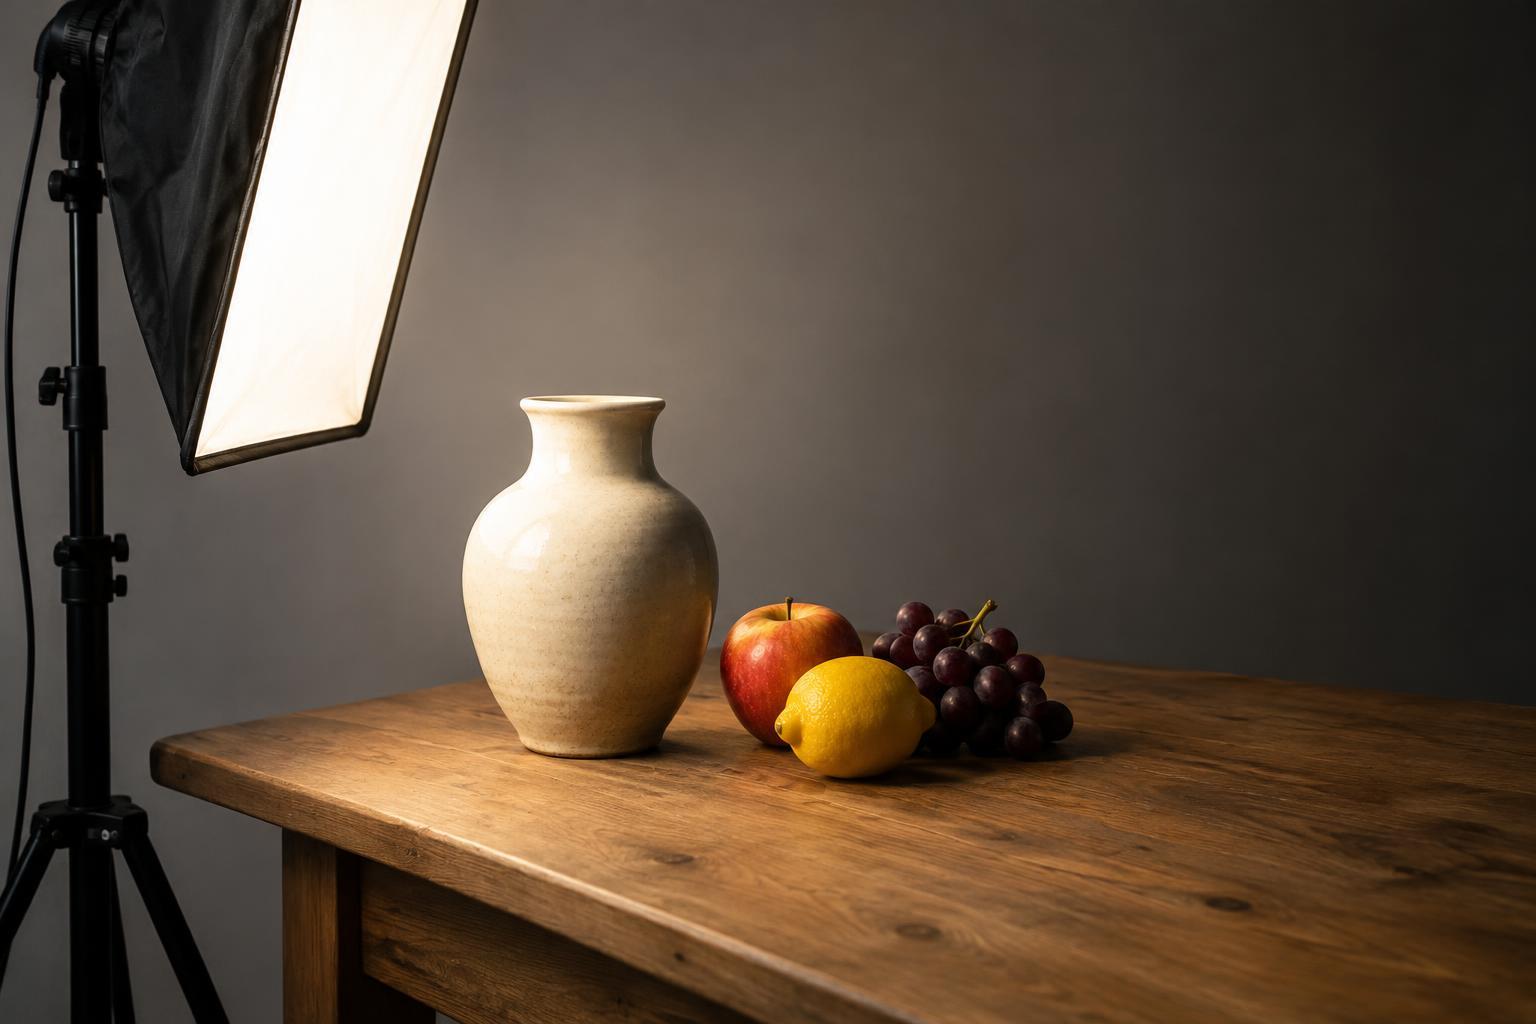
If you are photographing a person, keep shutter speed fast enough for their movement and adjust aperture or ISO as needed. For a still life, a tripod may give you more flexibility. If the diffuser introduces a noticeable tint, set a suitable white balance or use a neutral reference frame for later editing. Diffusion can make editing easier, but it does not replace checking exposure and color on location.
Practice with one subject and three looks
Choose a willing subject or a simple object in direct sunlight. Make one photograph with the sun unobstructed. Next, place a diffuser close enough to cover the subject completely and make a second frame from the same camera position. For a third, move the diffuser farther away or angle it slightly, keeping the subject covered. Try to hold your framing and background steady so the lighting differences are easy to compare.
Look beyond which frame seems softest. Compare shadow edges, texture, background brightness, and the feeling each version creates. The exercise helps you recognize when diffusion serves the photograph—and when the direct sun you started with is the stronger choice.