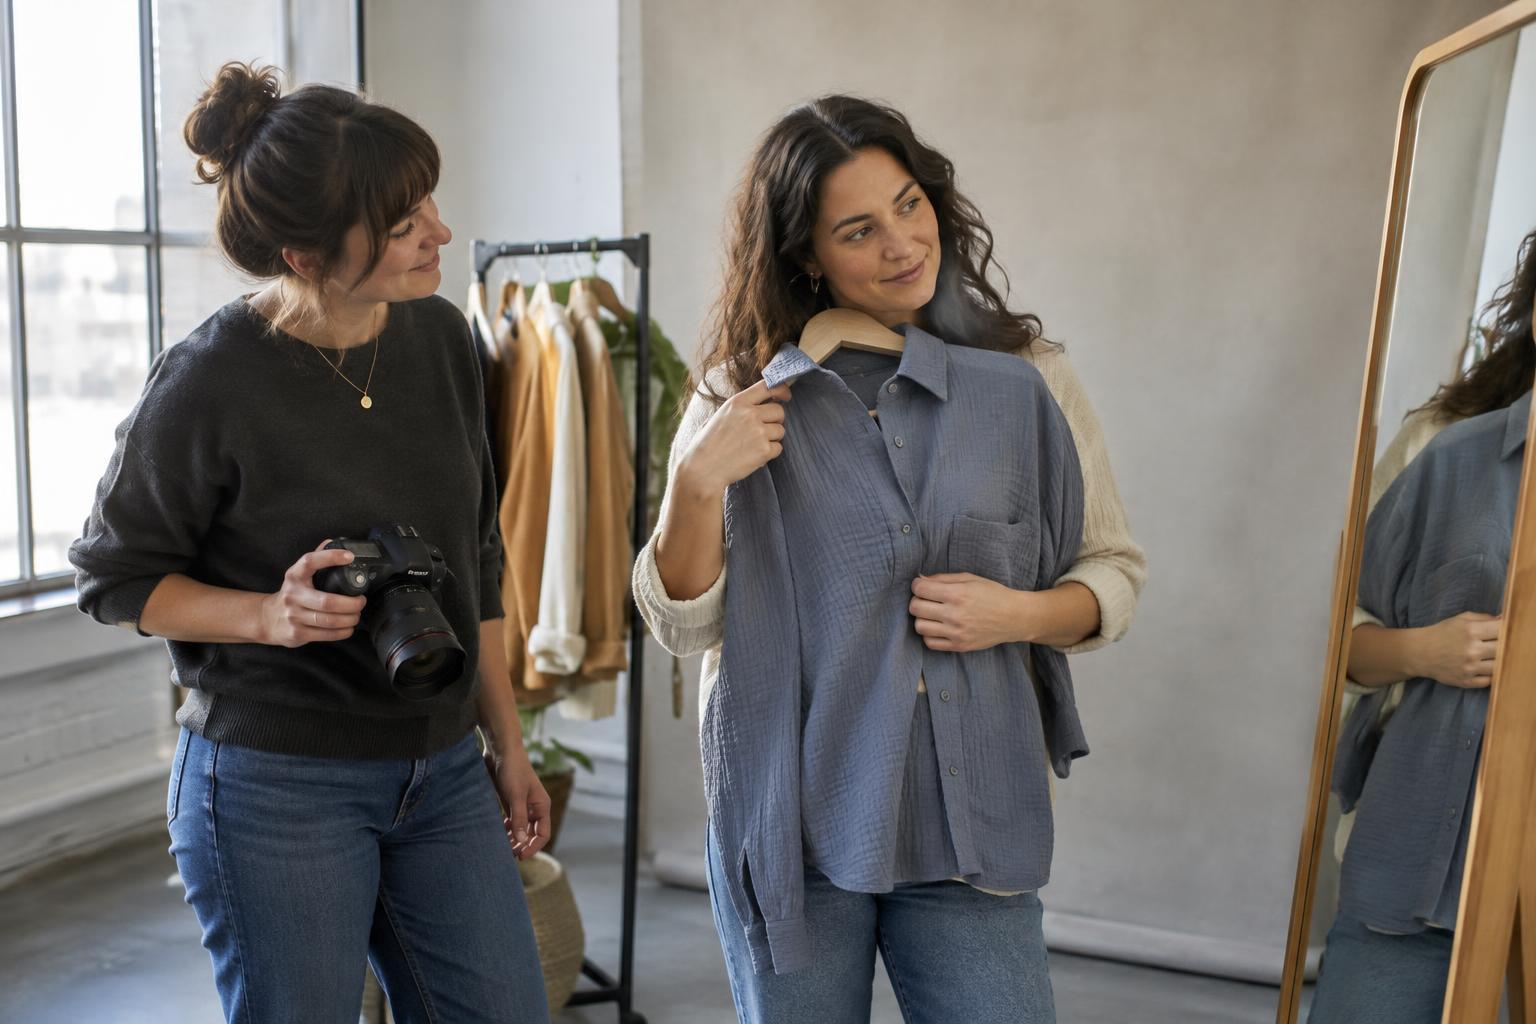
Start with the person, not the object
A prop works best when it helps a viewer notice something about the person in the photograph. A well-used notebook, a gardening glove, or a carefully kept instrument can suggest a habit or interest. The object does not need to be rare or visually dramatic. Its connection to the subject matters more than its price or novelty.
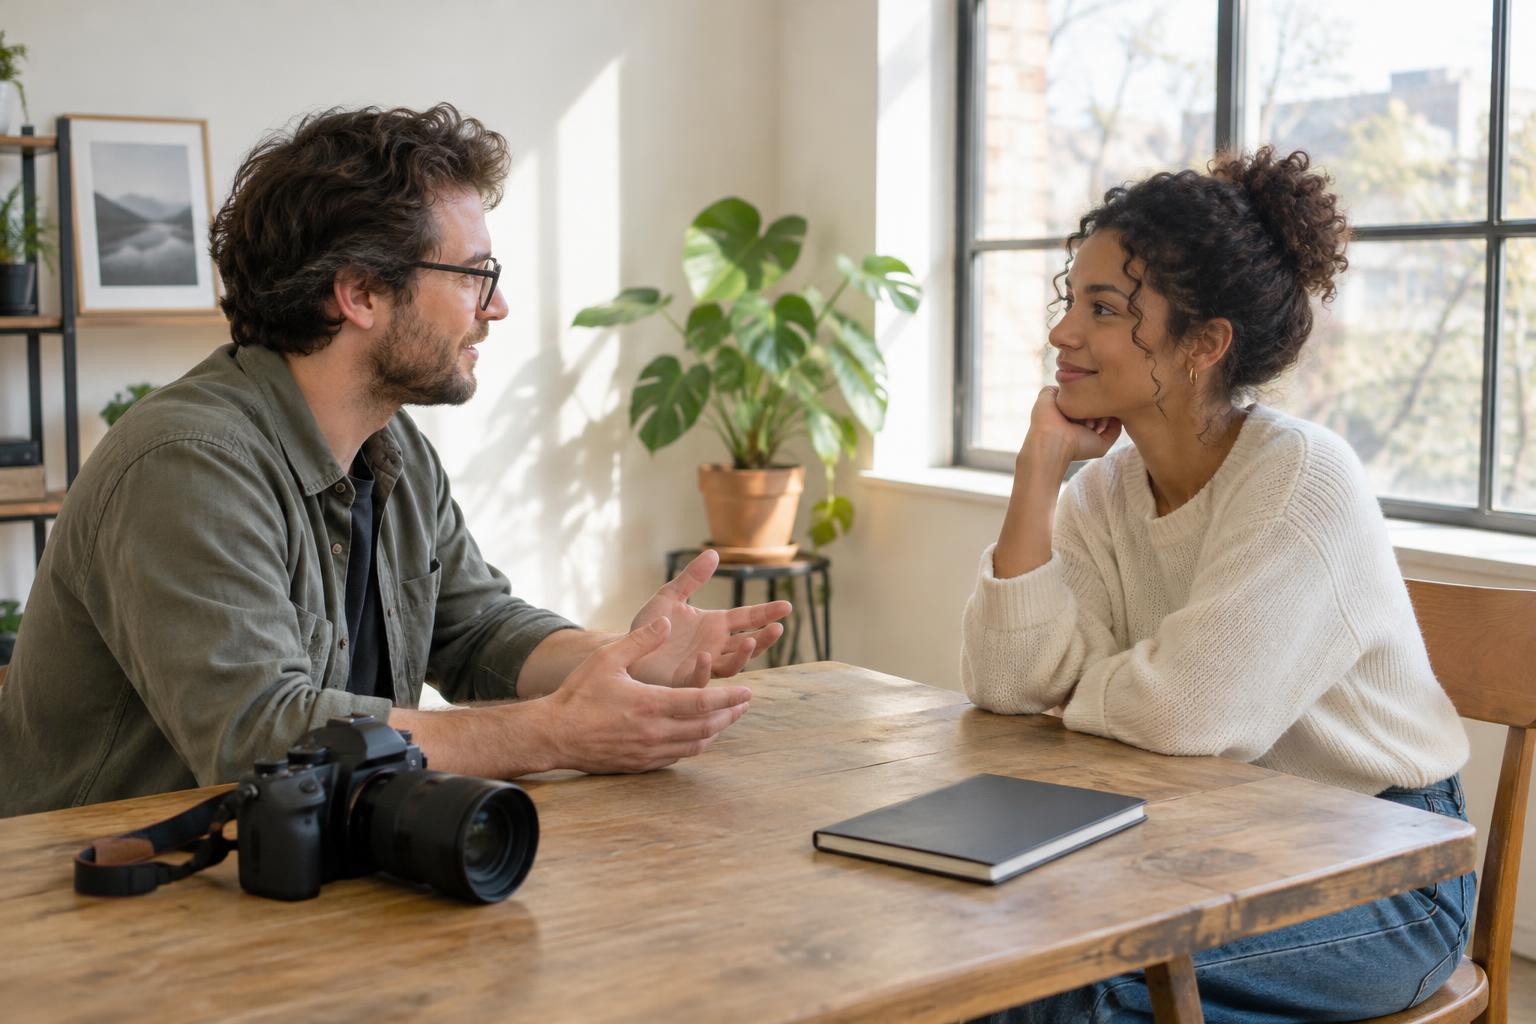
Before the session, ask the person if there is something they would like to bring. Invite them to explain what it means to them, but do not assume the answer from its appearance. A camera might be a work tool, a family keepsake, or simply an item they enjoy using. That conversation can suggest where to photograph them and what they might naturally do with the object.
Let the subject decide whether a personal item belongs in the picture at all. An object may have a private meaning they are happy to discuss but do not want to share visually. A portrait can tell a story without revealing every part of it.
Choose one clear visual idea
Begin with one prop and one reason for including it. If the portrait is about someone’s enjoyment of making music, you might show their hands resting on an instrument rather than surround them with every piece of equipment they own. A single object gives the viewer room to connect its details with the person’s expression, posture, and setting.
Look for features that reward a closer look: worn edges, handwritten notes, repairs, or a shape that fits naturally in the subject’s hands. These details can add texture without requiring an explanation in the image. If several objects matter, make a deliberate choice about which one carries the main idea. The others can stay outside the frame or remain quiet background elements.
Avoid treating a prop as a shortcut to someone’s identity. A uniform, tool, or souvenir may describe one activity, but it cannot sum up a person. Ask whether the image still feels like a portrait of them when the object is present, rather than a picture of the object with a person beside it.
Place the prop without letting it dominate
Make a simple frame first, then add the prop. Notice where the viewer’s eye goes. Bright color, strong contrast, and a position close to the camera can make even a small object seem more important than the face. If that is not your intention, move it nearer to the subject, turn a bright surface away from the light, or leave more space around the face.
Hands can connect the person and the object. Instead of asking someone to hold an item up for display, invite them to handle it as they usually would: opening a notebook, adjusting a strap, or turning a page. Give them time to settle into the action. Photograph a few variations, including one where the prop is only partly visible. A partial view can provide enough context while keeping attention on the expression.
Check the edges of the frame before moving on. A cropped handle, awkward overlap, or object appearing to grow out of someone’s shoulder can be distracting. Take a step sideways or change your camera height to separate the shapes.
Use light and focus to guide attention
Soft window light is a straightforward place to start. Position the subject so the light reaches their face and the part of the prop you want to show. If the object is reflective, turn it gradually until glare no longer hides an important detail. With a lamp or other artificial light, watch for competing shadows on the face and hands; repositioning the light or prop may be enough to simplify them.
You do not need a particular lens to make a prop-led portrait. Choose a camera position that feels comfortable for conversation and check what it does to the object’s size. Moving very close with a wide view can make a prop held toward the camera look unusually large. Stepping back and asking the subject to bring the object closer to their body may give a more balanced result.
Focus on the eyes when expression is the heart of the image. If the hands and object carry an important action, make another frame that gives them equal attention. Comparing the two later helps you decide which photograph communicates the idea more clearly.
Try a three-frame portrait exercise
Ask a willing subject to choose one object they use or value. Make three portraits in the same location: one with the object nearby but untouched, one with the subject using or handling it, and one close enough to show a telling detail alongside part of the person. Keep the background simple so changes in gesture and framing are easy to see.
Review the images together. Which frame feels most like the subject, and does the prop help explain why? Pay attention to whether a posed gesture looks stiff or a small, unplanned movement feels more natural. If the subject prefers a different image from the one you chose, ask what they see in it. Their answer can improve the portrait and help you make a final selection they are comfortable sharing.