What clouds do to daylight
On a clear day, the sun acts like a relatively small, direct light source. A cloud layer spreads its light across a much larger area of sky. Shadows often become softer, bright highlights are less likely to dominate, and it can be easier to hold detail in both a subject and its surroundings. This makes overcast weather useful for portraits, close-ups, textured surfaces and scenes with many small details.
Even illumination does not mean perfectly flat illumination. A bright opening in the clouds may light one side of a scene more than the other, while trees, buildings and awnings can block portions of the sky. Look at the shadows beneath a person’s chin or a leaf before deciding where to shoot. If they are faint but visible, you still have a direction of light to work with.
Place the subject where the sky can reach it
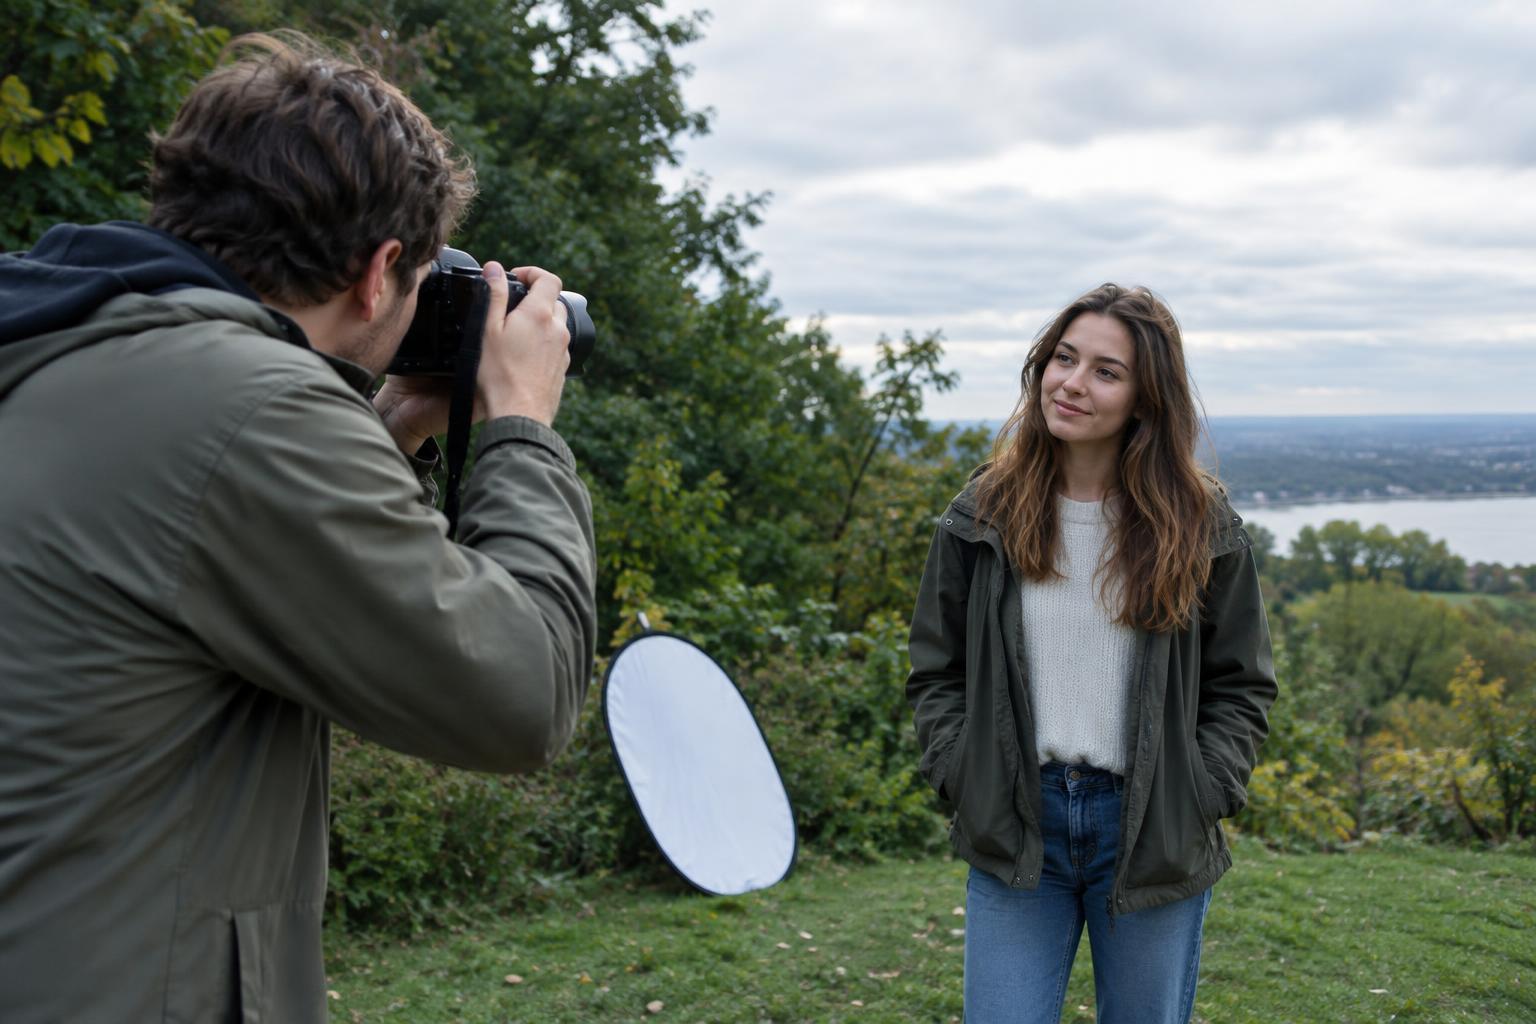
For an outdoor portrait, start in an open area with a clear view of the sky. Turn your subject slowly and watch how the light changes across their face. Facing toward the brighter part of the sky can bring more light into the eyes; turning away can produce gentle side lighting. Ask the person to lift or lower their chin slightly if the eye sockets look dark. These small adjustments may do more than changing camera settings.
Pay equal attention to the background. A pale sky behind a face can become a bright, distracting shape, and a dark stand of trees can make the same face appear much brighter by comparison. Try a shooting angle that puts foliage, a wall or a distant landscape behind the subject without moving them under heavy cover. If you do use the edge of a porch or tree canopy, position the subject near the edge, where open sky can still illuminate them.
Expose for what matters in the frame
Overcast conditions usually reduce contrast, but a bright sky can still be much lighter than the ground. Check the image preview and histogram, if your camera provides one. If a face is too dark against the sky, add exposure or change your framing so the sky occupies less of the picture. For a scene where cloud texture is important, protect its highlights and decide whether darker foreground areas are acceptable. Exposure compensation is a quick way to make these adjustments without leaving an automatic or semi-automatic mode.
Light levels can shift as clouds thicken or thin, so check again after changing location. A wider aperture can help keep shutter speeds practical for portraits, while a narrower aperture may suit a scene where near and far details should remain sharp. If the shutter speed becomes too slow for a moving subject, raising ISO may be preferable to a blurred photograph. Choose settings for the picture you want rather than assuming every cloudy scene needs the same recipe.
Add shape when the light feels too flat
Soft light can be flattering, yet it may leave a portrait or still life without much depth. To create gentle shape, place the subject where part of the sky is blocked on one side, such as beside a building or at the edge of a row of trees. Keep the brighter, open side toward the feature you want to emphasize. Move a little at a time: deep shade can create a much stronger difference than you intended.
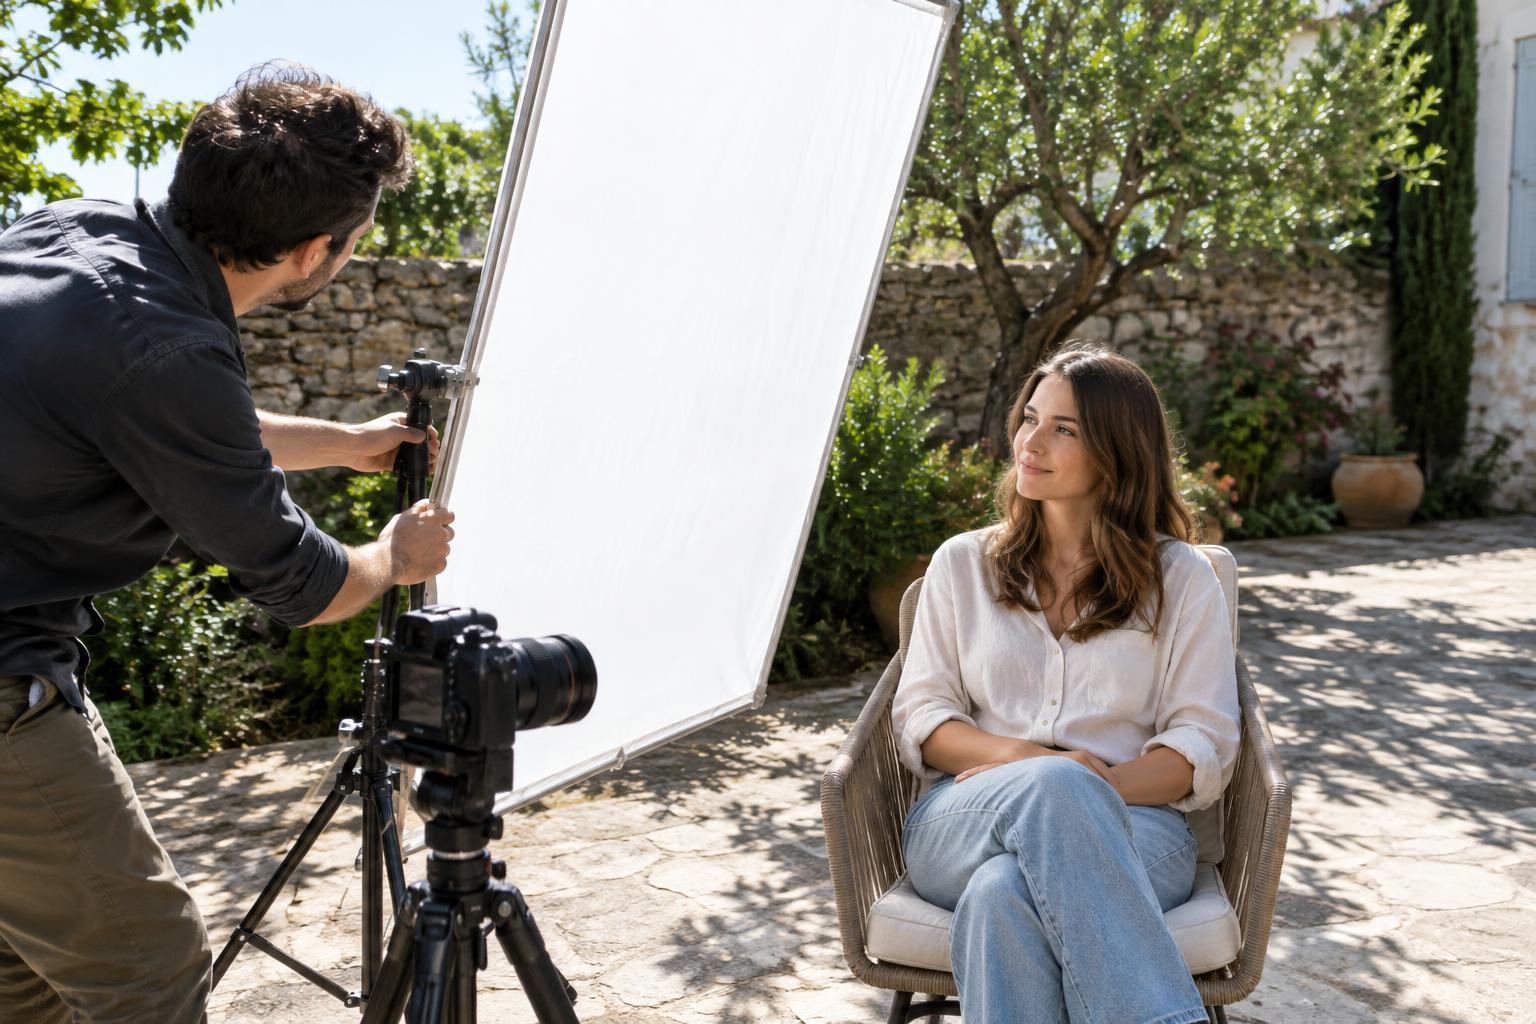
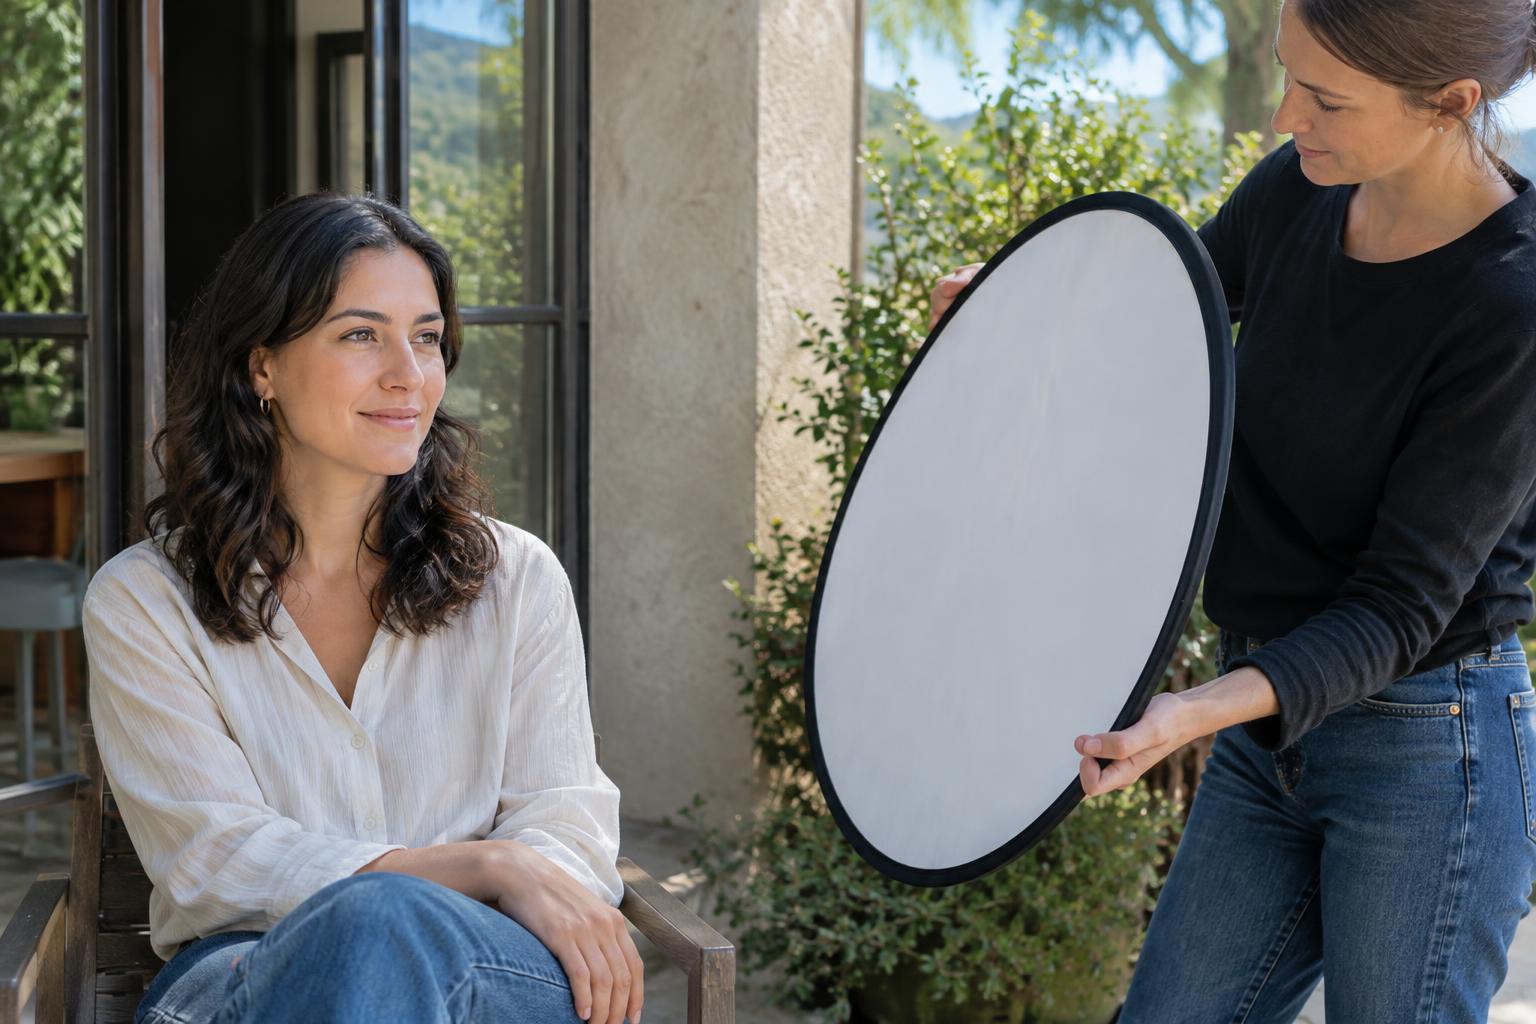
A small reflector can direct available light into a face or another shaded area. A white surface generally gives a subtler effect than a shiny one; even a piece of light-colored card can help with a close subject. If you use flash, begin at low power and treat it as fill rather than an attempt to recreate sunlight. Neither tool is essential. First try changing the subject’s position and your camera angle, because those choices also improve the background.
Practice seeing the differences
Choose one subject and photograph it in three places: under open sky, near the edge of shelter and farther inside the shade. Keep your framing and, if possible, your exposure settings consistent for the first set. Compare the brightness and direction of shadows, not just the overall mood. Then make a second set in which you adjust exposure and framing for the best result in each place.
Overcast light is especially helpful when you want to study composition without strong patches of sun pulling attention around the frame. Look for repeating shapes, color relationships and texture in a garden, street scene or travel photograph. During editing, begin with exposure and white balance, then make restrained contrast adjustments if the image needs more separation. The goal is not to force every cloudy photograph to look sunny; it is to use the soft light deliberately.