What a leading line does
A leading line is a visible path through a photograph that encourages the eye to move from one area to another. Roads and fences are familiar examples, but a line can also be a shadow, a row of trees, the edge of a table, or a sequence of similar objects. It does not have to be straight or physically connected. What matters is the route it creates in the frame.
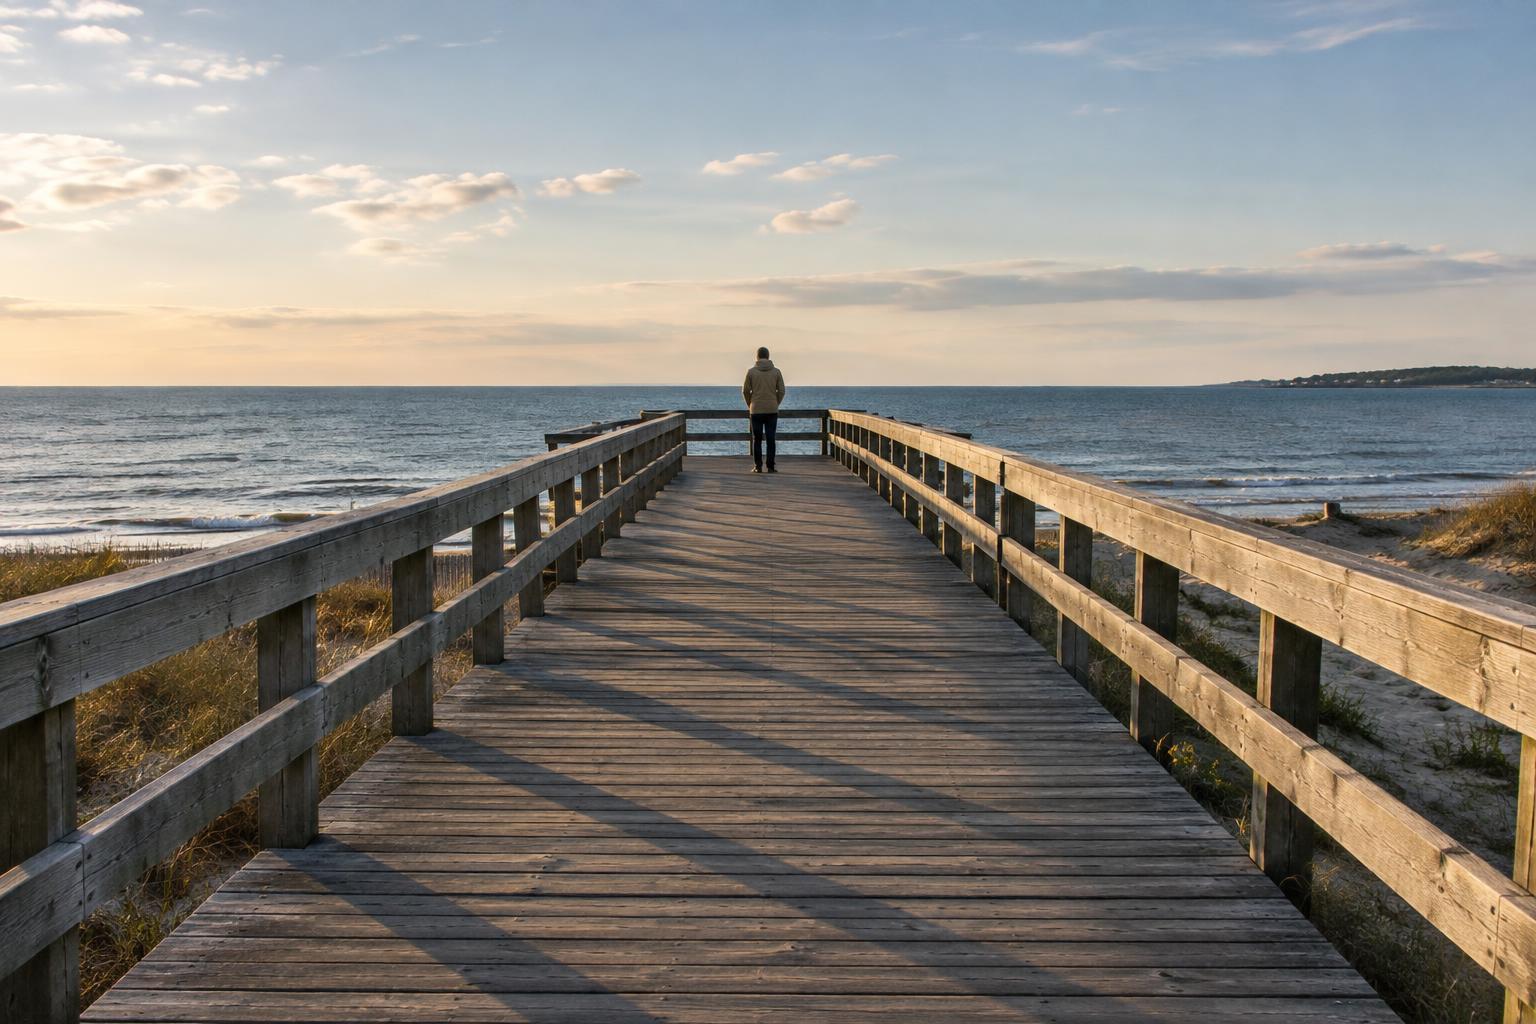
Leading lines are most useful when they help a viewer find something worth looking at. A winding footpath might lead to a person in the distance; a counter edge might point toward a cook’s hands. Without a clear destination, a strong line can carry attention straight out of the picture. Before taking the shot, ask where the line begins, where it ends, and what the viewer will encounter along the way.
Find lines before choosing your position
Start by scanning the scene for edges and repeated shapes. In a street, look for curb lines, pavement seams, building fronts, and bands of light. Indoors, try doorframes, shelves, floorboards, or the edge of a window. In a landscape, a riverbank or a change in ground color may provide a gentler route than a road. Curves often invite a slower journey through the frame, while diagonals can give a scene a stronger sense of movement.
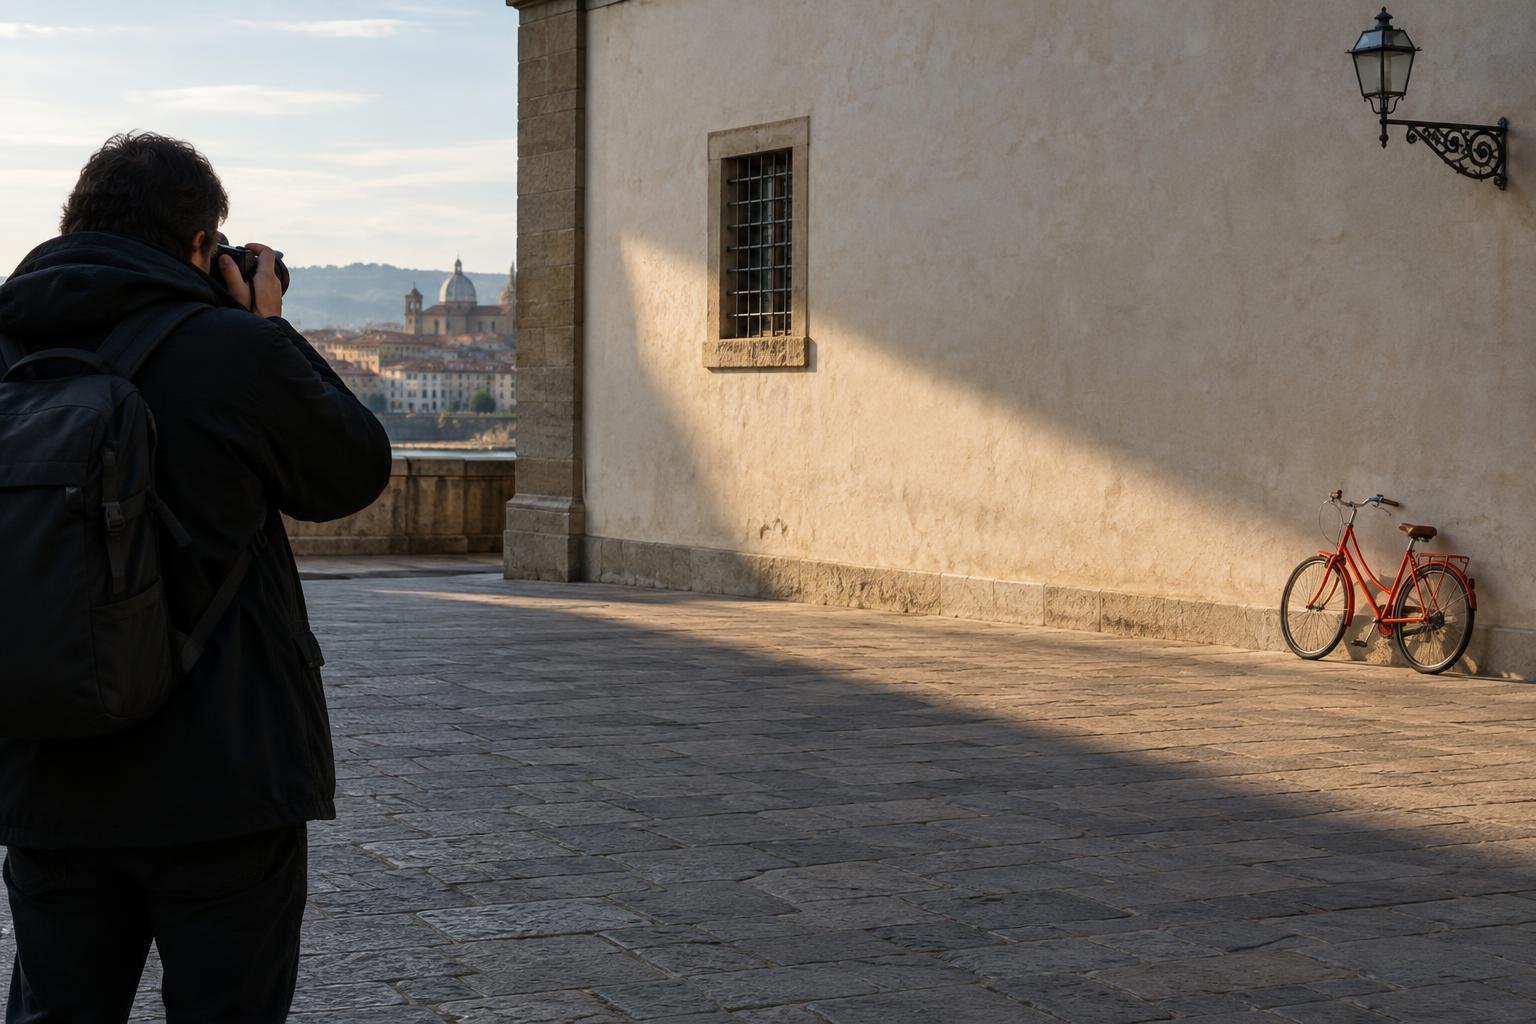
Then move your feet. A step sideways can make two separate edges appear to converge; lowering the camera can make a nearby path more prominent. Watch the background as you move, not just the line itself. If a railing points to a bright sign behind your subject, the sign may become the unintended destination. Changing position is often more effective than trying to repair that relationship in an edit.
Give the line a useful destination
Place the subject near the point where the line seems to arrive, but do not feel obliged to center it. A person standing just beyond a curve, for example, can create a satisfying pause after the viewer follows the path. You can also use two lines to frame a subject rather than point directly at it. The edges of a hallway may guide attention toward someone standing in a doorway even when neither edge touches the person.
Pay attention to competing visual cues. A bright patch, a face, or a high-contrast object can draw the eye more strongly than a subtle line. That can work in your favor if these elements share a destination. If they pull in different directions, decide which matters most. You might wait for the subject to step into better light, shift the frame to remove a distraction, or let the line play a quieter supporting role.
Control the route through framing and lens choice
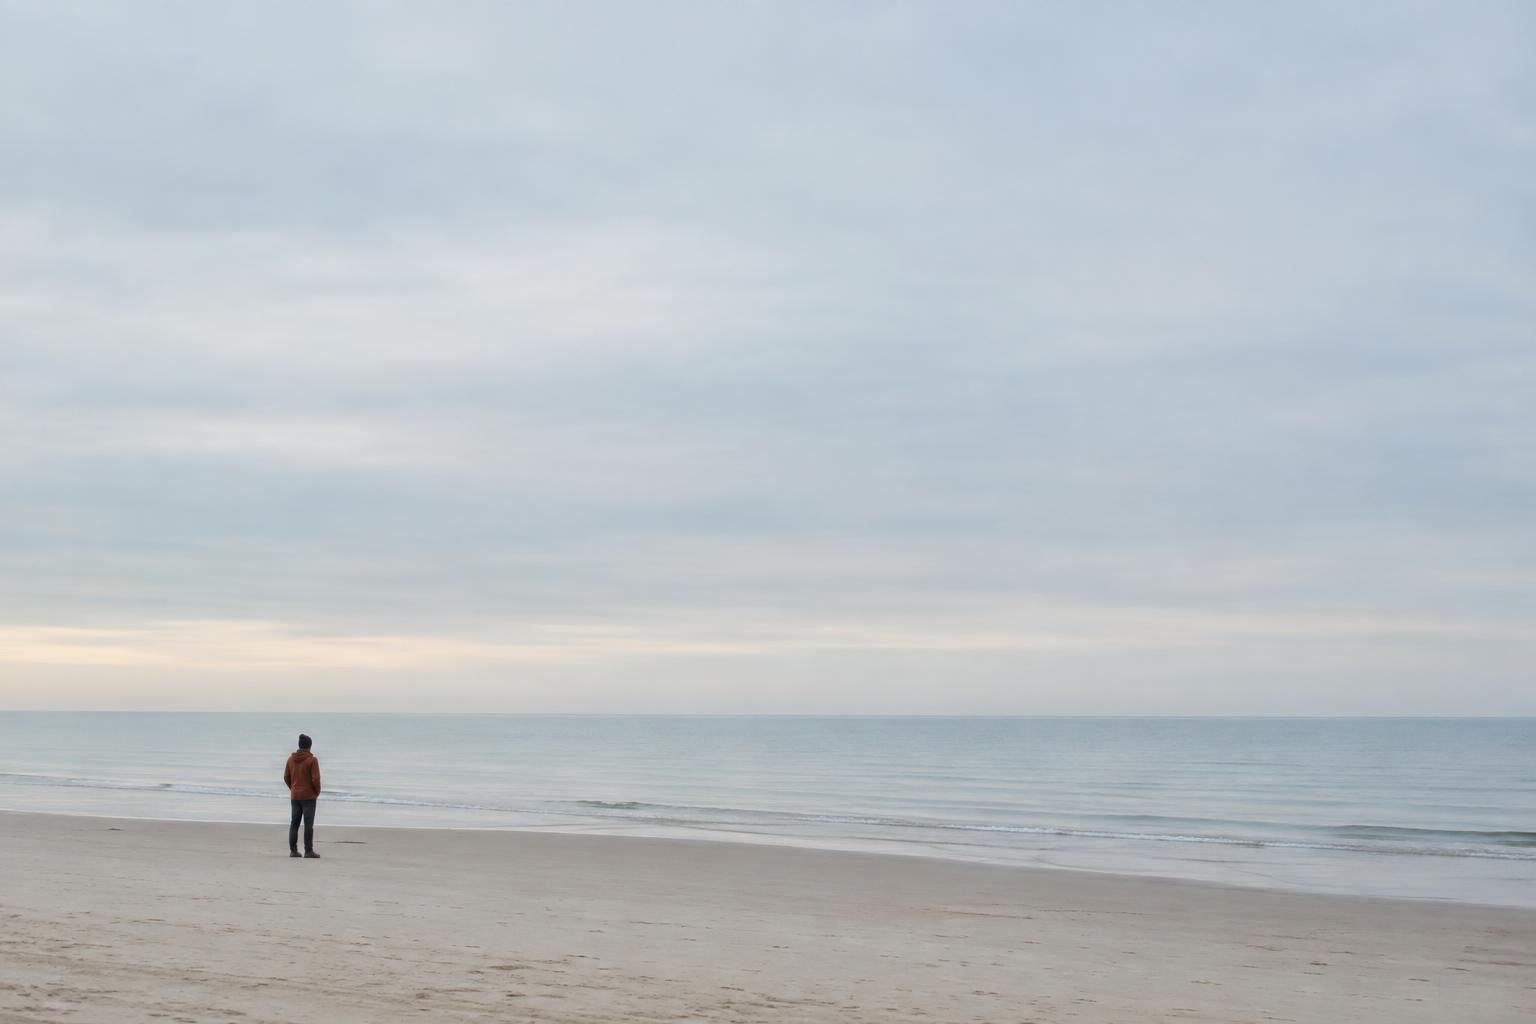
Where the line enters the frame affects how it feels. A line beginning near a bottom corner can invite the viewer inward. One that cuts across the middle may divide the image instead. Try leaving enough space around the subject for the journey to feel complete, while trimming empty areas that add little to it. Look at the corners and edges before pressing the shutter: a line that leads cleanly into the picture is usually easier to follow than one interrupted by an accidental crop.
Lens choice changes the apparent relationship between near and far elements. A wider view can emphasize a foreground path when you work close to it, but it may also make a distant subject look small. A narrower view can simplify a busy scene and bring distant shapes into a tighter arrangement. Neither is automatically better. Choose the framing that keeps both the line and its destination legible, and avoid moving into unsafe places just to strengthen the perspective.
Practice with one scene, then edit for clarity
Choose a location with a path, railing, or row of objects and make three photographs of the same subject. First, let the line enter from a lower corner. Next, move until it approaches from the side. Finally, make a frame in which the line curves or stops short of the subject. Compare the pictures at a small size. Which one makes the subject easiest to find, and which one lets your eye wander away? Repeat the exercise with a less obvious line, such as a shadow or a sequence of lights.
In editing, begin with a crop that clarifies the route without cutting off an important part of it. Modest adjustments to brightness or contrast can help separate the line from its surroundings, but heavy changes may make the image feel forced. If the subject remains hard to find, examine the composition rather than assuming an edit will solve it. The aim is not to put a leading line in every photograph; it is to use one when it helps the viewer move through the scene with purpose.