Understand what is making the picture blurry
A soft photo taken from a train or bus can have several causes. The vehicle may be shaking the camera, the landscape may be moving across the frame, the camera may have focused on the window, or a dirty pane may be reducing detail. Look closely at a few unsuccessful shots before changing settings. If stationary-looking parts of the scene are streaked in one direction, shutter speed is a likely issue. If a reflection is crisp but the view outside is not, focus may be the problem.
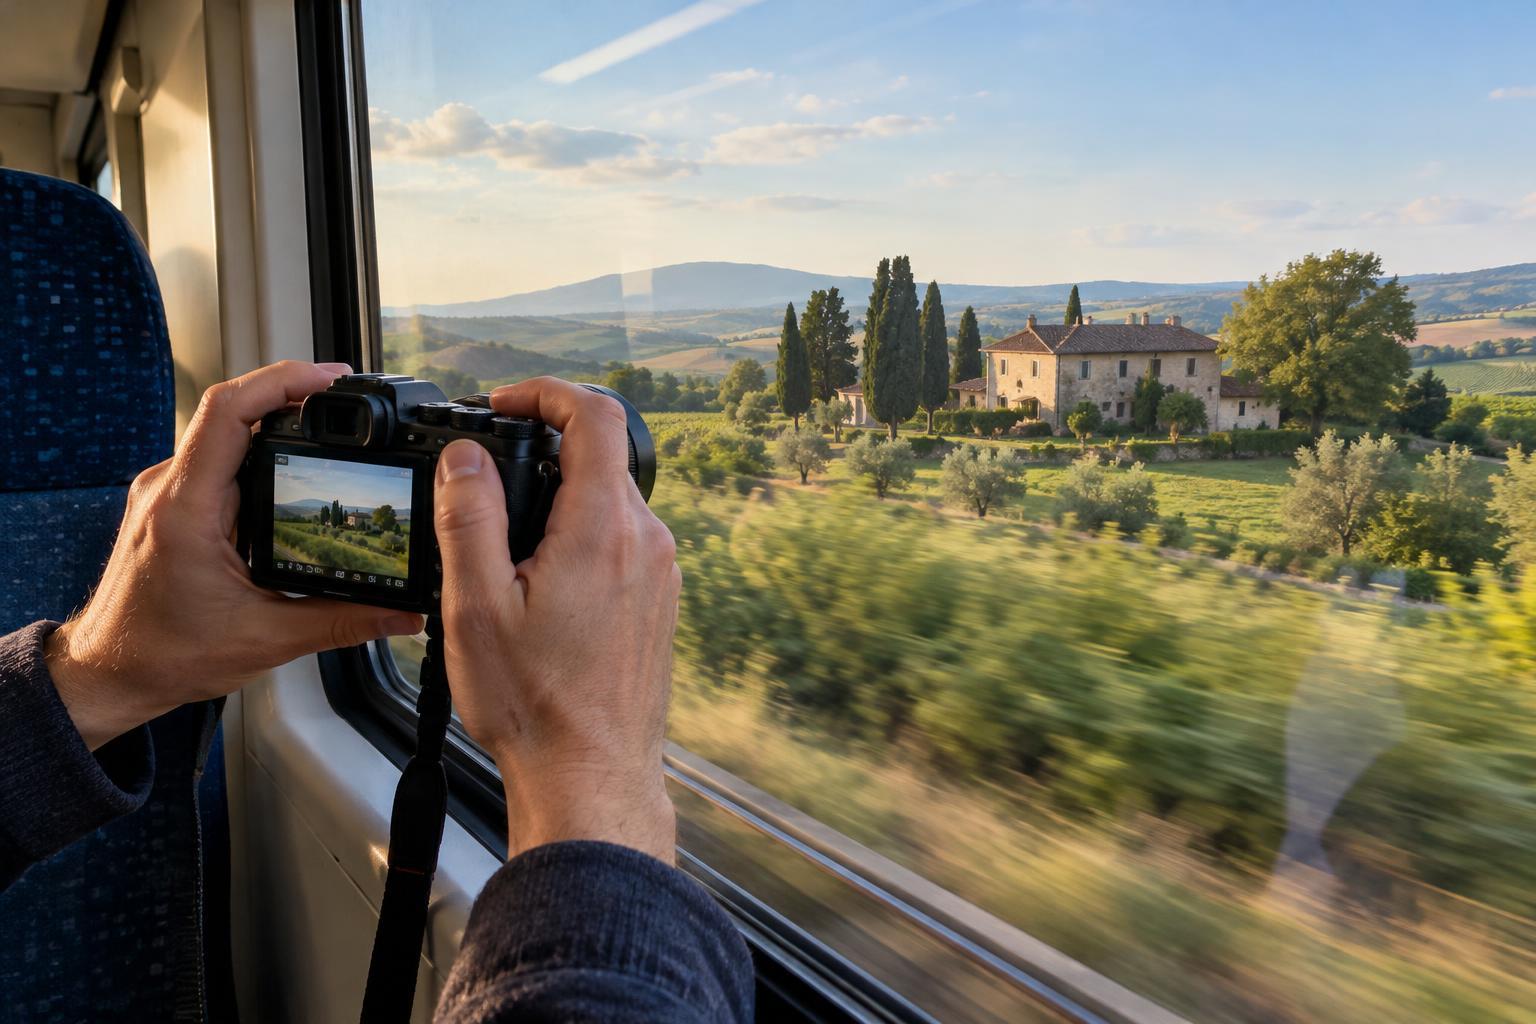
Distance matters as much as speed. A tree beside the road sweeps across your view much faster than a distant hill. For an easier sharp shot, start with subjects farther away, such as a skyline or mountain ridge. Save close roadside details for a moment when the vehicle slows down.
Choose a position and manage the window
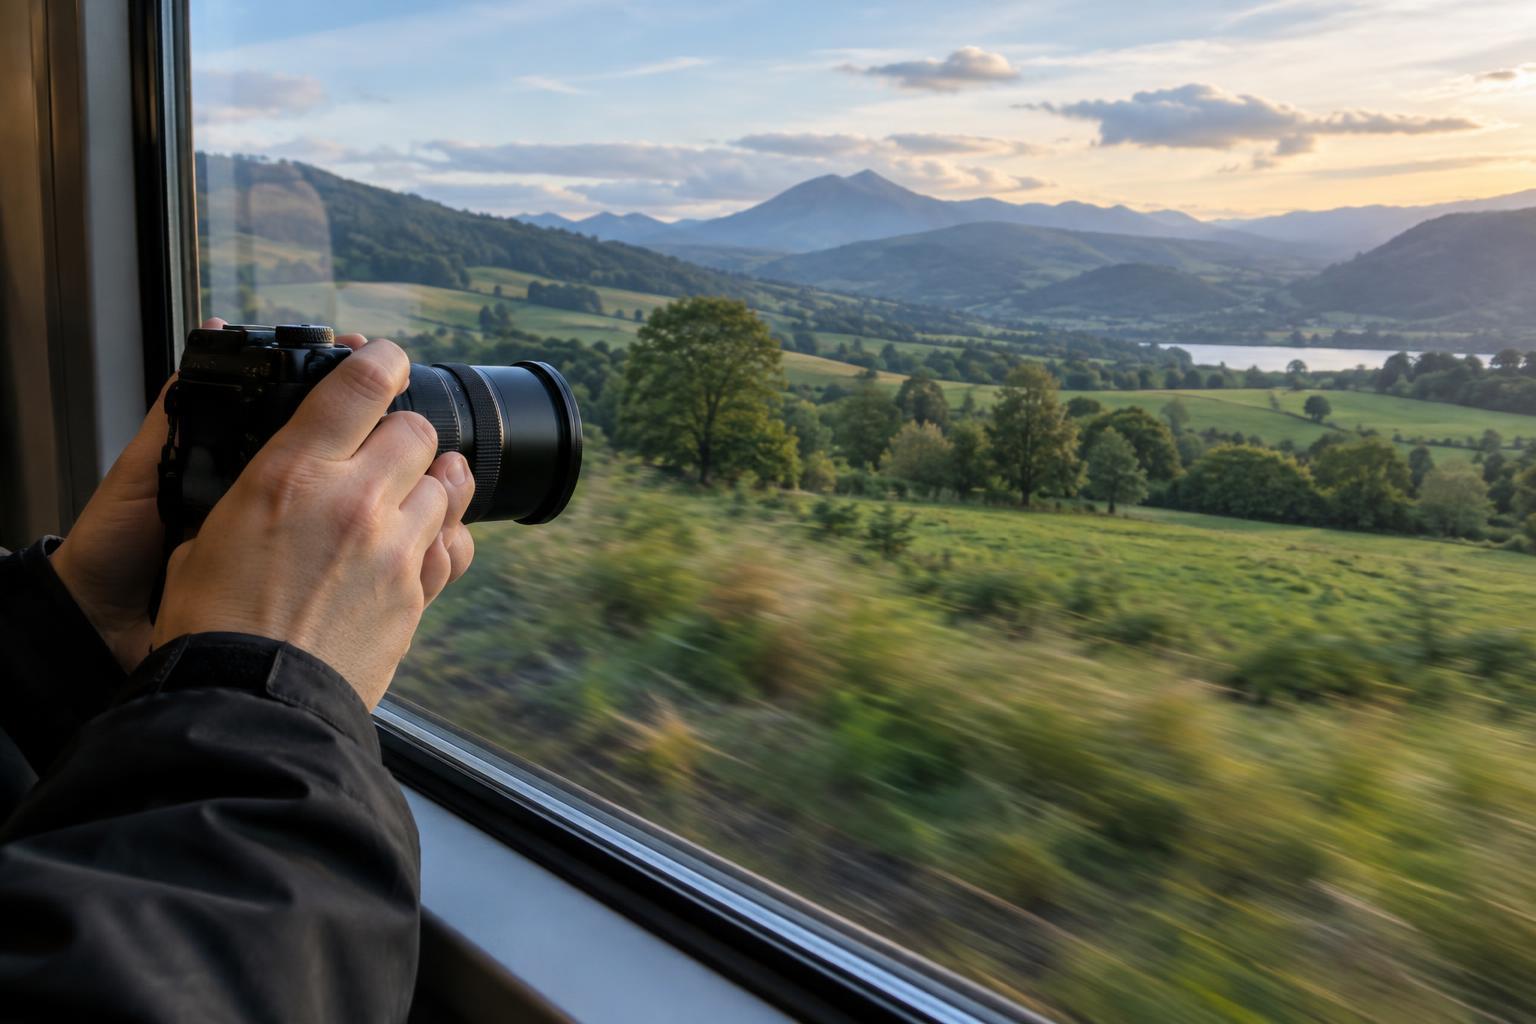
If you can choose your seat, look for a clean window with a clear view and fewer interior lights reflected in it. Avoid shooting through a heavily scratched or tinted patch when another part of the pane is available. Keep your lens close to the glass to reduce reflections, but do not press the camera against it: direct contact can transmit vibration into the camera. A flexible lens hood can help block interior reflections without becoming a rigid support.
Wear dark clothing or shade the area around the lens with a hand if your own reflection is visible. Turn off your camera’s flash; it is unlikely to illuminate a distant scene and can create a bright reflection in the glass. Keep yourself and your equipment inside the vehicle, and follow any posted rules about opening windows or photographing.
Set the camera for motion, not just low light
A faster shutter speed gives movement less time to blur the image. As a starting point in daylight, try 1/500 second for distant scenery and 1/1000 second or faster for nearby subjects moving quickly across the frame. These are starting points, not guarantees: vehicle speed, road or track conditions, focal length and subject distance all affect the result. Review a magnified image on your camera, then adjust.
Shutter-priority mode makes it easy to hold a chosen speed while the camera handles the aperture. If the image becomes too dark, raise ISO or use a wider aperture where possible. Some grain is often preferable to unwanted blur. With a phone, look for a motion or action mode, or use manual controls if available. Keep image stabilization enabled for handheld shooting, while remembering that it cannot fully freeze a scene rushing past the window.
Use continuous autofocus for changing subjects, or focus on a distant part of the landscape when the window keeps attracting the camera’s attention. On a phone, tap a distant subject and check where the focus indicator lands. A short burst can improve your chances of catching a sharp frame between bumps, but it works best when paired with careful timing rather than used throughout the journey.
Time the shot and simplify the frame
Watch the route ahead when you can. Poles, trees and signs close to the vehicle can enter the frame suddenly, so wait for a gap before pressing the shutter. On a bus, a straight, smooth stretch or a brief stop may offer a steadier opportunity. On a train, look for open views between barriers and trackside structures. Take several considered frames of a promising scene; small differences in timing can change which one is sharpest.
A wider view is usually more forgiving than a tightly zoomed one: magnification makes shake more noticeable and gives you less time to react. Leave some room around your subject so you can crop later. If the foreground is too fast to freeze, you can also make its blur intentional by framing a distant, recognizable subject against it. Sharpness is a useful goal, but it does not have to apply to every part of the picture.
Practice on one short journey
Choose a distant subject type, such as buildings or hills, and photograph it at two or three shutter speeds when the light allows. Keep your seat and focal length roughly the same, then compare the results at full size. Next, try shooting through different parts of the window to see how reflections and surface marks affect contrast. This small exercise will tell you more about your usual route and camera than one universal setting can.
Afterward, keep only the frames that communicate the place well. A technically sharp photo with a pole across the subject may be less useful than a slightly softer frame with a clean composition. Note which conditions helped—distance, light, smooth travel and a clear window—so you can recognize your next opportunity quickly.