Start with the space, not your settings
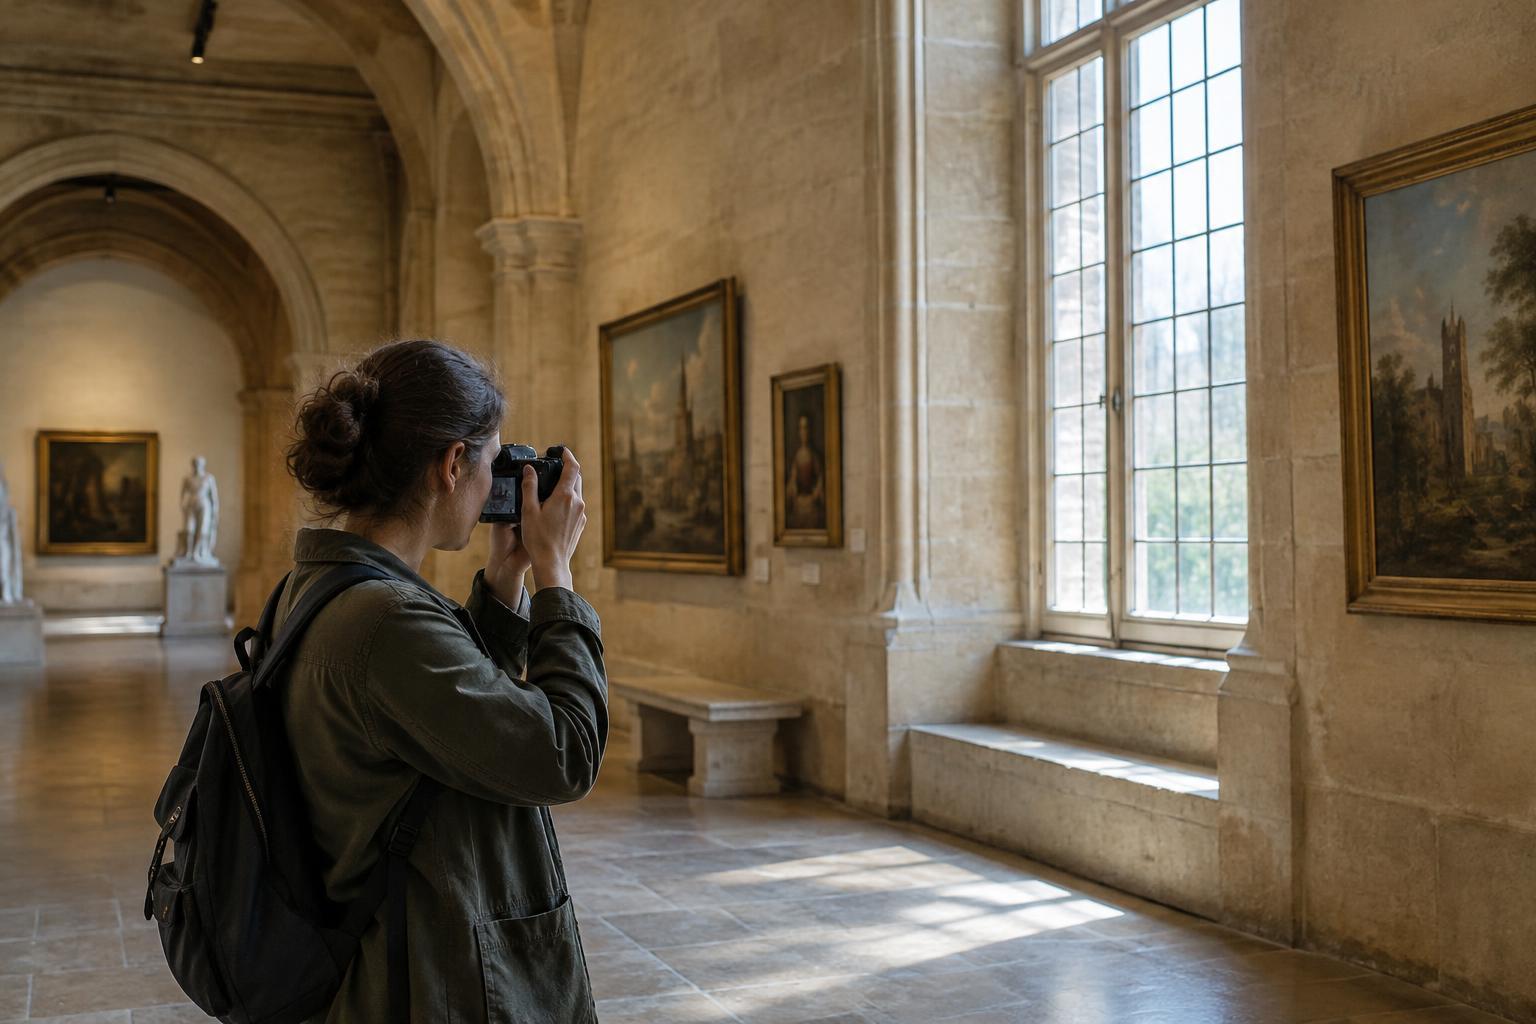
Indoor photography begins with permission. Check posted rules before raising your camera, and ask staff if the policy is unclear. A venue may allow handheld photos but restrict photography in certain rooms or of particular objects. If photography is allowed, keep your bag and camera clear of walkways, and avoid blocking someone else’s view while you wait for a shot.
Once you know where you can photograph, pause and look for the strongest available light. Windows, open doorways and illuminated displays can give a subject shape and separation. Walk a few steps to see how the light changes before choosing your position. A bright background may turn a person into a silhouette; moving to the side can sometimes put light on their face instead. Working with the room usually produces a better photograph than trying to make every corner look equally bright.
Choose settings for a handheld camera
Without a tripod, shutter speed deserves attention. A slower shutter admits more light but makes camera movement more visible. Start with a speed you can reliably hold for your focal length, then review an image at full size to see whether fine details look sharp. Longer lenses generally need faster speeds than wider ones. If your camera or lens has image stabilization, it may help with movement from your hands, but it will not freeze a walking visitor.
A wide aperture lets in more light, although it also reduces the depth that appears sharp. If several objects at different distances must be clear, you may need a narrower aperture and a higher ISO. Increasing ISO can add visible noise, but a sharp, slightly noisy photograph is often more useful than a smooth, blurred one. Aperture priority with a minimum shutter speed, shutter priority, or manual exposure with auto ISO can all work; choose the method that lets you notice and correct problems quickly.
Make steadiness part of your technique
Hold the camera close to your body, tuck your elbows in comfortably and release the shutter without jabbing it. Exhale gently as you take the picture. A viewfinder can give you another point of contact with the camera; when using a rear screen, keep your arms from stretching too far forward. Take a short burst if you need to, then check whether one frame is sharper than the others.
Steadiness should not come at the expense of the venue or its visitors. Do not lean on fragile fittings or set a camera on furniture unless staff explicitly permit it. If light levels are too low for a clear handheld image, try a wider view, move toward a brighter part of the room or photograph a still detail instead. Sometimes putting the camera away is the most respectful—and most enjoyable—choice.
Compose for the light and the people around you
A wide interior can be difficult to capture when bright windows and dim walls share the frame. Rather than forcing everything into one exposure, choose a clear subject: an arch outlined by daylight, a pattern on the floor or a visitor moving through a lit doorway. You can allow some shadows to remain dark if they support the mood. Watch the edges of your frame for signs, stray limbs and bright distractions before you press the shutter.
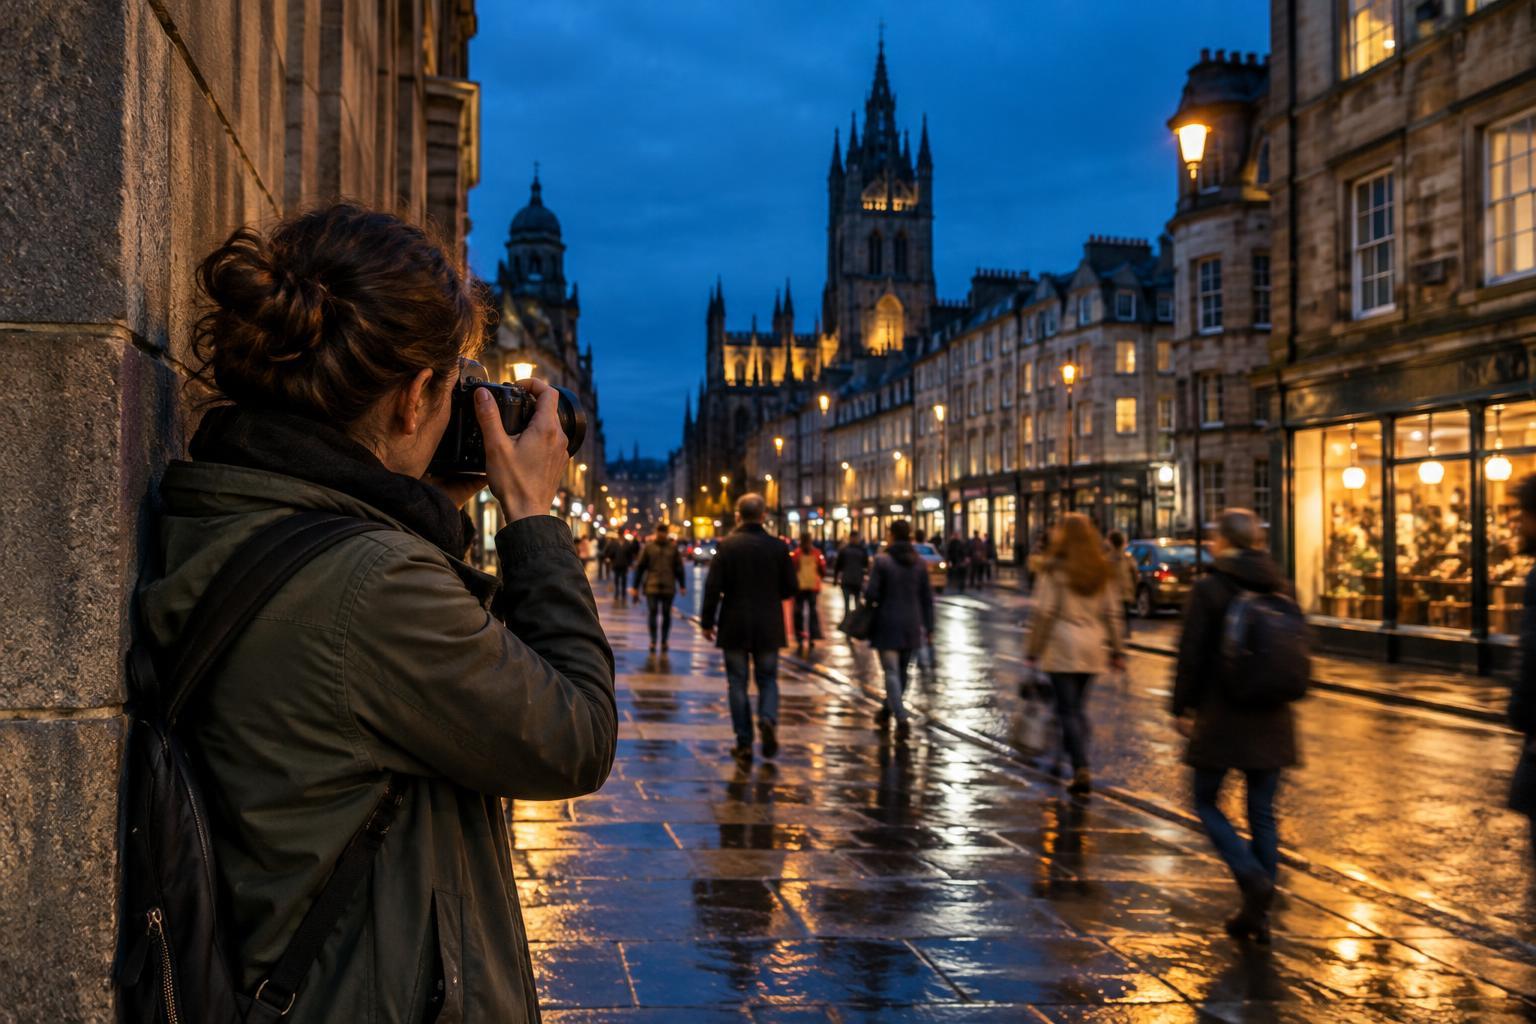
Crowds do not always need to disappear. People can provide scale or show how a space is used, provided photographing them is appropriate there. If you prefer an empty-looking frame, wait for a brief gap instead of stopping traffic or asking strangers to move. For a person in motion, use a faster shutter speed than you would for an empty room; if the light will not support it, a little intentional blur can convey movement.
Practice with a small sequence, then edit with restraint
In a permitted indoor space, try making a five-photo sequence: an establishing view, a light-filled corner, a close detail, a frame with human scale and a final image that captures how the place feels. For each photo, check the shutter speed and review sharpness before moving on. This exercise encourages variety without requiring extra equipment or a long session in one spot.
When editing, begin by choosing the frames with the clearest subjects and strongest moments. Adjust exposure and shadows enough to guide the eye, but be cautious about lifting every dark area: doing so can reveal noise and flatten the light that made the room interesting. Correct an obvious color cast if it distracts you, while remembering that warm lamps and cool window light may naturally coexist. A modest crop and a consistent set of edits can bring the sequence together without making the interior look unlike itself.