Start with the purpose of the portraits
Before choosing a backdrop or packing a lens, ask what the portraits need to do. A profile photograph may call for a clear view of the face and space around the subject for a website layout. A family keepsake may matter more for the interaction it captures. Write down the intended use, the mood, and two or three images that would make the session feel complete. These priorities will guide decisions when time or light is limited.
Discuss the plan with the person being photographed. Ask how they would like to be represented, whether they have a preferred side or outfit, and what makes them uncomfortable. Share examples of moods rather than promising to reproduce someone else’s image. Agree on practical details, including the meeting point, approximate session length, outfit changes, and how the finished photographs may be used. A short conversation now can prevent uncertainty in front of the camera.
Choose a location for light, comfort, and simplicity
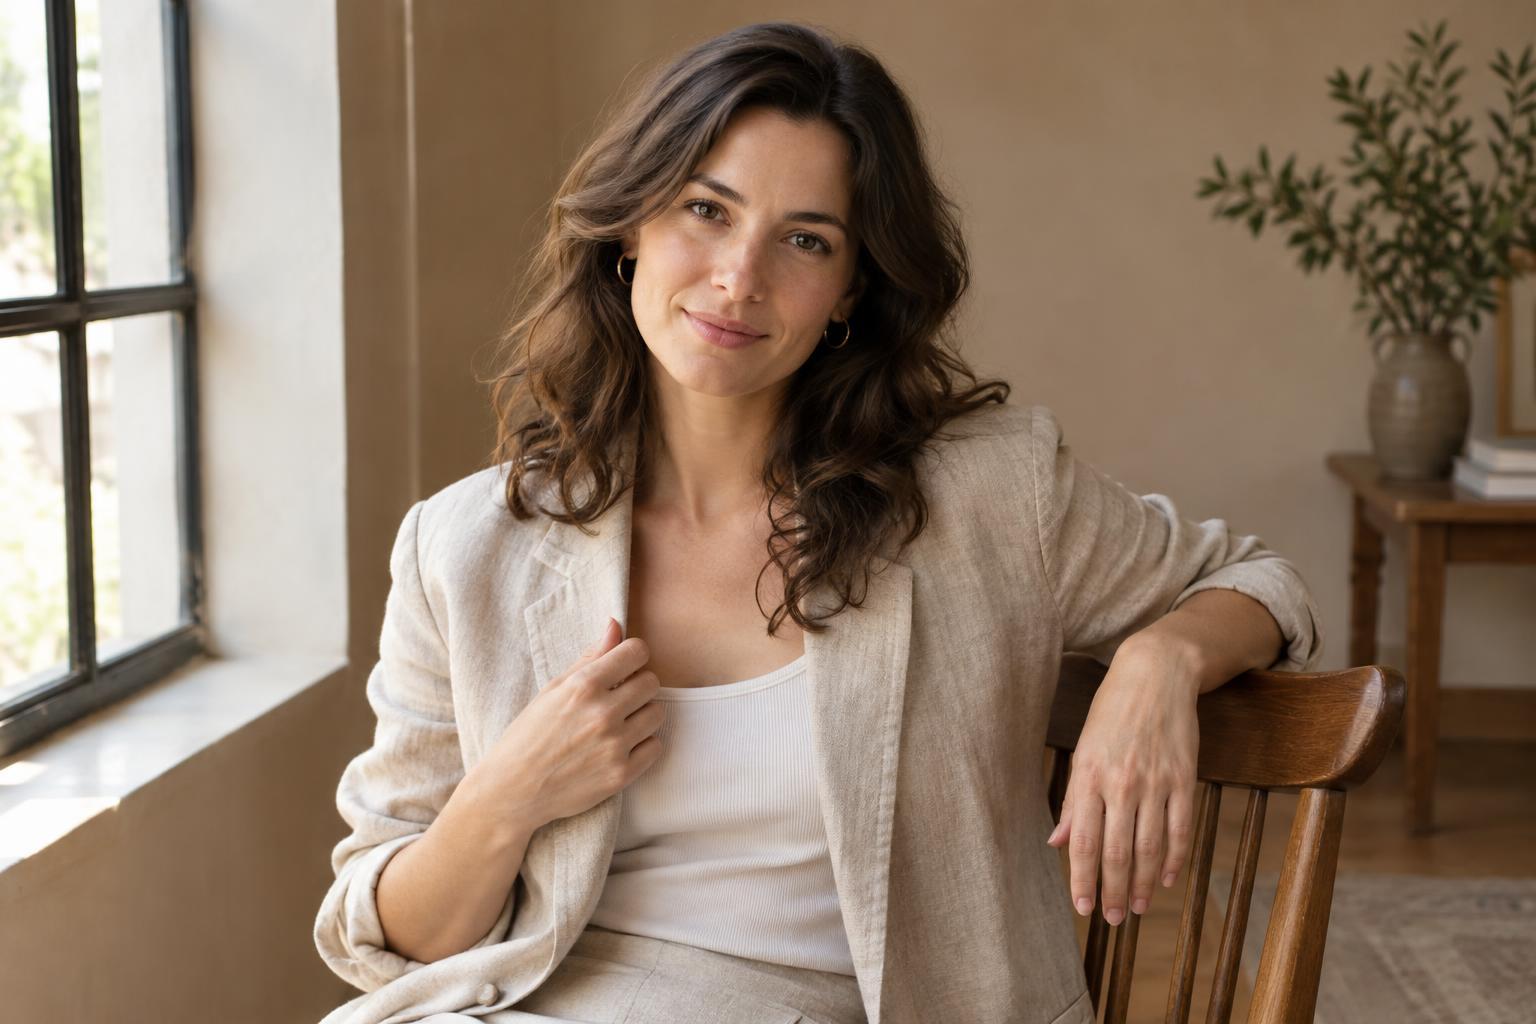
A useful portrait location offers more than an attractive background. Look for a place where your subject can stand or sit comfortably and where you can move a few steps in either direction. Check for visual distractions such as signs, bright objects, or branches that appear to meet the subject’s head. A plain wall, shaded doorway, window, or uncluttered patch of greenery may give you more options than a dramatic but crowded setting.
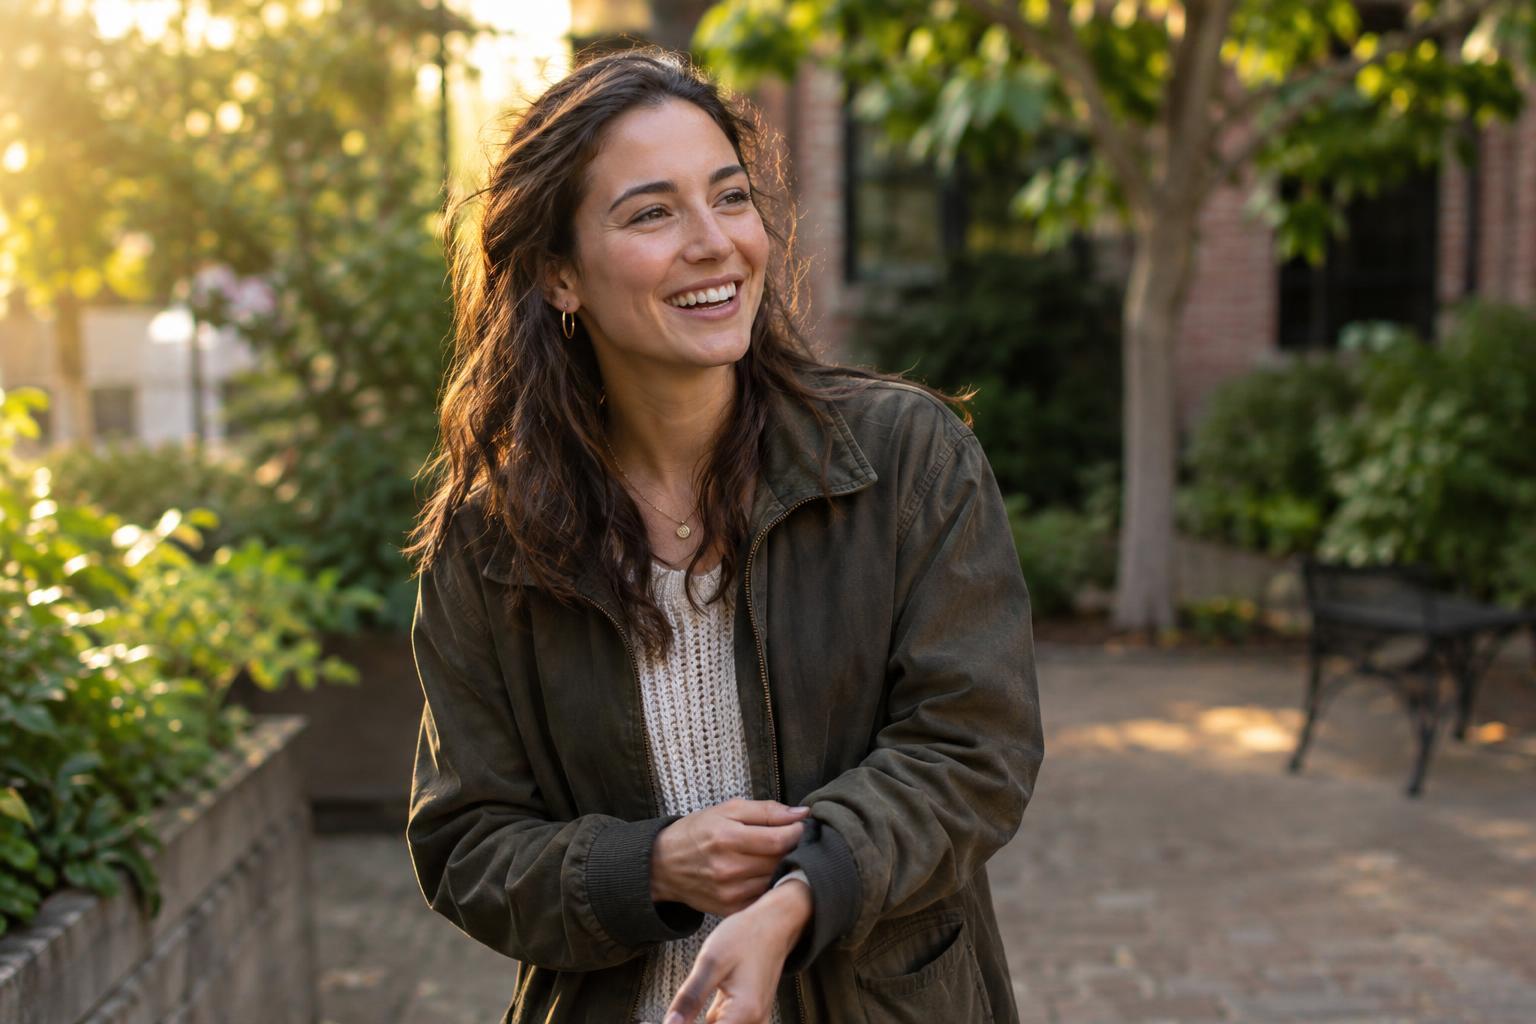
Visit the location at roughly the time you plan to shoot if you can. Notice where the light falls and whether there is a nearby alternative if the first spot is busy. Open shade can provide soft, fairly even light; a window can create more directional light as the subject turns toward or away from it. If you plan to photograph in a venue or on private property, check whether photography is permitted. For an outdoor session, decide in advance where you could go if the weather changes.
Pack for the portraits you actually plan to make
Let the shot list shape your equipment choices. A camera and a lens that allow both a comfortable head-and-shoulders portrait and a wider environmental view may be enough. A wider view shows the setting but can distort features if you work very close to the face; take a step back when possible and watch what happens near the frame edges. If you expect low light, consider whether you can use a brighter lens, add a small light, or move to a brighter part of the location.
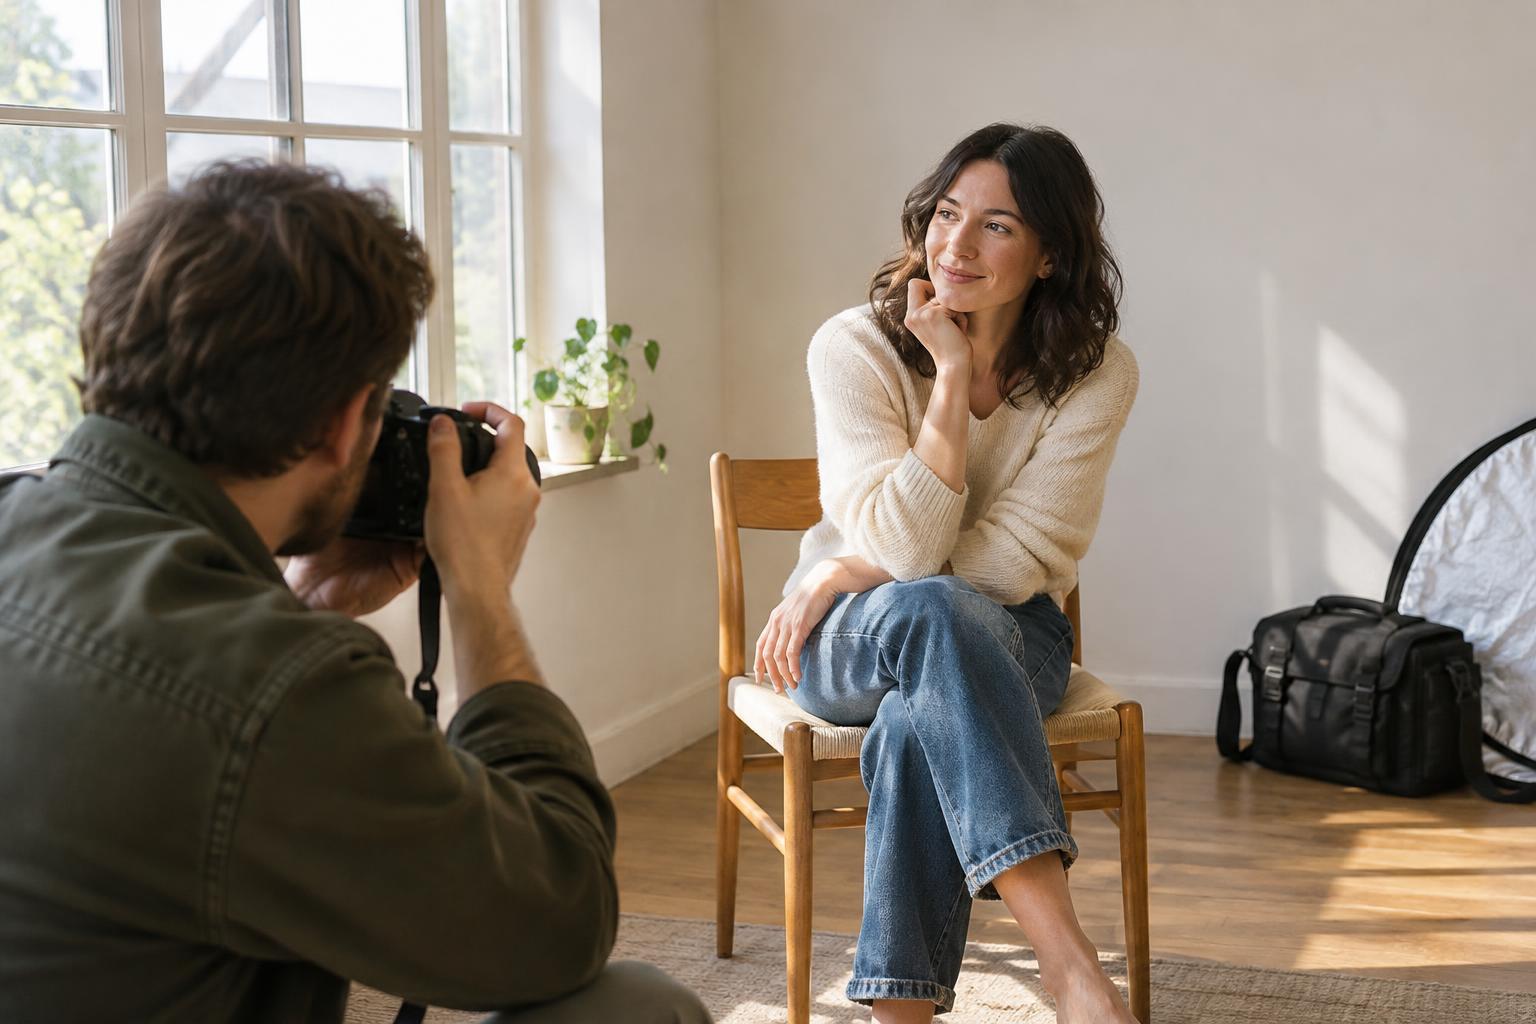
Keep the supporting kit modest: charged batteries, available storage, and a way to clean a smudge from the lens. A reflector or a light-colored wall can help brighten shadows, but neither is essential. Test any unfamiliar lighting setup before the session rather than asking your subject to wait while you troubleshoot. Simple, dependable tools leave more attention for expression and connection.
Build a short, flexible shot list
A shot list is a reminder, not a script. Put the essential images first: for example, one straightforward portrait looking at the camera, one three-quarter portrait, and one wider photograph that includes the surroundings. Then add variations such as a seated pose, a different background, a close detail, or an image showing the subject at an activity. Note any required orientation, such as a horizontal frame for a banner or a vertical frame for a profile.
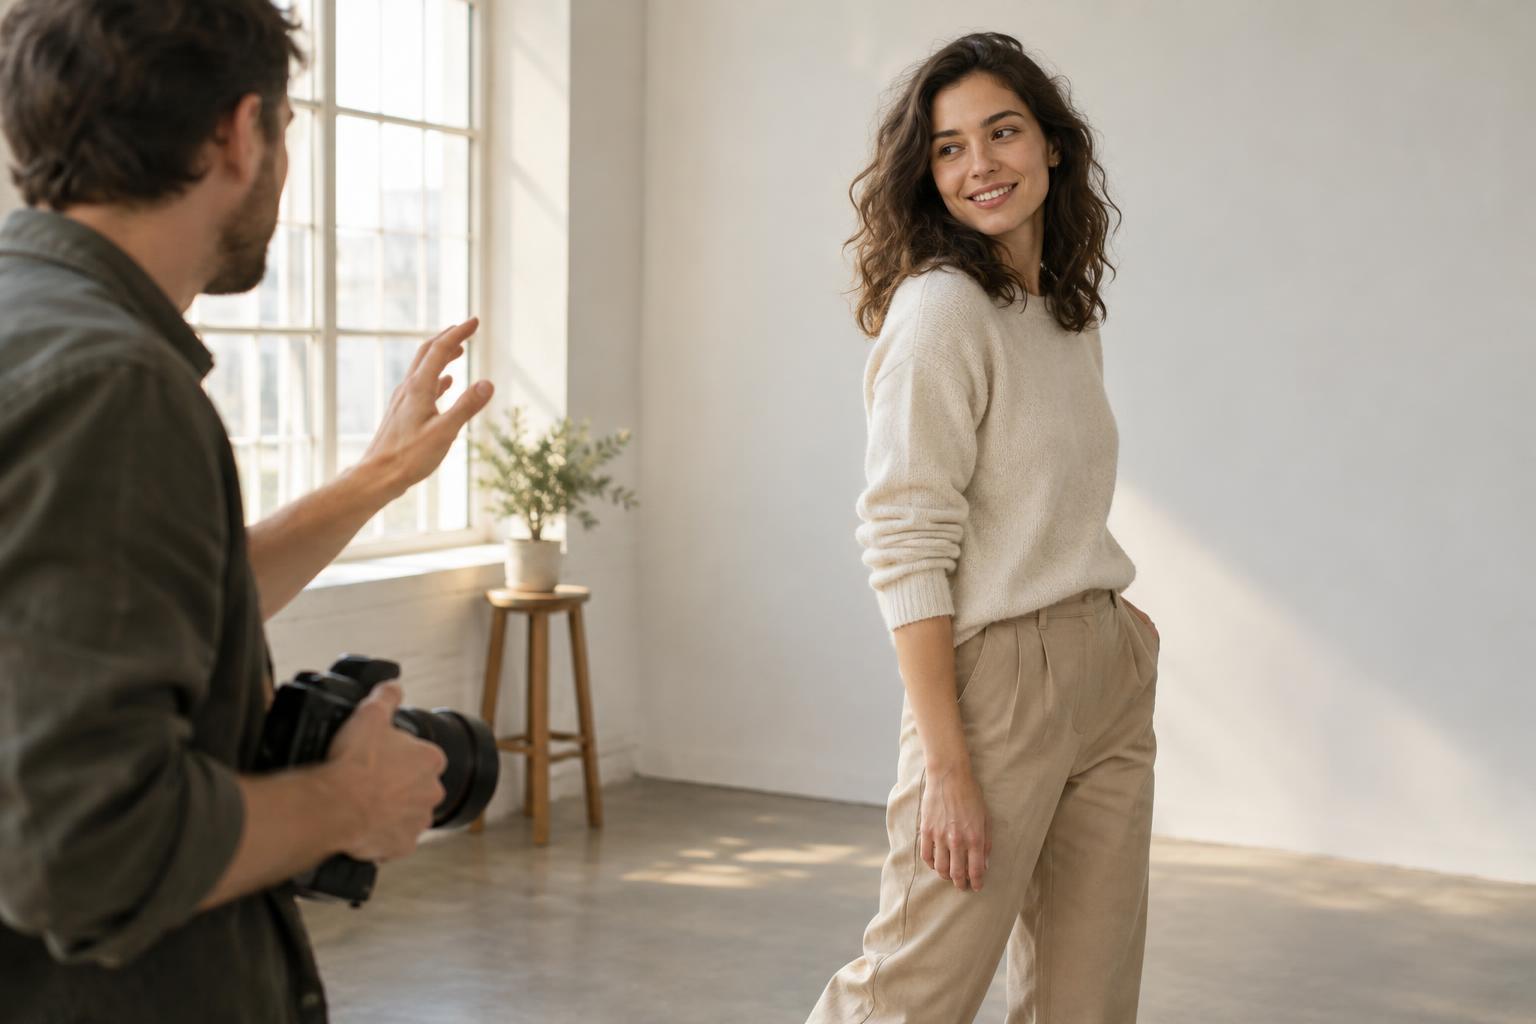
Plan variety within each setup before moving to the next location. Try a calm expression and a smile, have the subject look toward and away from the camera, and change your framing from wide to close. Give specific, gentle directions—such as turning shoulders slightly or shifting weight onto one foot—rather than repeatedly asking for a different pose. Leave space for an unplanned frame when the subject relaxes or the light briefly changes.
Use a simple rhythm on the day
Begin with the easiest setup so both of you can settle in. Take a few test frames, check the background and exposure, and look closely at the eyes for focus. Review images occasionally without interrupting every moment. If the session starts to feel rushed, return to the two or three priorities you identified at the beginning. It is better to make those frames thoughtfully than to race through a long list.
Afterward, back up the files before making major edits. Select images for expression, focus, and usefulness rather than choosing near-duplicates simply because they exist. For a practice exercise, plan a 20-minute portrait session with one location and a five-image shot list. When you review the results, note which frames fulfilled the goal, which directions felt natural, and what you would change next time. That reflection makes the next session easier to plan.