Start with the light that is already there
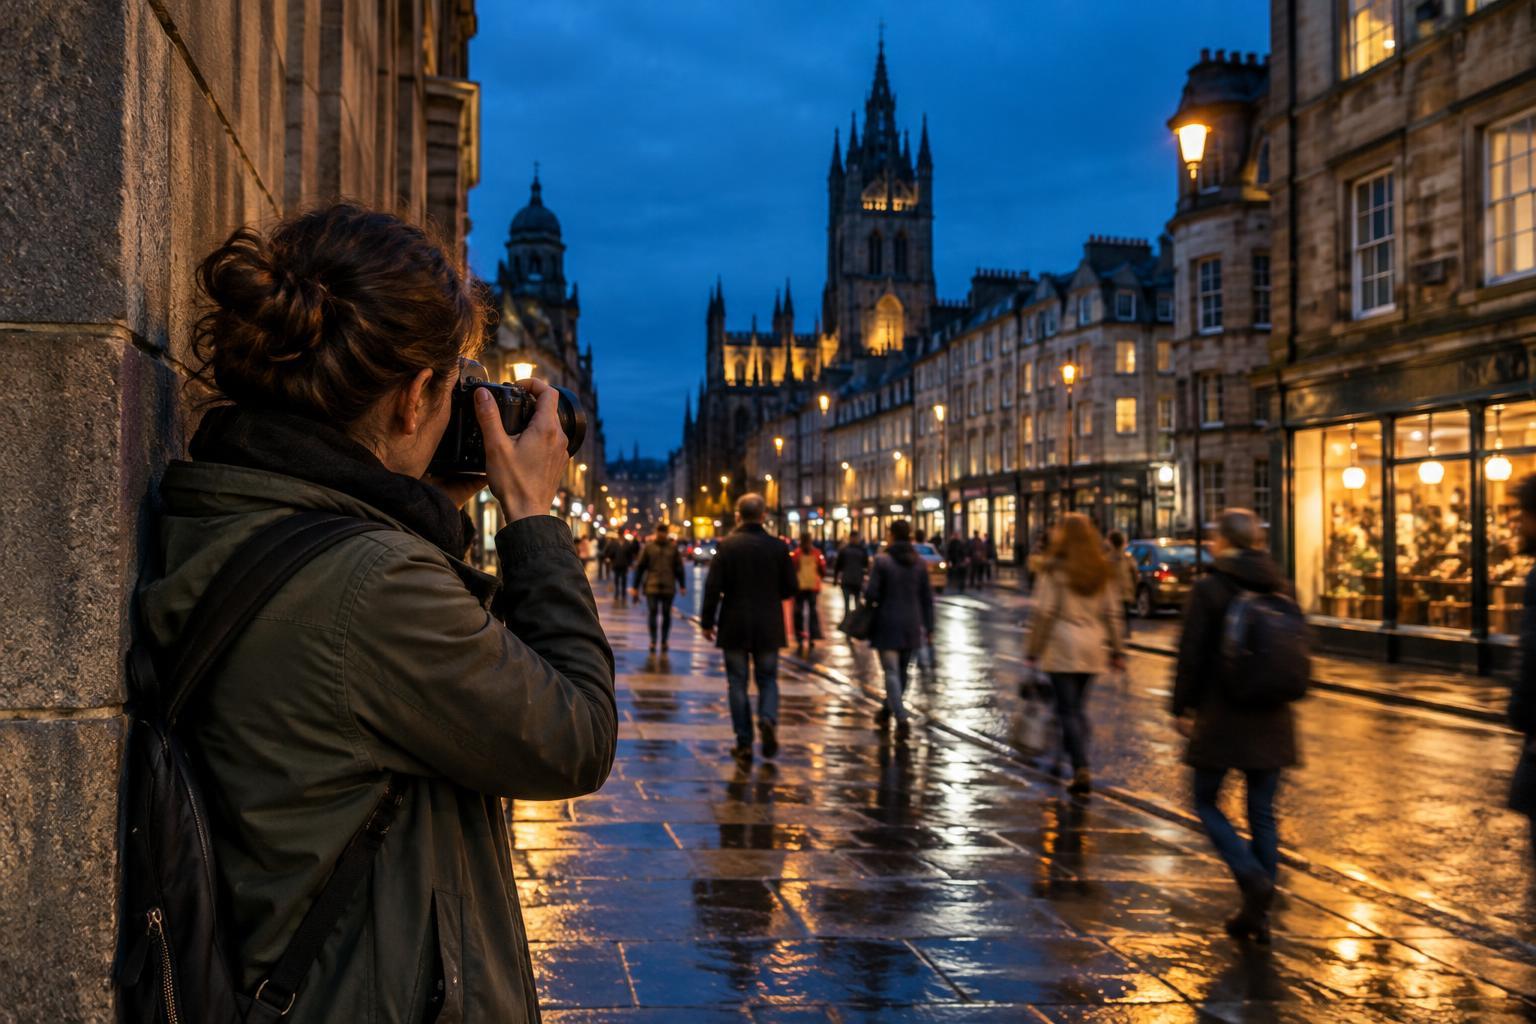
A city at night is rarely dark everywhere. Shop windows, streetlights, signs, station entrances, and passing vehicles create pockets of light. Instead of trying to make an entire street evenly bright, look for a subject within one of those pockets. A person beneath an awning or a bicycle beside a lit window may give you a clearer photograph than a wide view with a mostly unlit foreground.
Pay attention to the direction of the light. Side light can reveal the texture of a wall or wet pavement, while a bright window behind a subject can make a strong silhouette. Move a few steps to keep a streetlamp out of the frame if it causes distracting glare, or include it deliberately as part of the composition. Before raising the camera, ask what you want viewers to notice first and whether the brightest area supports that choice.
Choose settings for a sharp handheld frame
In low light, the camera must balance shutter speed, aperture, and ISO. For a stationary scene, start with a shutter speed you can hold steadily, then review the image at a magnified view. A wide aperture lets in more light, though it also reduces depth of field. Raising ISO can help preserve a usable shutter speed; some grain is often less distracting than blur you did not intend.
Your camera and lens may have image stabilization, which can help with shake from your hands. It cannot freeze a walking person or a moving car. If your subject moves, choose a faster shutter speed and accept a higher ISO or a darker background if necessary. If the subject is still, try a slower exposure while bracing your elbows against your body. Take more than one frame: small differences in your movement can make one noticeably sharper than the others.
Check the brightest signs and windows as well as the shadows. If a sign loses all detail, reduce exposure a little rather than brightening everything around it. Photographing in RAW, if your camera offers it, can give you more flexibility when adjusting exposure and color later, but it will not restore detail that was never recorded.
Use the street as your support
No tripod does not have to mean standing unsupported. Lean against a wall, rest your elbows on a sturdy railing, or place the camera on a stable ledge where it is safe to do so. Keep the camera strap clear of anything it could catch on. When you press the shutter, breathe comfortably and make a smooth movement rather than jabbing at the button. A short self-timer can reduce shake if the camera is resting on a surface.
Consider the lens you carry, too. A wider view is often easier to hold steady than a tightly framed distant subject, and it lets you include context such as a doorway, pavement, or surrounding buildings. Rather than relying on a long zoom from across the street, move closer when it is safe and appropriate. Travel light enough that you can respond to a scene instead of spending the evening managing equipment.
Compose with motion, reflections, and color
Night photographs do not all need to look perfectly still. A passing bus can become a band of color behind a sharp building; pedestrians can blur through an otherwise quiet square. Decide whether movement is your subject or a distraction, then time the frame accordingly. Wait for a gap in foot traffic when you want a clean architectural view, or take several frames as people move through the light.
Reflections can help organize a busy scene. After rain, look for a puddle that repeats a sign or line of windows, and adjust your position until the reflection leads toward the main subject. Mixed lighting may give different parts of the image different colors. You can use that contrast to convey the place, rather than forcing every light source to look neutral.
Edit gently and practice with one short route
When editing, begin with the reason you made the photograph. Straighten a distracting tilt, crop away bright edges that pull attention from the subject, and adjust exposure so the important details remain readable. Lift shadows only as much as they need; deep areas help a night scene feel like night. If noise is visible, apply reduction cautiously so signs, brickwork, and other textures do not become overly smooth.
For a useful exercise, walk one familiar route after dark and make three versions of the same scene: one emphasizing a lit subject, one using a reflection, and one including movement. Review the photographs at home and note the shutter speed, ISO, and position that worked best. Repeating this exercise in a different type of light will teach you more about your camera than changing every setting at once. Stay aware of traffic and your surroundings, and choose places where you can stop without blocking others.