Why move the camera instead of the subject?
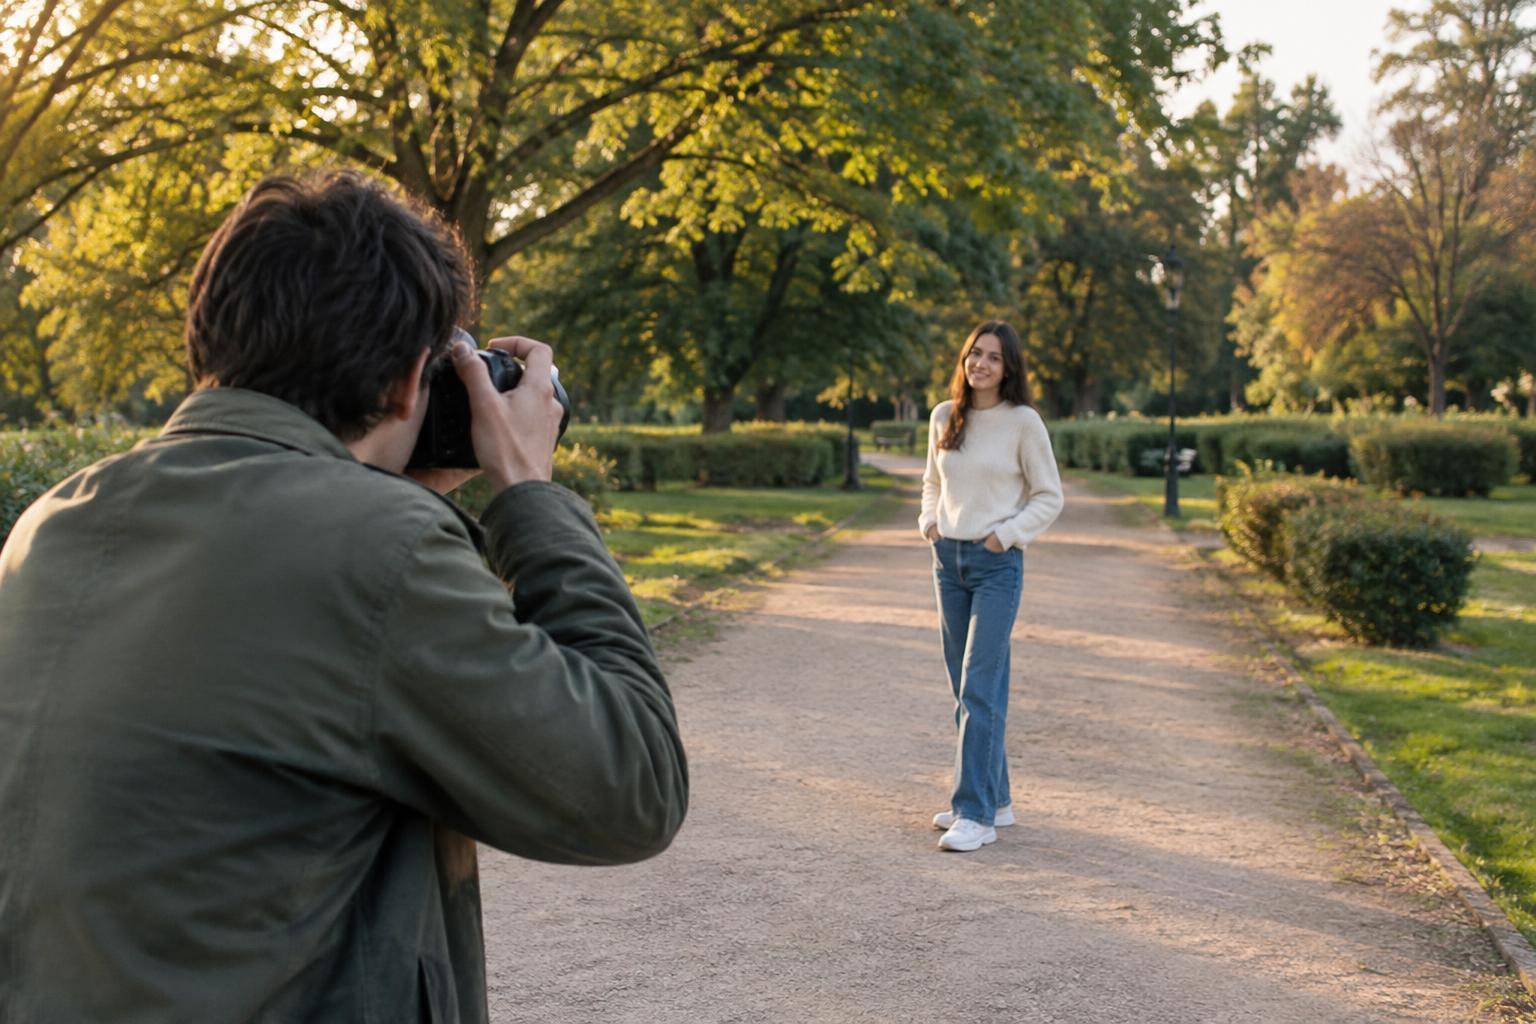
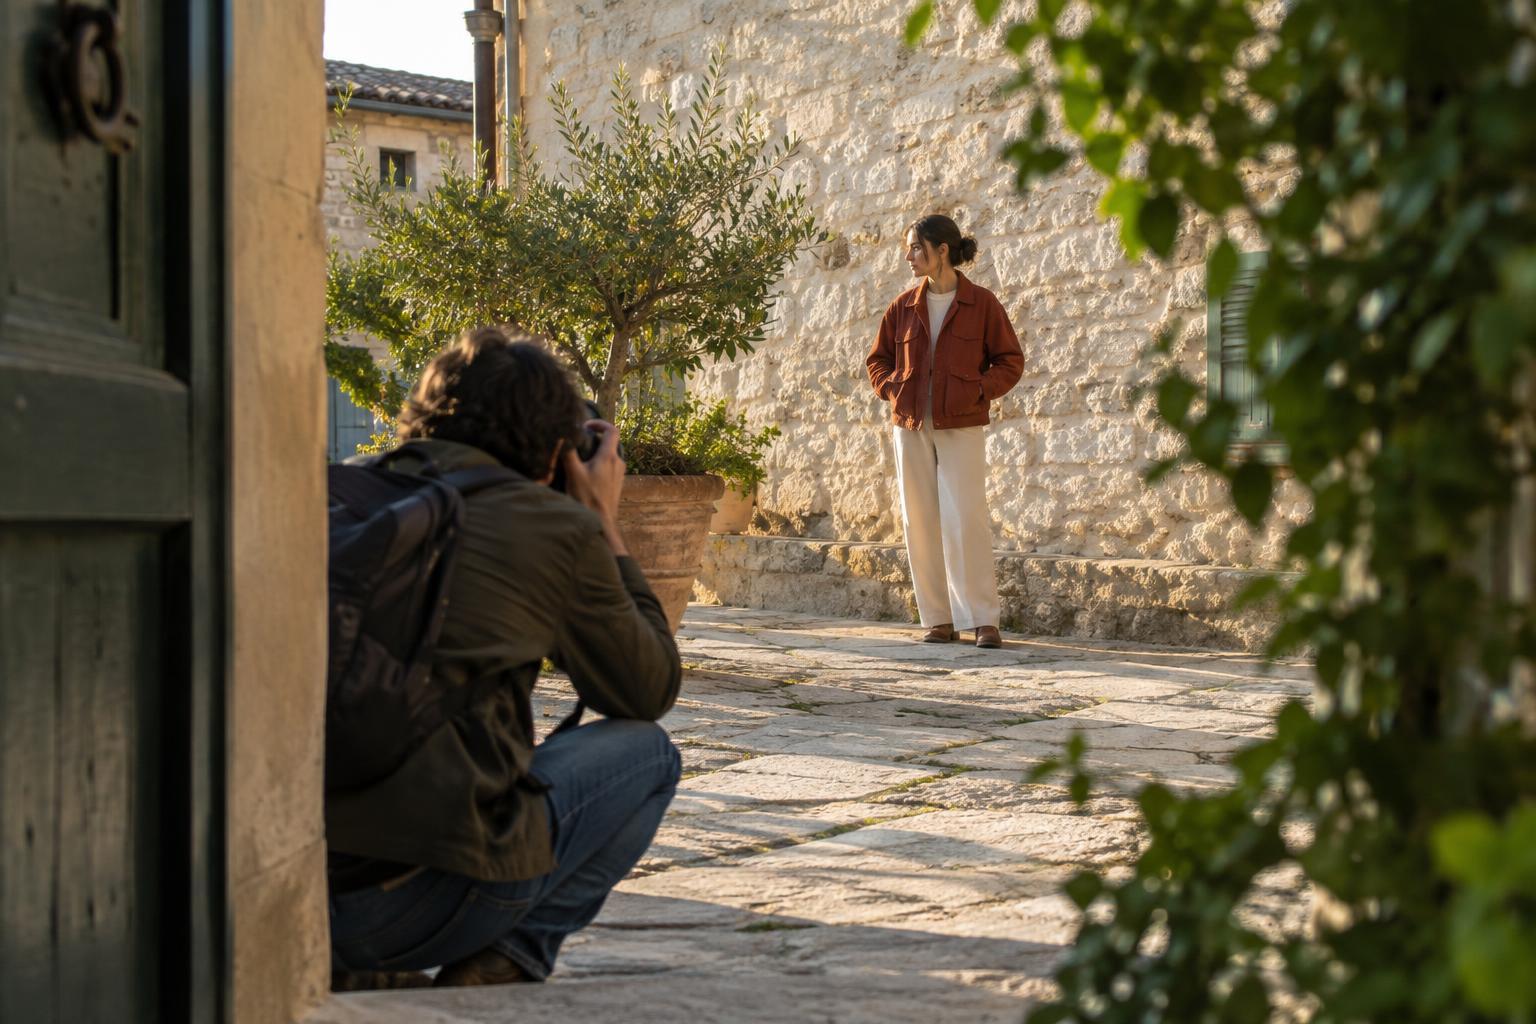
A small change in where you stand can alter a photograph more than a new setting or lens. Move a step to the side, and a distracting object may disappear behind your subject. Lower the camera, and a tabletop object may appear taller against a simpler background. Step back, and the surroundings begin to tell more of the story.
This exercise makes those changes easier to see. Choose one subject, leave it in place, and make ten photographs from ten camera positions. A plant, chair, bicycle, or willing person can work. Pick something you can photograph from several sides without entering private space or putting yourself in an awkward or unsafe position. You do not need special equipment; a phone or any camera is enough.
Set up a fair comparison
Before you start, decide what you want viewers to notice about the subject. It might be the shape of a leaf, the curve of a chair, or a person’s expression. Keep that intention in mind while you move. If your subject is a person, ask them to stay roughly in one spot, but allow a natural posture rather than demanding an identical pose for every frame.
Use the same lens or phone camera throughout, and avoid zooming if you can. That way, differences between frames come mainly from your position and framing choices. Try to complete the set while the light remains reasonably consistent. You can use automatic exposure and focus; the point is to study composition, not to manage every camera control. Take one deliberate frame at each position, then move on.
Make ten photographs from ten positions
Start with a straightforward view from about eye level, at a comfortable distance. For frame two, take one step left; for frame three, return to the starting distance and take one step right. Notice what moves into the background behind your subject. For frame four, move closer while leaving a little space around the subject. For frame five, step farther back and include more of the setting.
For frame six, crouch or lower the camera to a safe, comfortable height. For frame seven, raise it above your usual viewpoint without stretching precariously. In frame eight, move toward one side of the subject to show more of its depth or profile. For frame nine, try the other side. Finally, choose a tenth position freely: perhaps align the subject with a doorway, place it against a clear patch of wall, or use a nearby line to lead the eye toward it.
The list is a guide, not a test of athletic range. If you cannot circle your subject, make smaller moves within the available space. Check the edges of every frame before pressing the shutter. Ask whether a bright patch, stray object, or line behind the subject competes with what you want viewers to see.
Compare the pictures, not just the subject
Put the ten images together where you can view them at a similar size. First, look for the photograph that directs your attention to the intended detail most clearly. Then compare its background with the others. A cleaner background may come from moving only a short distance, not from blurring everything behind the subject.
Next, look at how distance changes the balance of the frame. In close pictures, the subject may feel prominent, but important context can disappear. In wider pictures, the setting may add meaning or become clutter. Compare the high and low viewpoints too: which one reveals useful shapes, and which one causes elements to overlap awkwardly? Your favorite frame need not be the most unusual angle. A familiar viewpoint can be strongest when its relationships are clear.
Use the lesson on your next shoot
Choose your strongest image and name one specific reason it works, such as a clear outline, a helpful background, or enough space for the subject to feel settled. Choose one weaker image and name the position change that would improve it. This turns a vague preference into a decision you can use again.
The next time you raise your camera, pause before changing settings or reaching for another lens. Try one step left or right, then a change in height or distance. You may not have time for all ten positions, but the habit remains useful: treat your feet as a composition tool, and check what each new viewpoint includes and excludes.