Why the edges deserve a second look
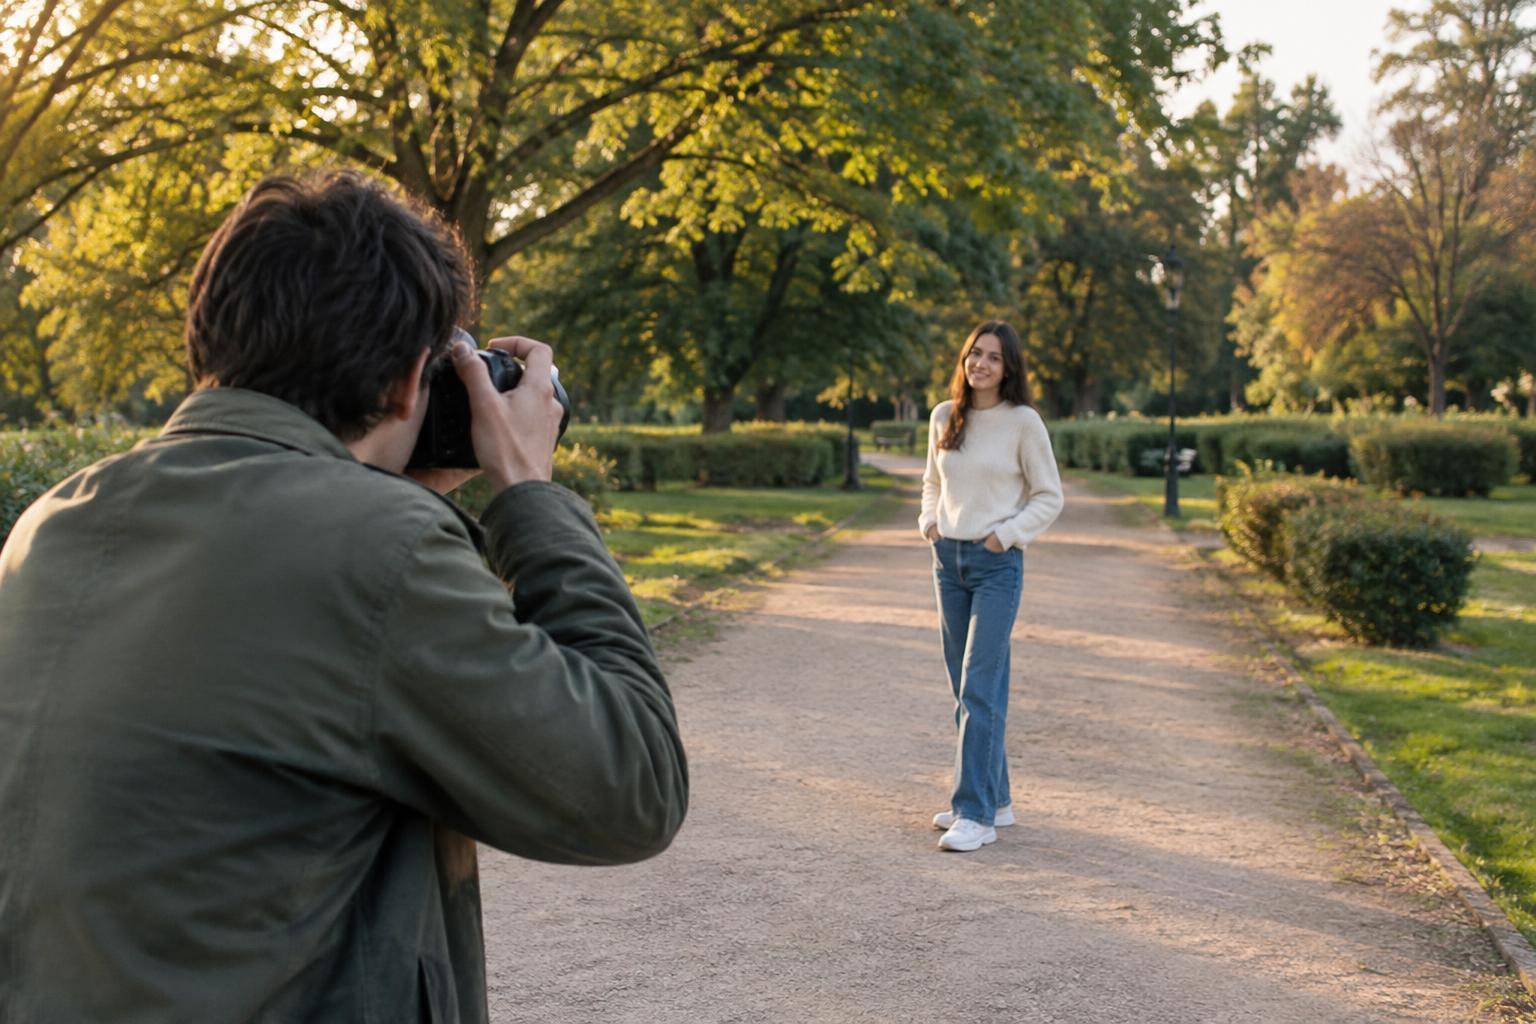
When you raise a camera, your attention naturally goes to the subject. You check the person’s expression, the shape of a building, or the moment a bird enters a patch of light. Meanwhile, a sliver of a trash can appears at the left edge, or a bright sign peeks in from the corner. These details may be easy to miss while shooting but surprisingly noticeable in the finished photograph.
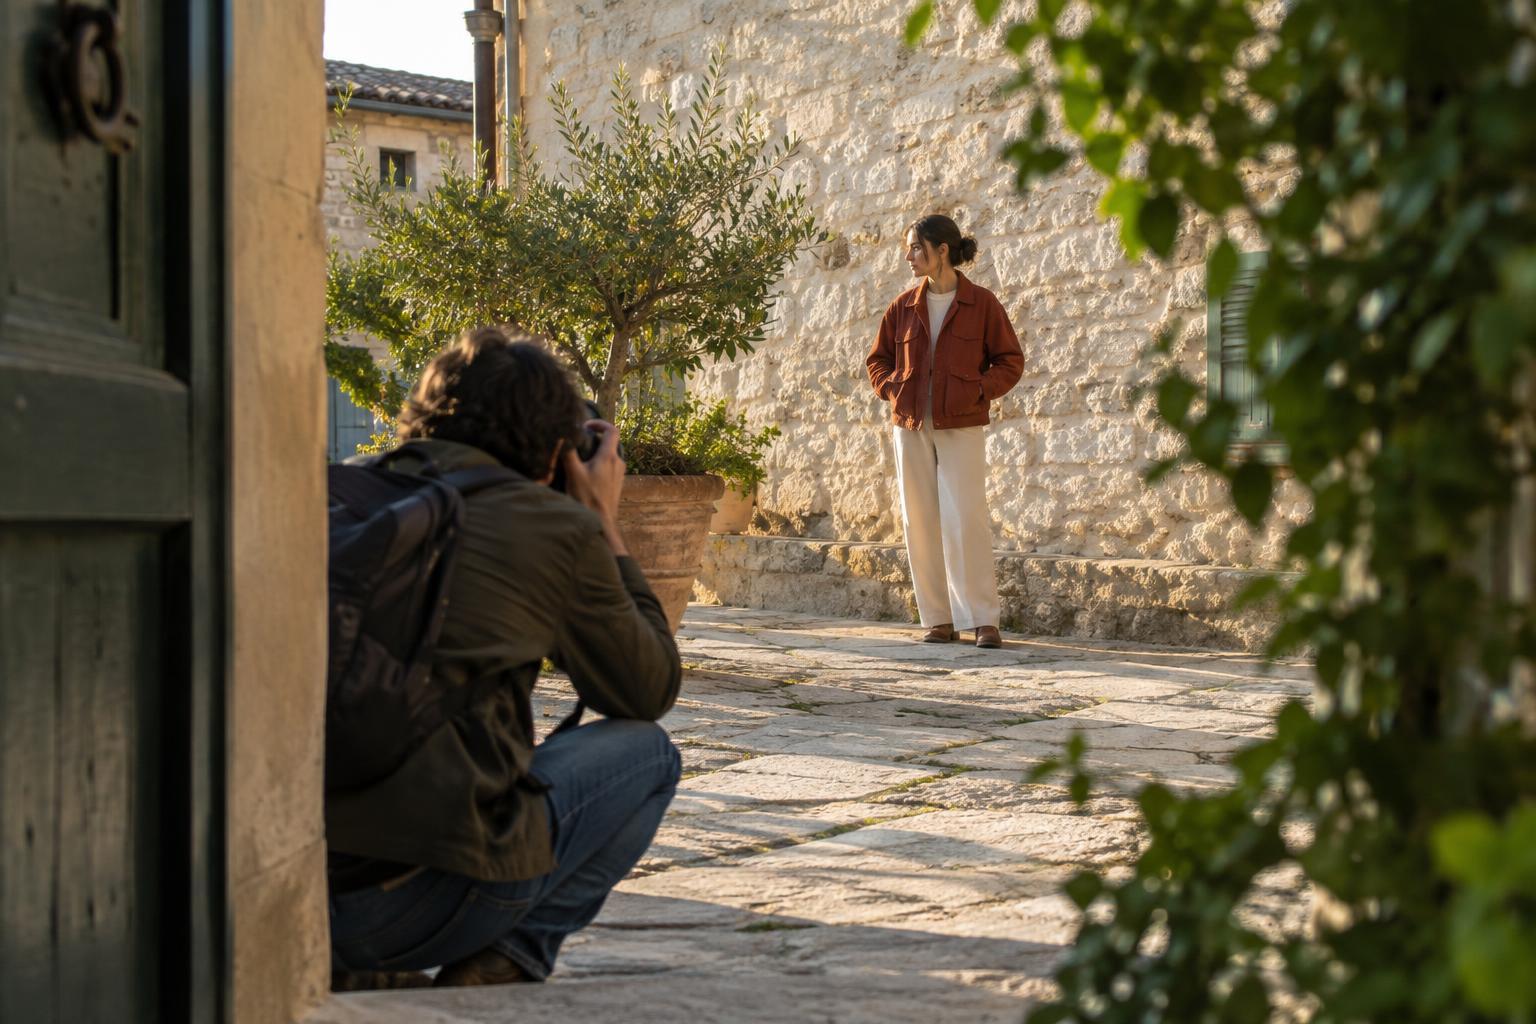
An edge distraction is not simply anything near the border. A tree branch can frame a portrait, and a partial doorway can give a scene depth. The question is whether the element helps the viewer understand the picture. If it competes with the subject without adding context, consider changing the frame before you press the shutter.
Make a fast circuit of the frame
Once you have your subject in place, run your eyes around all four sides and into the corners of the viewfinder or screen. Look for objects that are only barely included: half a chair, the tip of someone’s shoe, a narrow strip of a parked car. A tiny visible portion may raise more questions than the whole object would. Either include enough to make its role clear or leave it out entirely.
Next, notice which edges attract your eye first. A pale sky opening, a bright shirt behind your subject, or a high-contrast shape in a corner can pull attention away from the main point. You do not need to remove every bright area. Ask whether your eye returns easily to the subject after noticing it. If not, a small change in camera position may be enough.
Finally, inspect lines near the border. A railing that enters at an odd angle or a branch that seems to grow from someone’s head can make a photograph feel unsettled. These overlaps are often easier to fix while you can still move than after the scene has passed. The full scan can take only a moment; its value is in making you look beyond the center.
Choose the smallest useful adjustment
Moving your feet is often more effective than immediately zooming in. A step sideways can separate your subject from a distracting pole or place a bright patch behind a less important part of the scene. Crouching slightly might move a cluttered horizon below a portrait subject’s shoulders. Check the background again after each adjustment, because solving one overlap can create another.
Changing your framing is another option. If a partial object is telling part of the story, widen the frame enough to include it deliberately. If it is irrelevant, tighten the frame so it disappears. Be careful not to crop through a hand, foot, or other important detail just to remove a distraction. When the scene allows, take both a tighter and a wider version; you can decide later which communicates your intention more clearly.
Sometimes nothing can be moved or excluded without losing the picture. A crowded street or a fleeting expression will not wait for a perfect background. In that case, prioritize the moment and make a photograph. Edge awareness is a tool for better decisions, not a reason to miss a scene.
Use the edges to strengthen composition
Scanning the borders is not only a cleanup exercise. Edges determine how a scene continues beyond the photograph. Leaving space in the direction a person is walking can suggest movement, while placing them closer to that edge can create tension. A foreground shape along one side can guide the viewer inward, provided it does not block the subject or become the most prominent feature.
Pay particular attention to corners. A strong diagonal entering from a corner can lead toward your subject; an unrelated diagonal may lead the eye out of the frame. In travel photographs, a fragment of a doorway or market stall can provide useful context, but include enough of its shape for the viewer to read it. The goal is not empty borders. It is borders whose contents feel chosen.
Practice an edge-first shooting exercise
Choose a stationary subject, such as a bench, plant, or storefront, and make five photographs from nearby positions. Before each exposure, pause and name one thing touching or approaching an edge. Make one frame that includes it clearly, one that excludes it, and another that uses it to frame the subject. For the remaining frames, change your height or shift sideways rather than relying only on zoom.
Compare the photographs at a comfortable viewing size. Notice where your eye enters each image and whether anything at the border holds your attention longer than intended. You may find that a detail you thought was distracting actually adds context, or that a small bright patch matters more than a larger dark object. Repeat the exercise in busier settings until the edge scan becomes part of your normal pre-shutter routine.