Set up a scene you can repeat
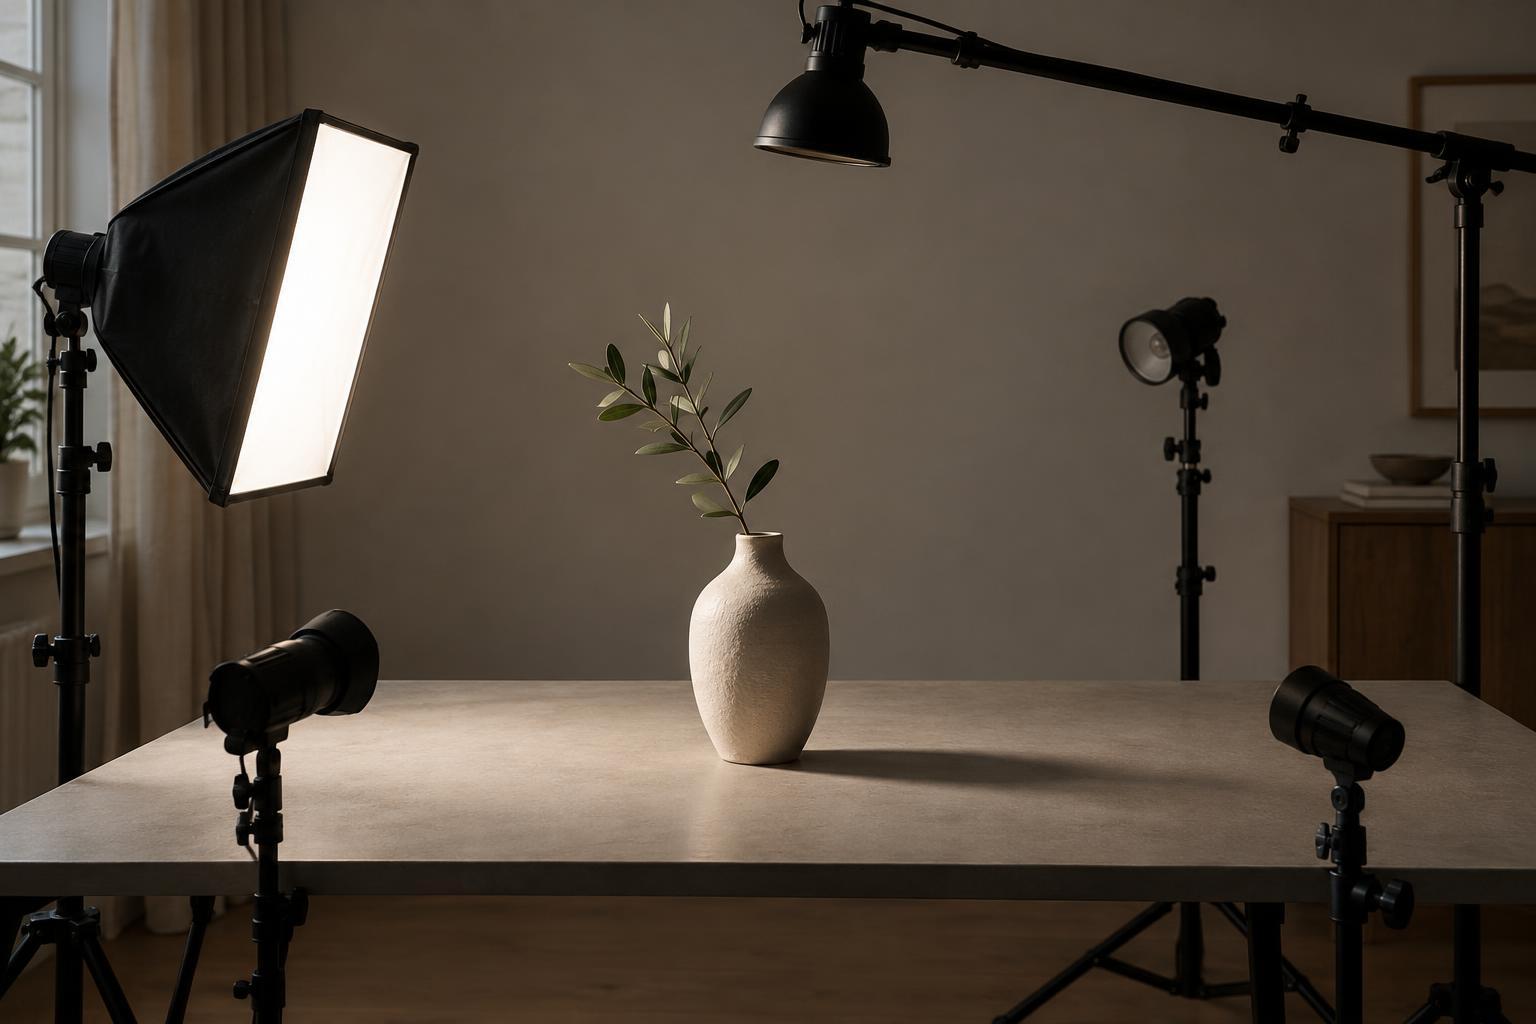
Choose one object with a recognizable shape and some surface detail, such as a mug, a piece of fruit or a small plant. Put it on a table with enough room to move a light around it. A plain background will make the changing shadows easier to see. You can use a desk lamp, a small LED light or daylight from a window, though a movable lamp makes all five positions easier to try.
Place your camera or phone on a tripod or stable surface and mark the object’s position with a small piece of tape. Keep the camera angle, framing and background the same for every photograph. If your camera allows it, lock focus and exposure; otherwise, check each image for major brightness changes before moving on. The goal is to compare light direction, not differences caused by a new composition or camera position.
Start with just one light source. Turn off other room lights if they create competing shadows, and leave the light at roughly the same distance from the object for each shot. If a lamp becomes hot, allow space around it and avoid placing fabric or paper against it. Number the images as you take them so you can identify each position later.
Positions one and two: front light and side light
For the first photograph, place the light near the camera, aimed toward the front of the object. This position usually makes the front surface easy to see, while shadows fall mostly behind it. Look for areas that appear less textured than you expected. Front light can be useful when you want to show a label or color clearly, but it may give you fewer visual clues about depth.
For the second photograph, move the light to one side, about level with the object. Keep the camera and object still. Notice the brighter edge facing the light and the shadowed area on the opposite side. Ridges, dents and uneven surfaces may become more apparent because they cast small shadows. Try to record what you see rather than deciding yet which image is “best.”
Positions three, four and five: back, overhead and low light
Move the light behind the object for the third photograph, pointing it toward the camera without shining directly into the lens. The front of the object may become dark while its outline catches light. A plant leaf or translucent material might show different detail here than an opaque mug. If the image loses too much definition, shift the light slightly to one side or place a white card near the camera to reflect a little light onto the front.
For the fourth photograph, raise the light above the object. Watch where the shadow lands and how the top surface reads. Overhead light can emphasize a tabletop arrangement, but it may hide detail on vertical faces. For the fifth, lower the light and aim it upward from one side. This often creates long shadows and highlights on surfaces that were dark in the overhead shot. Keep the lamp secure and far enough from the object to avoid heat or glare problems.
Compare the results, not just the brightness
View the five photographs together at the same size. Ask where your eye goes first in each image. Which position describes the object’s shape most clearly? Which reveals its texture? Where does the shadow become part of the composition rather than a distraction? Pay attention to bright reflections, especially on glossy objects: a small move in light position can change them substantially.
If you had to adjust exposure during the exercise, do not treat a brighter image as proof of better lighting. Compare the direction and character of the shadows instead. You can also make simple notes such as “front: clear color, little texture” or “side: strong shape, dark right edge.” Those observations are more useful for future photographs than a rule that one position always works best.
Repeat the exercise with one deliberate change
Once you have a favorite direction, repeat that photograph with a white card on the shadow side of the object. The card can bounce some light back and soften the contrast without adding a second lamp. Then try a dark card in the same place to see whether it makes the shadow side feel deeper. Keep everything else unchanged so the effect is easy to recognize.
Finally, repeat the five positions with a different object. A matte ceramic cup, shiny spoon and textured orange will respond differently to the same light. The point of the exercise is not to memorize five looks. It is to build the habit of moving the light, checking the shadow and choosing a direction that supports what you want the photograph to show.