What key and fill light do
The key light is the main source that gives a subject its shape. Place it to one side of a face, and the features nearest the light become brighter while the far side falls into shadow. The fill light brightens those shadows without taking over as the main source. Fill can come from a second lamp, a reflector, a pale wall, or daylight bouncing around a room.
Contrast is the visible difference between the bright and shadow sides. A small difference can feel open and gentle; a larger difference can emphasize texture and form. Neither is inherently better. The useful question is whether the shadows support the photograph you want to make. Before adding fill, take a frame with only the key light so you can see what needs changing.
Make sense of lighting ratios
A lighting ratio describes how much brighter one side of a subject is than the other, but photographers do not always use the term in the same way. One approach compares the total light reaching the bright side with the total light reaching the shadow side. On that basis, a 2:1 ratio is a one-stop difference; 4:1 is a two-stop difference. The larger the difference, the deeper the shadows tend to look.
You may also see ratios that compare the key source alone with the fill source alone. Those numbers are not interchangeable with bright-side-to-shadow-side ratios, because the bright side often receives both key and fill. When sharing a setup, say what you measured rather than relying on the ratio label by itself.
You do not need a light meter to use the idea. Treat ratios as a way to think about relative brightness, not as a requirement to hit an exact number. Watch the shadow side of the face as you change the fill: can you still see useful detail, and does the key remain clearly dominant?
Build a simple setup
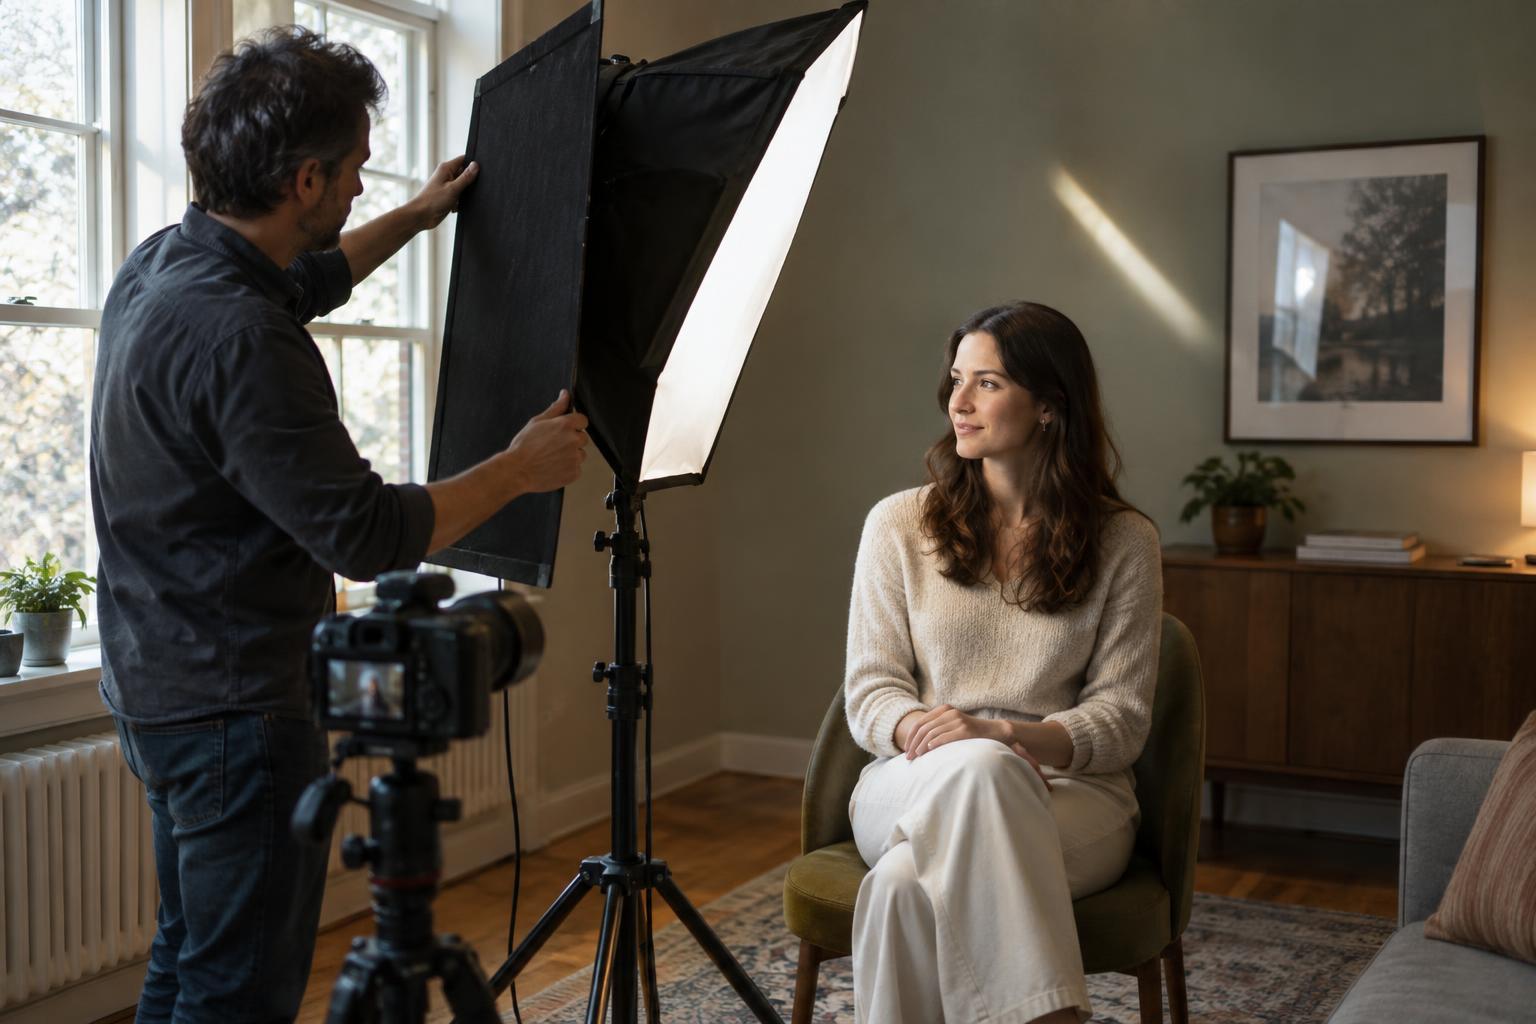
Start with a subject seated a little way from the background. Put a window or diffused lamp roughly 45 degrees to one side of the subject and slightly above eye level. This is your key. Turn off other controllable room lights at first; mixed light can make it harder to judge what each source is doing. Keep your camera position and exposure settings steady while you experiment.
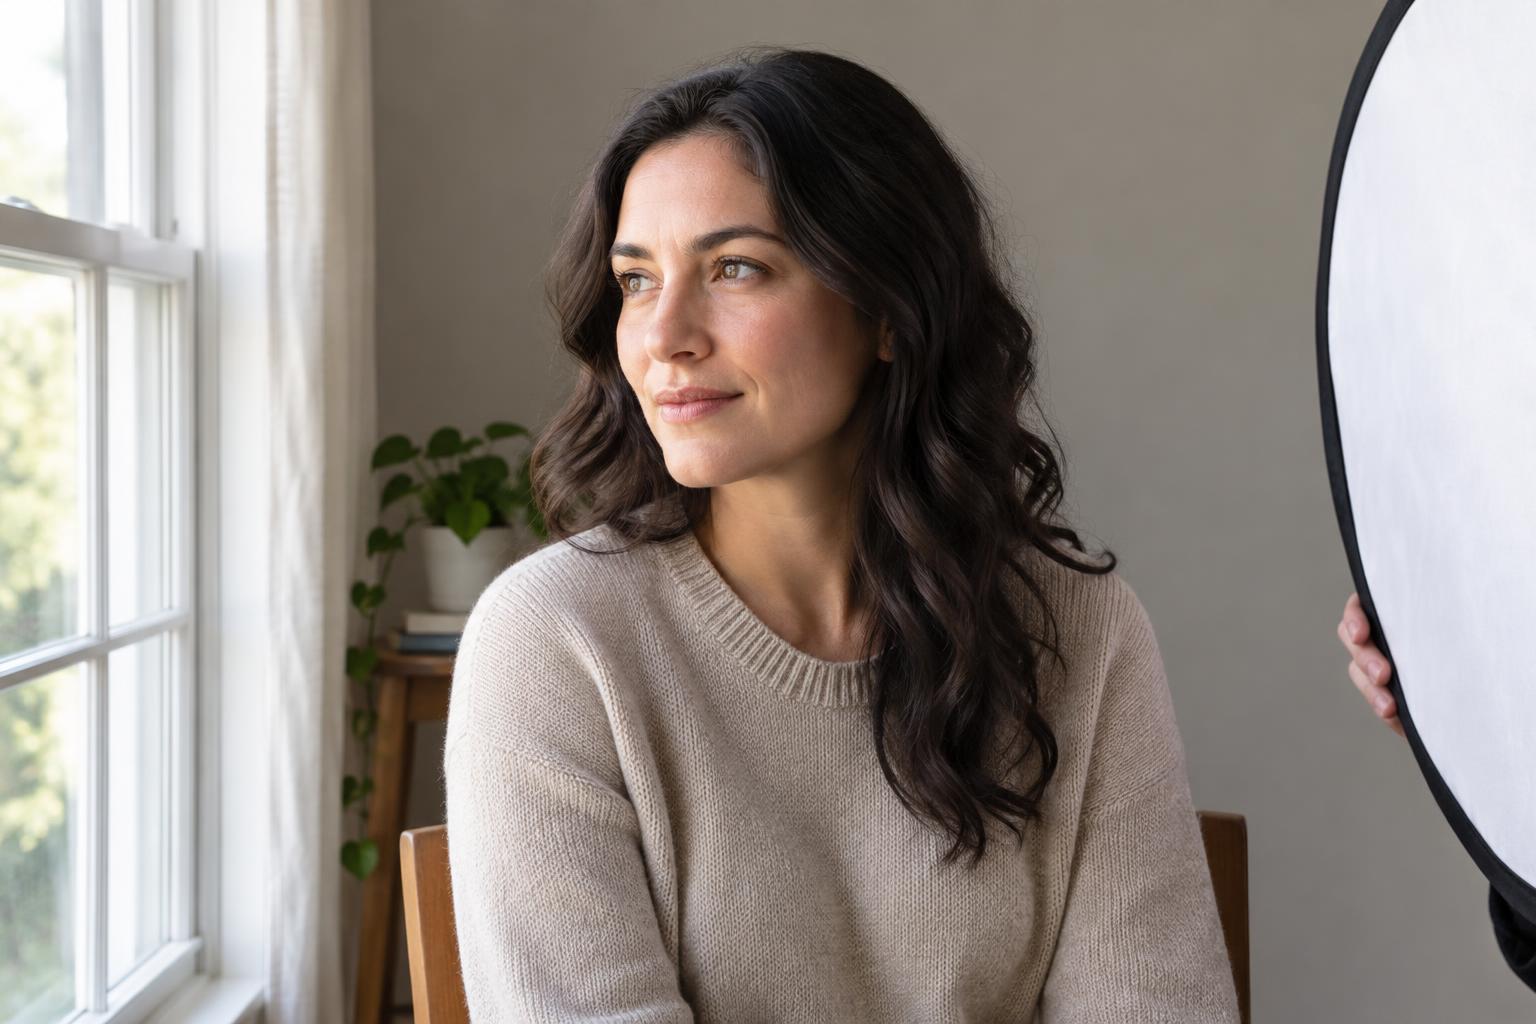
For fill, place a white card, foam board, or reflector on the shadow side, out of the frame. Move it closer to brighten the shadows and farther away to darken them. A pale surface usually gives a subtler result than a mirror-like one. If you use a second lamp instead, aim to make it less influential than the key by reducing its output, diffusing it, or moving it farther from the subject. Check that it does not cast a distracting second shadow.
Distance matters, but so does the room. Nearby white walls can act as unintended fill, while dark surfaces absorb more light. If the portrait looks flatter than expected, try moving the subject away from a bright wall. If the shadows are too heavy, look for a surface that can bounce some key light back toward the face.
Judge the result before changing the numbers
Take one photo with no fill, one with modest fill, and one with the fill close enough to make a clear difference. Compare the same areas in each frame: the cheek turned away from the key, the eye sockets, and any texture you want to preserve. Choose the version that suits the subject rather than the one that matches a preset ratio.
Be careful when comparing images made with automatic exposure. The camera may brighten a high-contrast frame or darken a low-contrast one, hiding some of the change you intended to study. Manual exposure makes the exercise easier to read. If that is unfamiliar, lock exposure between frames when your camera allows it, and keep the subject in the same position.
Practice with a repeatable portrait exercise
Make a series of five frames without moving the key or camera. Begin with no fill. Then move a white card progressively closer to the shadow side for three frames. For the last frame, remove the card and place a dark board on that side to reduce reflected light. Keep the subject’s pose steady and name the frames in order so you can compare them later.
Look first at the images as small thumbnails: which frame has the clearest shape? Then enlarge them and check whether shadow detail and highlights still serve the portrait. Repeat the series with the key nearer the front of the face, then farther to the side. This shows how key placement and fill strength work together. Once you can predict the effect of moving a simple card, lighting ratios become a practical way to discuss contrast rather than numbers you have to memorize.