Think of a reflector as a second light source
A reflector does not create light; it redirects light that is already present. Place one opposite a window or the sun, and it can send some of that light into the shadow side of your subject. The result may be a gentler transition between bright and dark areas while preserving the direction of the original light. That makes a reflector useful when you like the scene’s natural light but want a little more detail in the shadows.
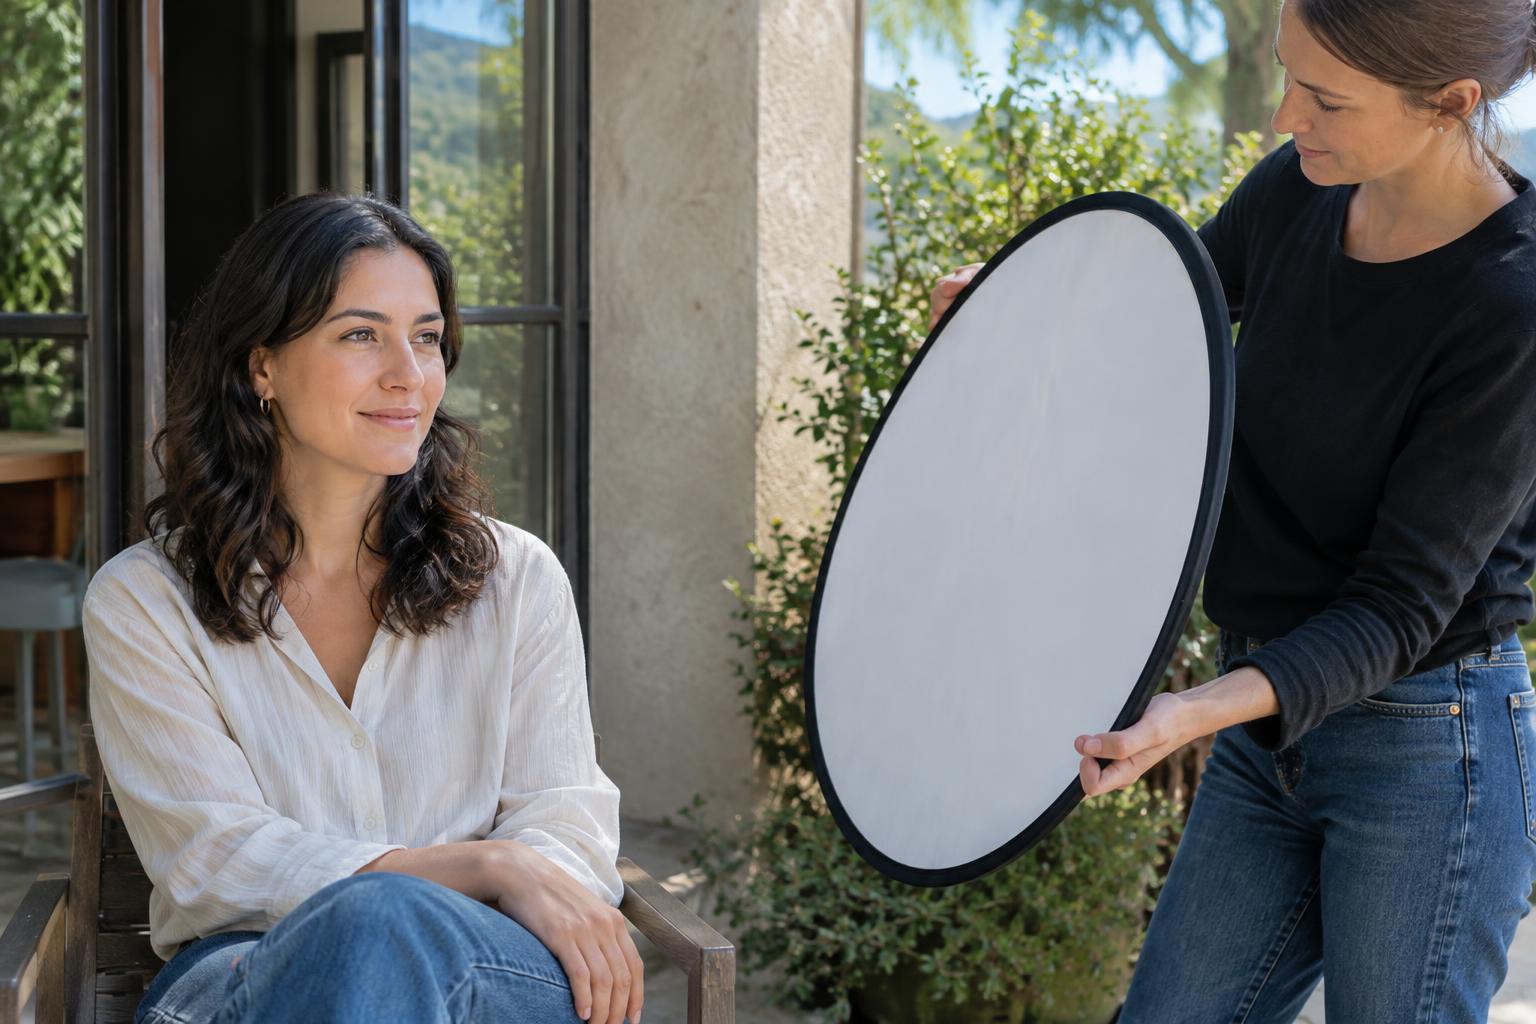
Start by identifying the main light source. Look at the direction of the shadows on a face or object, then hold the reflector on the darker side. Watch the subject rather than the reflector as you move it. A small change in angle can shift the reflected light away from the area you meant to brighten. If the reflector appears to do nothing, turn its surface toward the main light and then angle it back toward the subject.
Choose a surface for the effect you want
White is a forgiving place to start. It tends to provide subtle fill without changing the apparent color of the light as strongly as a colored surface might. Silver can produce a brighter, more noticeable effect, which may help when the reflector must sit farther away. That extra brightness can also look harsh if it catches a face at an unflattering angle. Gold adds a warm cast, but it may make skin tones or neutral-colored objects look less natural when the rest of the scene is cool.
You do not need a dedicated photography reflector to practice. A piece of white foam board can help you see how bounced light behaves; a light-colored wall may already be filling the shadows in a room. Whatever you use, consider its size. A larger surface can cover more of the subject and often gives a softer-looking fill when held close. A small surface is easier to carry and aim, but it may brighten only part of a portrait. Choose based on the area you need to illuminate, not on the assumption that one surface works for every scene.
Control the fill with distance and angle
Set your subject in a place with clear directional light, such as beside a window or under open shade near a bright area. Take one frame without the reflector. Then bring the reflector near the shadow side and compare what changes. Moving it closer generally strengthens the fill; moving it away weakens the effect. Turn it slightly until the shadows lift without disappearing altogether. Some shadow can give a face shape or make the texture of an object easier to read.
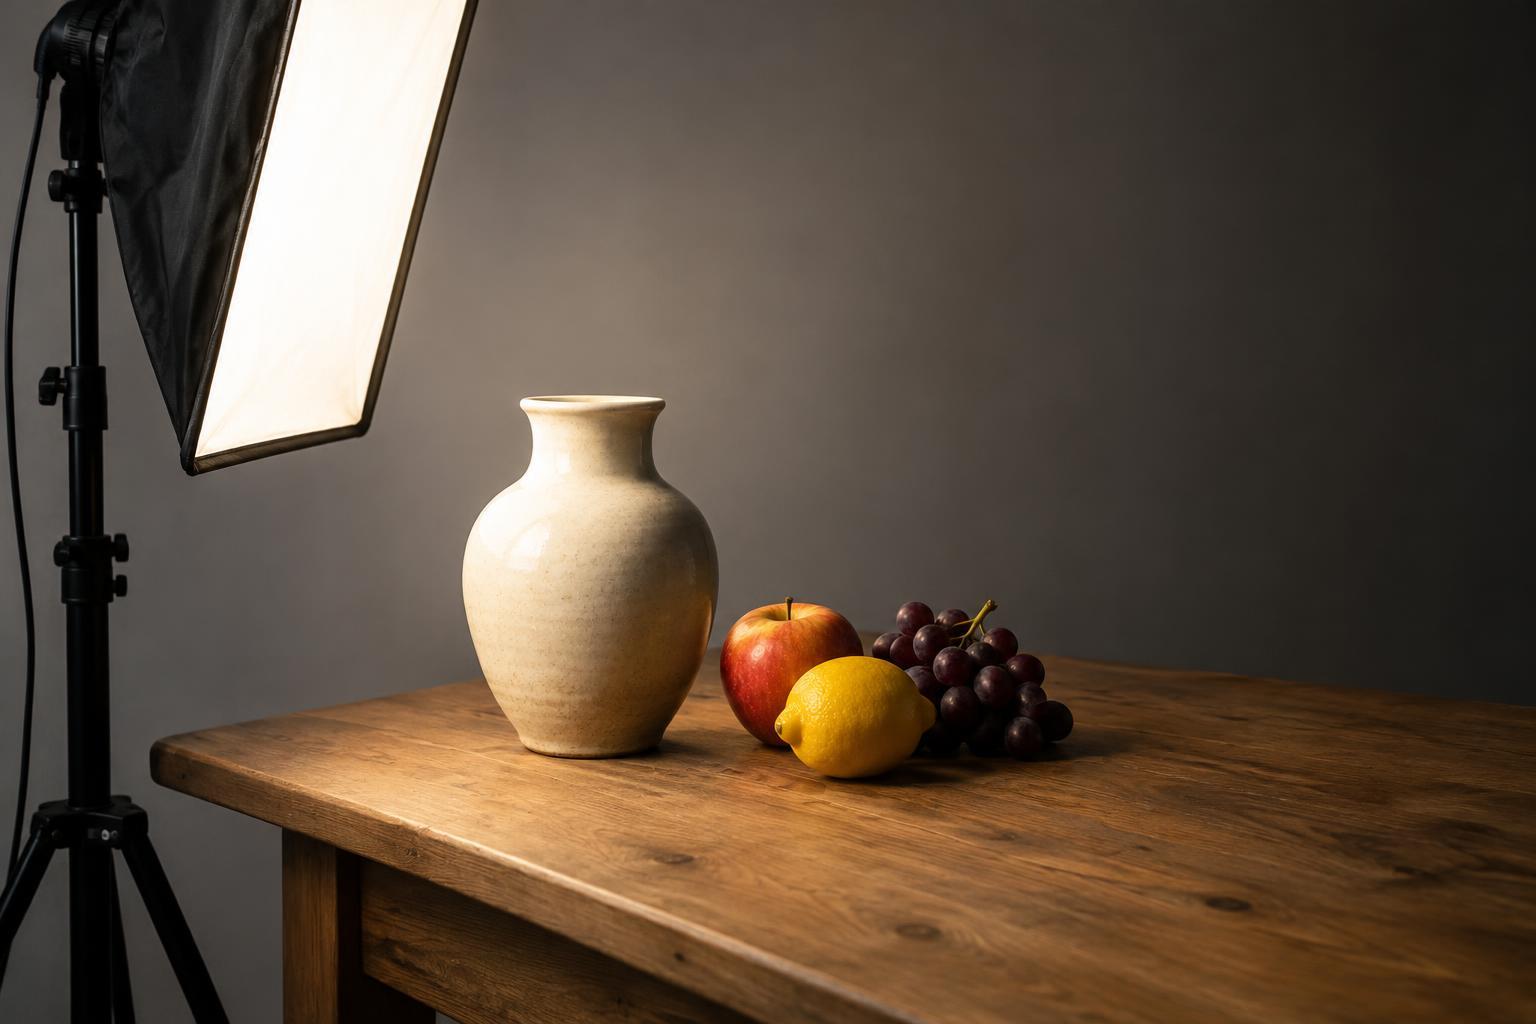
Pay attention to where the bounced light comes from. Fill arriving from below can brighten eye sockets, but too much may give a portrait an unnatural appearance. Try holding the reflector at roughly face height and off to one side before experimenting with lower positions. For tabletop subjects, position it across from the window and move it around the object to reveal texture or separate an edge from the background. Check the entire frame: a reflector that improves one shadow may create a bright patch elsewhere.
Work with changing conditions
A reflector needs light to catch. In deep shade or a dim room, it may provide very little fill; moving the subject nearer a window or a brighter open area can be more effective than swapping reflector surfaces. In direct sunlight, reflected light can be intense. Rather than aiming for maximum brightness, step back, use a white surface, or change the angle until highlights and shadows feel balanced.
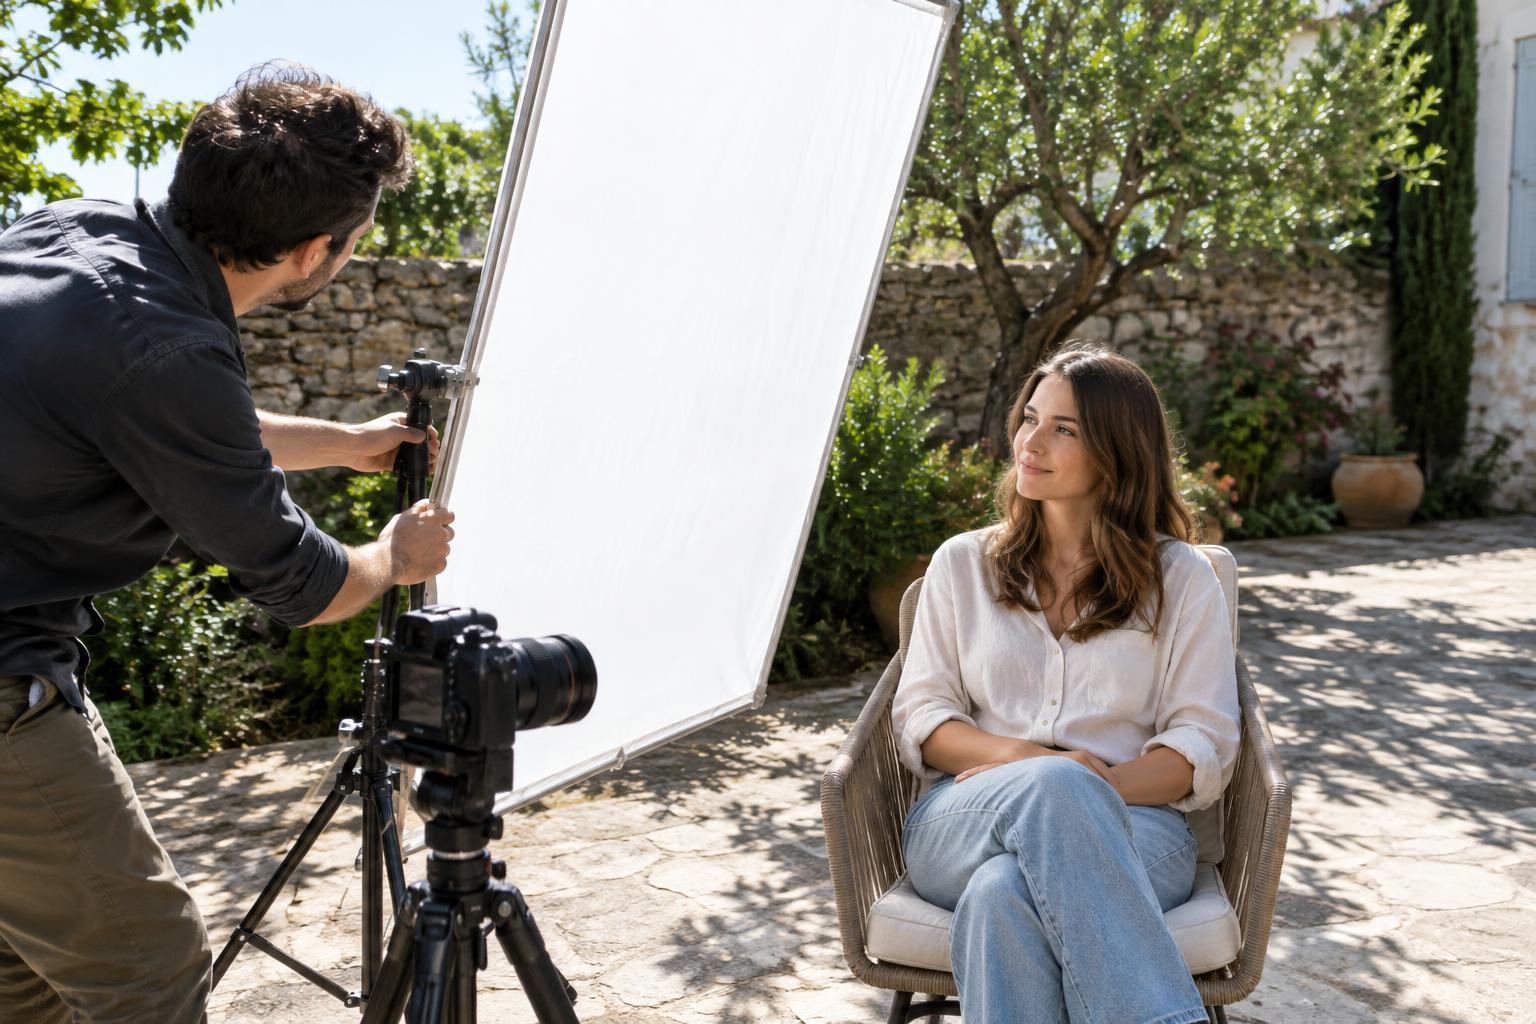
Outdoors, a large reflector can catch the wind. Ask a helper to hold it securely when possible, or choose a smaller surface that you can manage safely. If you work alone, look for a stable position where the reflector can rest without falling or becoming a distraction. Keep your subject comfortable, too: bright reflected sunlight aimed into someone’s eyes can cause squinting. Adjust the angle or pause rather than asking them to stare into glare.
Practice by changing one thing at a time
For a simple exercise, place a person or a still-life subject beside a window and keep your camera position and exposure settings the same for a short series. Make a frame with no reflector, then one with a white surface close to the shadow side and another with it farther away. Finally, change only the reflector’s angle. Compare the shadow detail, highlights and overall shape of the subject. Keeping the other variables steady makes the reflector’s contribution easier to recognize.
Repeat the exercise with a different surface or in a different lighting direction. The goal is not to eliminate every shadow. It is to learn how much fill supports the mood and detail you want. Once you can recognize a useful change by eye, a reflector becomes less like an extra piece of equipment to manage and more like a simple way to shape the light already in front of you.