Start with the photograph you want to make
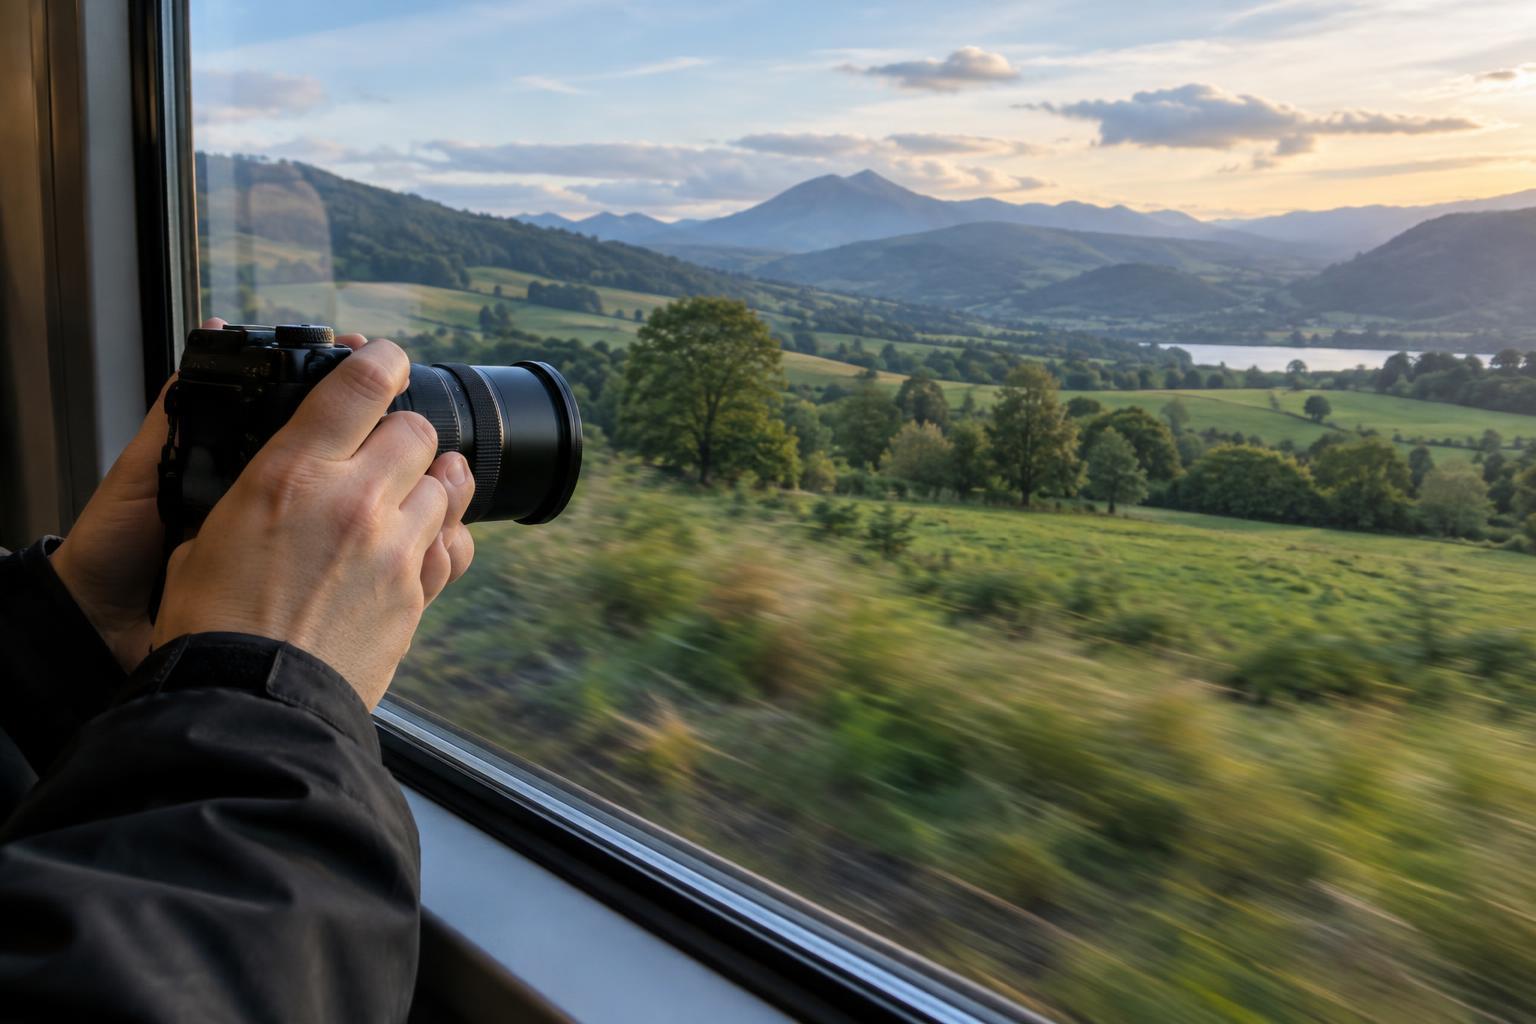
A location can look compelling on a map yet offer no workable place to stand. Before planning the journey, describe the image you hope to make: a wide view of a square, a quiet street scene, or a portrait with a recognizable backdrop. That intention helps you look for a suitable vantage point rather than treating the place name as the whole plan.
Study maps and available visitor information for likely entrances, paths, viewpoints, and nearby public spaces. Note which direction the subject faces and where you might position the camera without blocking a walkway. Reference photos can suggest possibilities, but they may not show fences, steep approaches, or the space outside the frame. Keep at least one alternative composition in mind in case your preferred position is unavailable.
Verify access and hours before choosing a time
Check the location’s own visitor information for opening hours, entry points, ticket requirements, and any photography rules. A park gate, museum courtyard, rooftop, or historic site may have different access conditions from the surrounding streets. If the details are unclear or your visit depends on a particular entrance, contact the operator rather than assuming an old listing is accurate.
Separate the time you want to photograph from the time you can enter. Sunrise light is no help if the site opens later, and arriving shortly before closing may leave too little time to find a composition. Allow for the walk from your transport stop, an entrance queue if one is possible, and the time needed to leave by the stated closing time. Where a public viewpoint offers a similar angle, mark it as a backup—but check its access too.
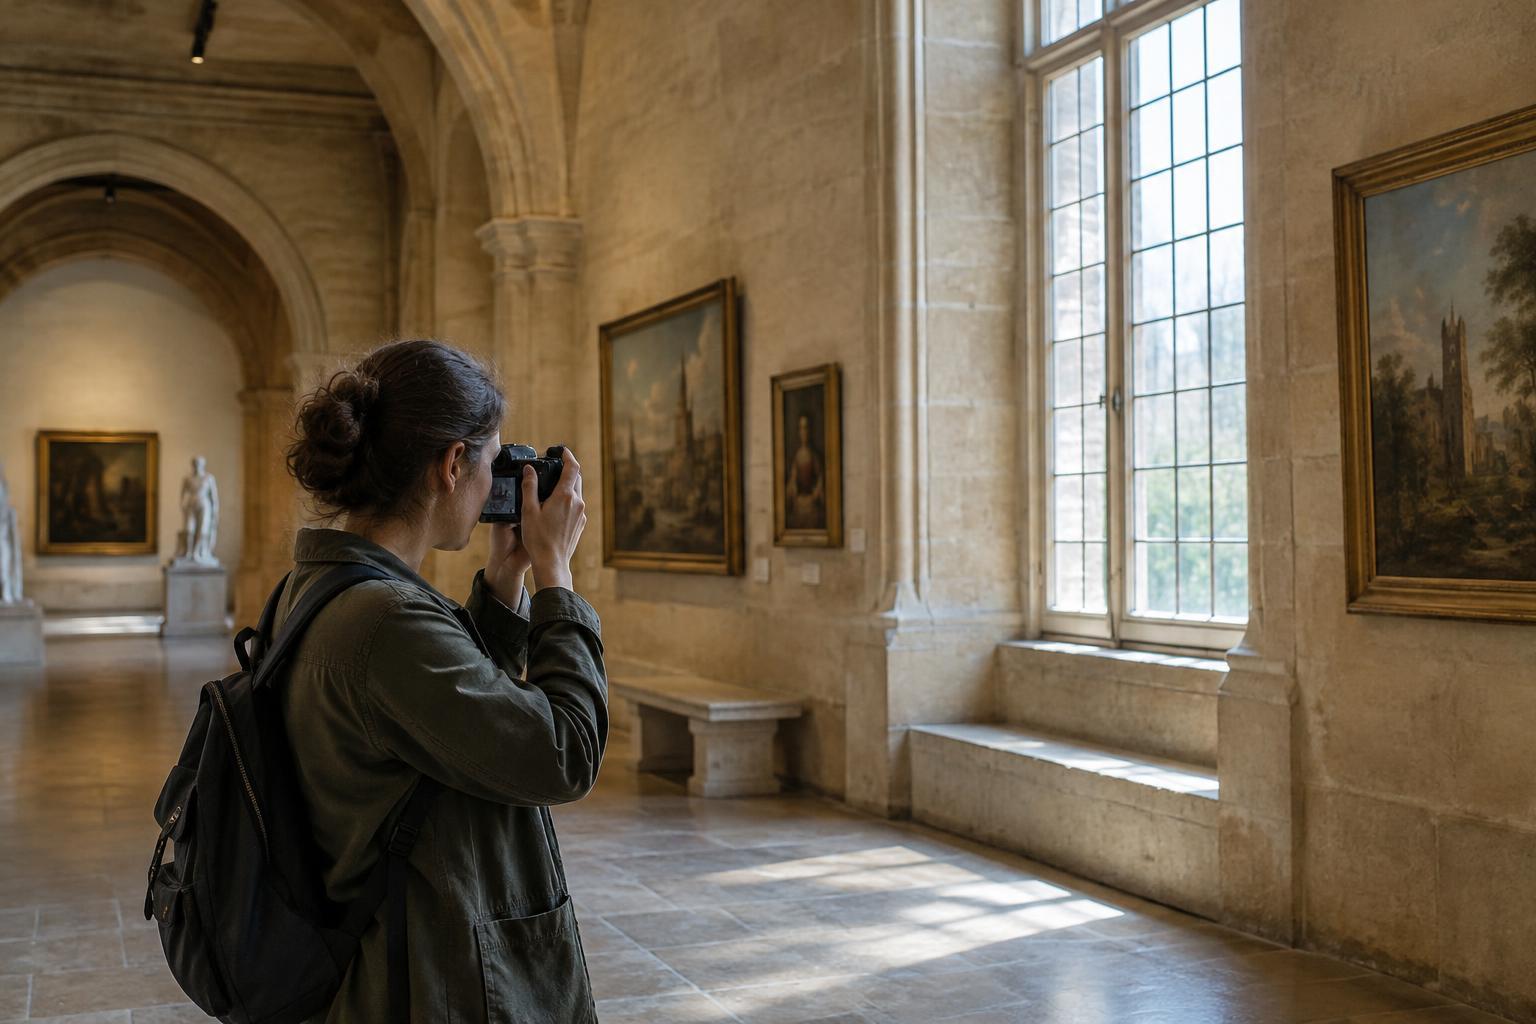
Rules can also affect your kit. Some places restrict tripods, flash, large bags, or photography in particular areas. Plan an approach you can use within the stated rules, such as a handheld camera with a manageable lens, rather than counting on an exception.
Plan the route you will actually take
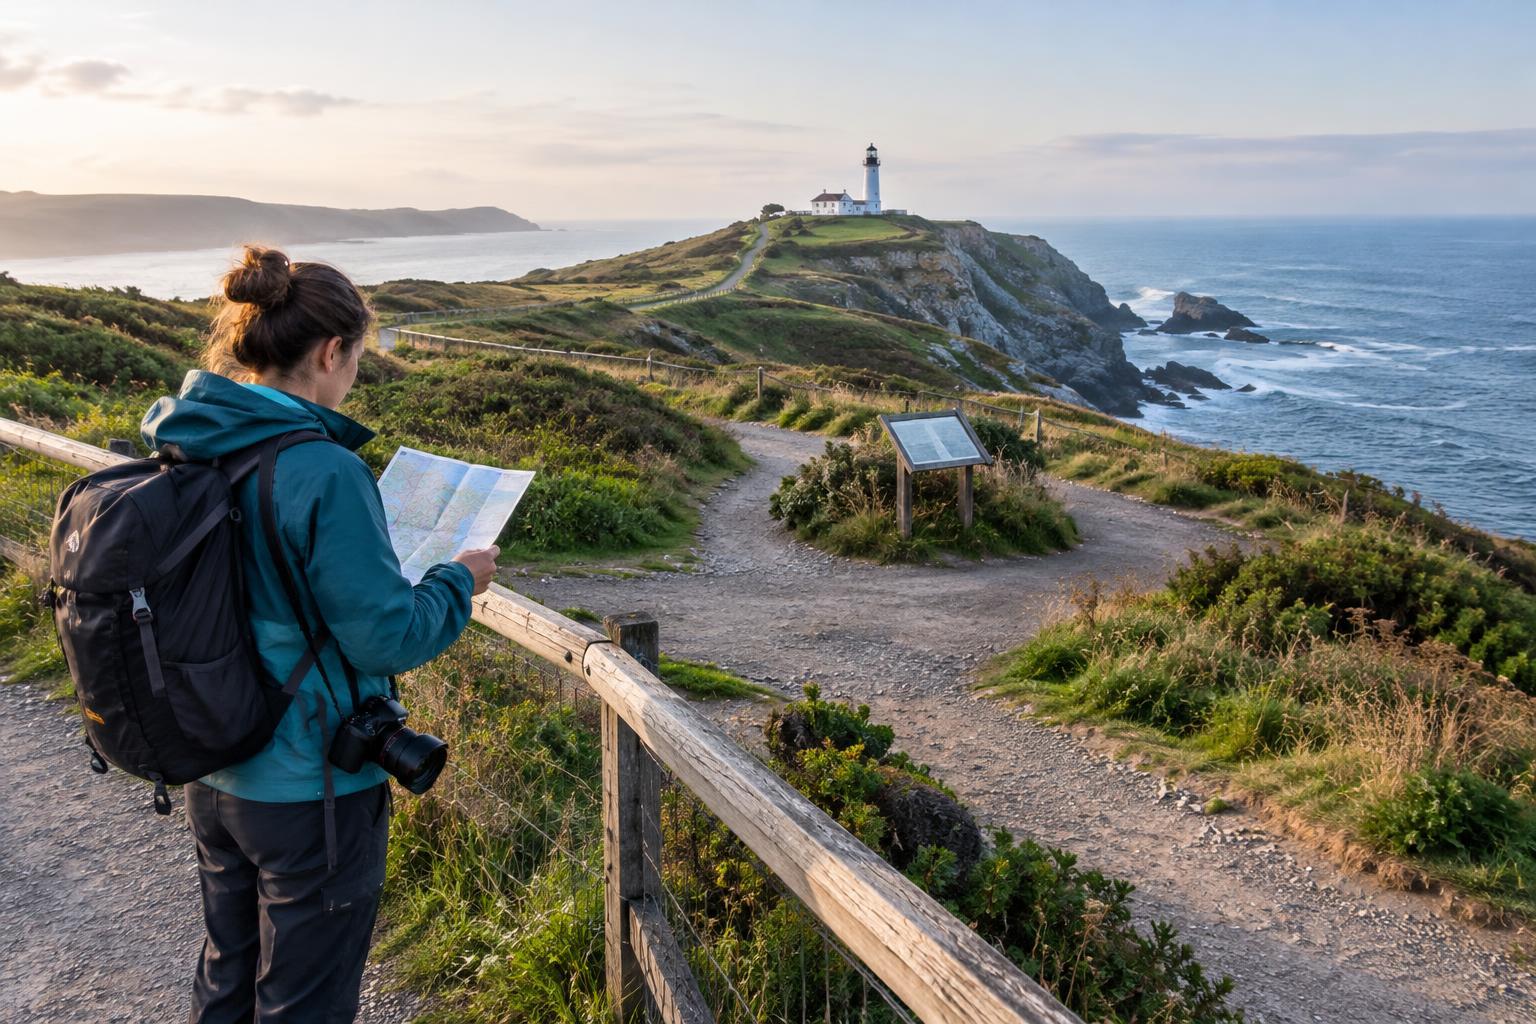
A map pin is not a route. Trace the journey from where you will start to the entrance you intend to use, then from that entrance to your proposed camera position. Look for stairs, unpaved sections, crossings, or changes in elevation that could affect your timing or what you carry. If mobility or step-free access matters, seek specific route information instead of relying on a map’s estimated walking time.
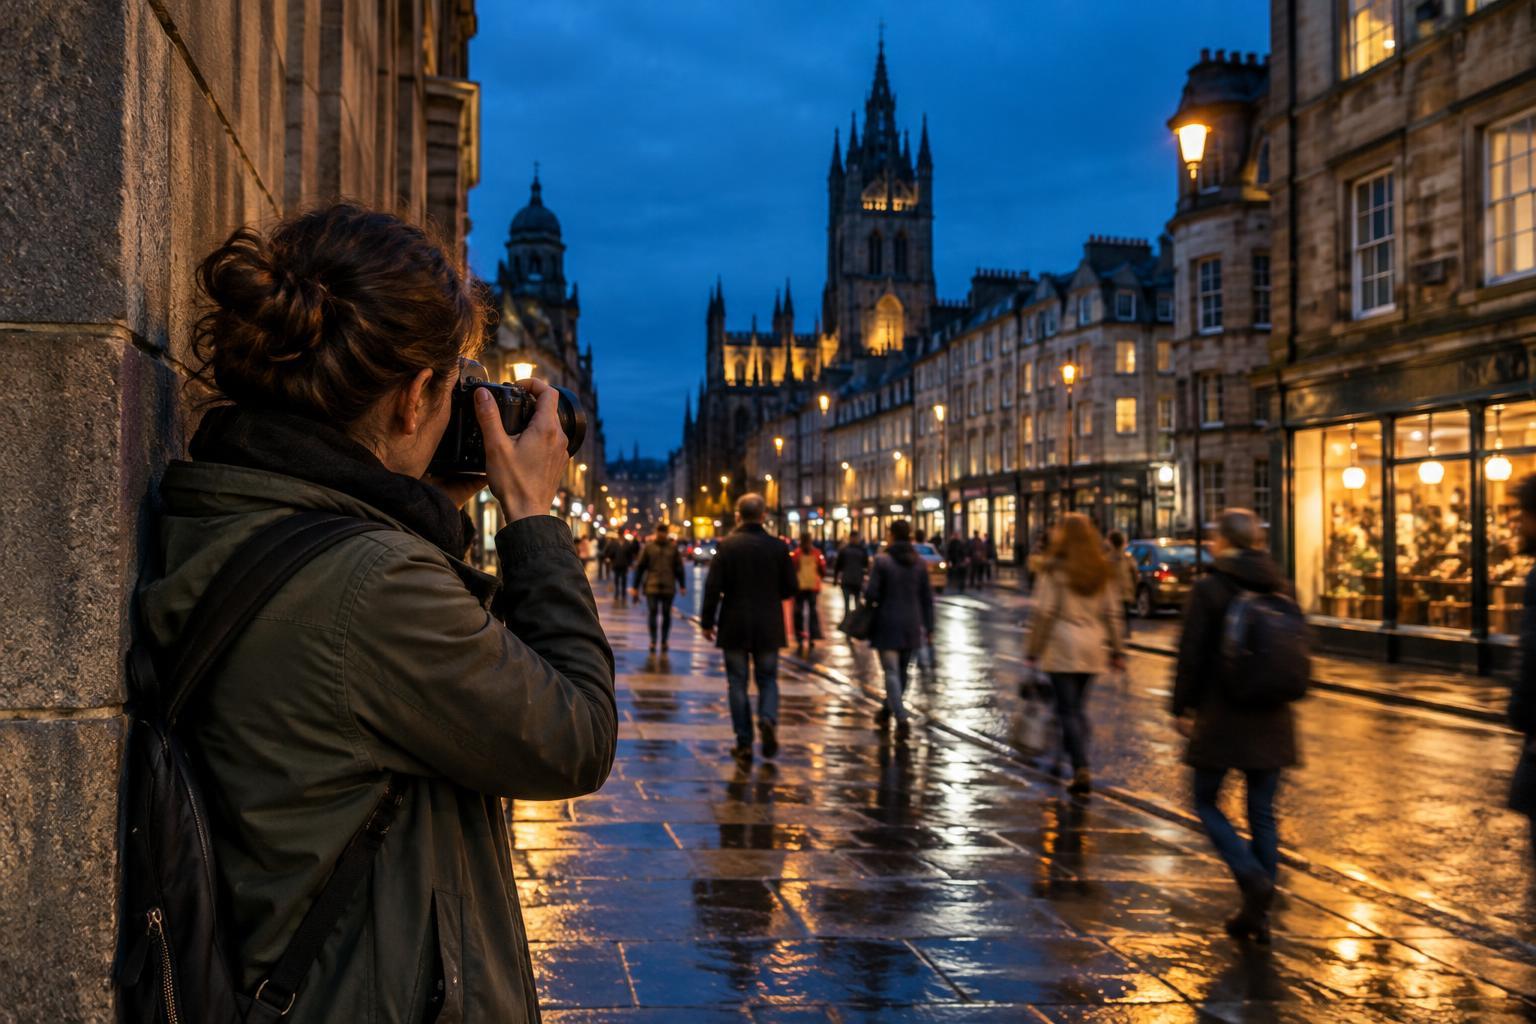
Consider the return trip as carefully as the arrival. A path that feels straightforward in daylight may be harder to follow after dusk, and transport options may be less convenient at the hour you plan to leave. Save the address, entrance details, and an offline map if connectivity may be unreliable. Letting someone know your general plan can be a sensible precaution when you are heading somewhere unfamiliar.
Assess conditions without pushing for the shot
Scouting includes noticing what might change on the day: weather, ground conditions, crowds, construction, or temporary closures. Check relevant conditions near your visit and reassess when you arrive. Stay on permitted routes, respect barriers and private property, and avoid standing in traffic or on an unstable edge for a cleaner frame. If the only way to make the planned image feels unsafe or intrusive, choose another angle.
Travel light enough to move comfortably and keep your attention on your surroundings. A single versatile lens may be more useful on a long walk than several options you will hesitate to unpack. Protect your equipment from expected conditions, but do not let concern for a camera distract you from your footing, other visitors, or instructions from site staff.
Turn your scouting notes into a flexible shot plan
Keep a short note for each location: intended image, confirmed entrance and hours, route, likely camera position, rules to remember, and one backup. Add a time window for the light you want, but treat it as a preference rather than a promise. If you can visit briefly beforehand, use that time to observe sightlines and obstructions instead of trying to finish every photograph at once.
For a simple scouting exercise, pick one destination and identify two legal, accessible places from which to photograph it. Write down what each position offers and what might prevent you from using it. On the day, make the planned frame first if conditions allow, then spend a few minutes responding to what is actually there. A useful scout does not guarantee a particular photograph; it gives you enough information to make good choices when plans change.