Understand what the window adds to the picture
A vehicle window is both a view and a mirror. Bright seats, clothing, screens, and ceiling lights can appear over the landscape outside, especially when the scene beyond the glass is dark. The window may also add smudges, scratches, tint, or distortion. You cannot always remove these problems, but you can decide which ones matter before you take the picture.
Start by looking at the glass rather than only at the view. Shift your head a little and watch where the reflections move. If a light or passenger appears over your subject, a small change in camera position may move that reflection into an unimportant part of the frame. Choose a cleaner patch of glass when you can. On a train or bus, check whether another nearby window offers a clearer view without leaving your permitted seat or blocking anyone.
Use position and shade to control reflections
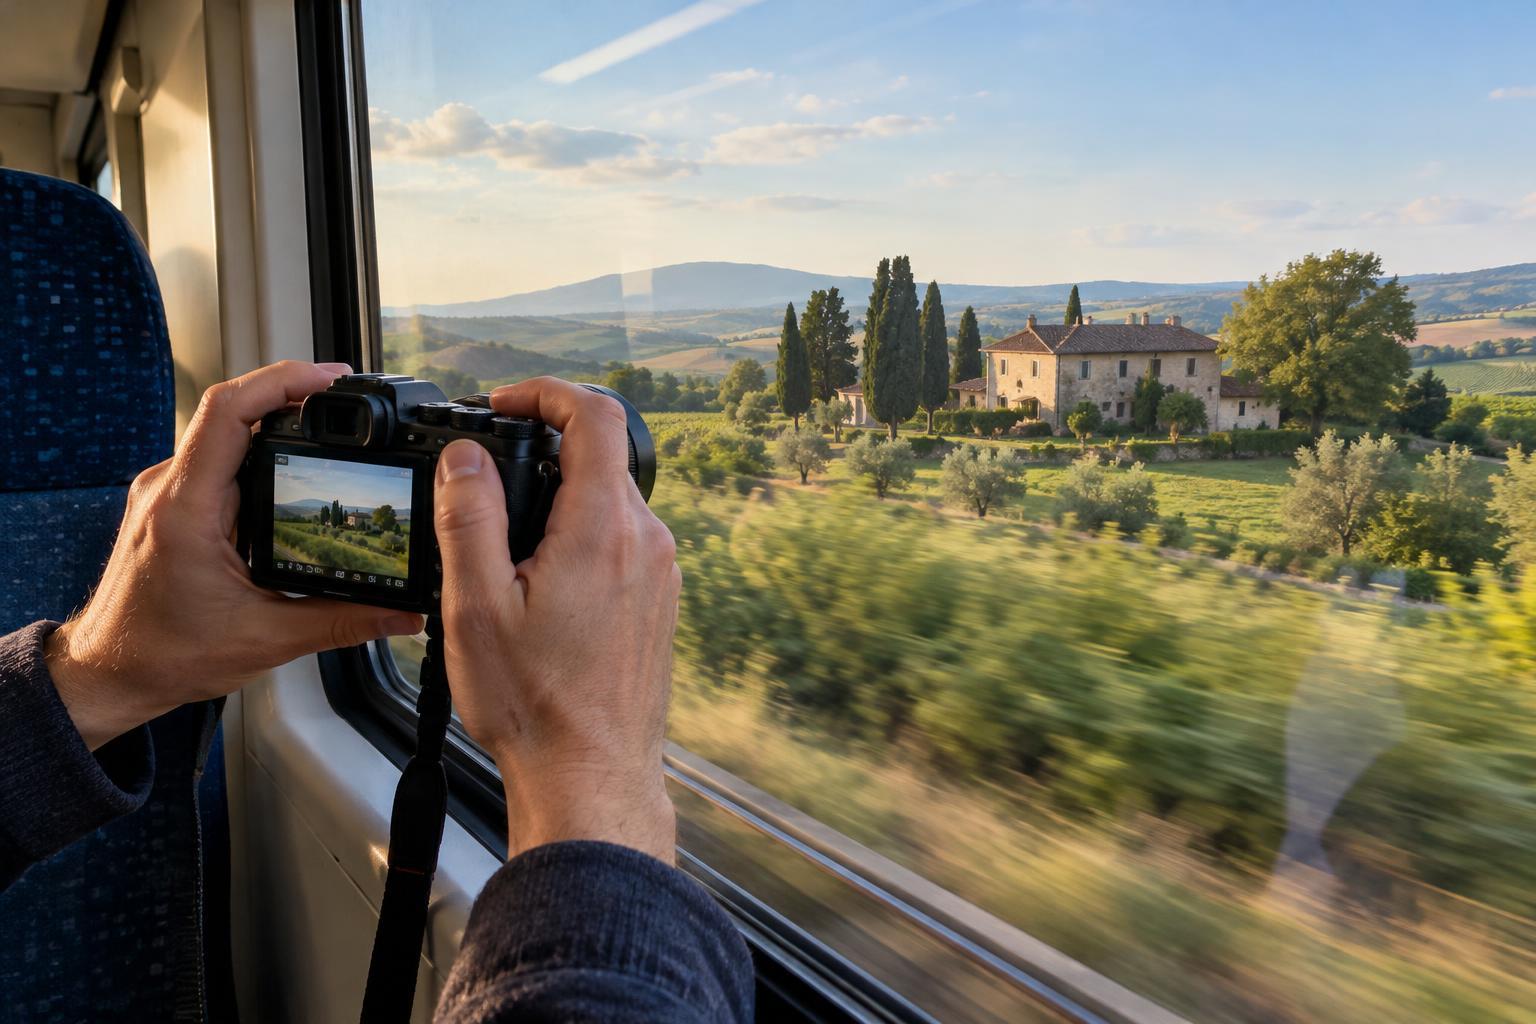
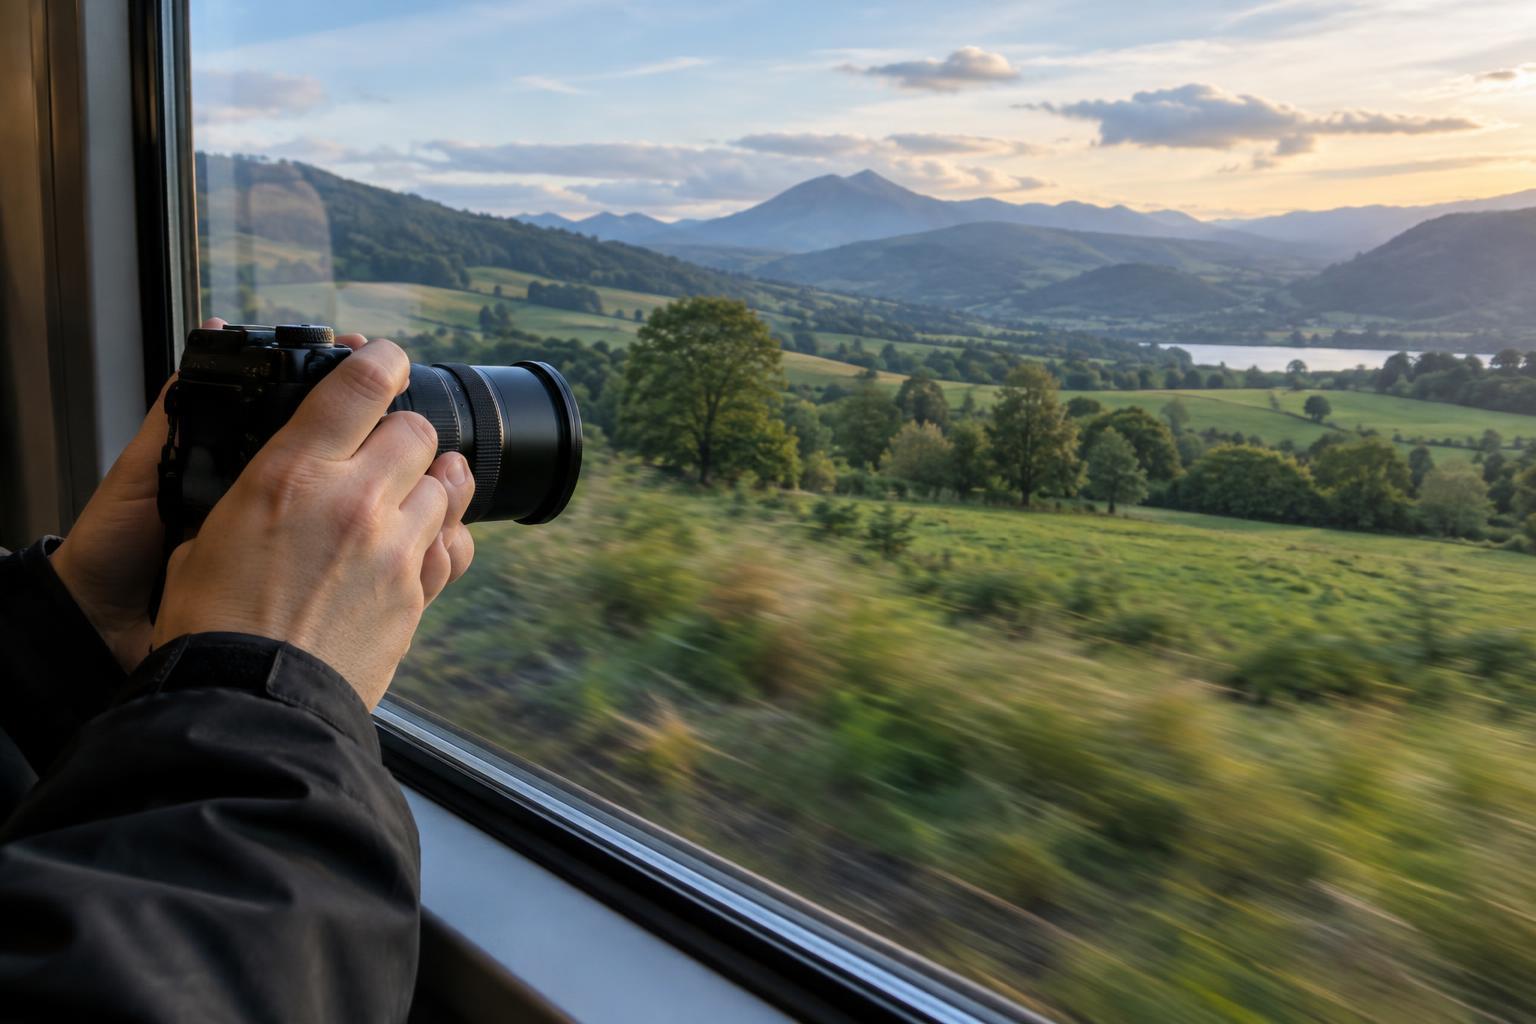
Getting the lens close to the window reduces the amount of interior light reflected into it. A lens hood can help shade the glass around the lens; a dark jacket or cloth held between the camera and a bright interior can also work. Keep fabric clear of the lens and your face, and avoid covering shared space or equipment. Do not press the camera hard against the window: vibration can blur the image, and contact with the glass may leave marks.
If you can choose a seat, consider which side faces away from strong interior lights or direct glare. During daytime travel, a brightly lit scene outside often makes interior reflections less noticeable. After dark, cabin lights and phone screens become much more prominent in the glass. Turn off your own screen when possible, and frame around reflections you cannot control rather than trying to solve everything in editing.
A polarizing filter may reduce some reflections, but it is not a guaranteed fix. Its effect changes with the angle of the light and glass, and some vehicle windows can show uneven colors or patterns through a polarizer. If you have one, rotate it while looking through the camera and keep it only if the whole frame improves.
Set the camera for motion, not just low light
Even when the view looks still from your seat, the vehicle is moving. Nearby trees, signs, and buildings cross the frame quickly, while distant hills change position more slowly. For a sharp image, use a faster shutter speed for close subjects and rough roads. If the light is limited, raising ISO may be a better compromise than accepting motion blur. Take a short sequence when a promising view approaches, then review the results for sharpness.
Focus on the scene beyond the glass, not on dirt or reflections on its surface. On a phone, tap a distant subject and check that the exposure does not make the window glare brighter than necessary. With a camera, a smaller aperture can help keep more of a landscape in focus, but avoid making it so small that the resulting slow shutter speed blurs the scene. Flash usually makes reflections worse and is best left off.
A wide view gives you room to crop away window edges or unwanted reflections later. A longer lens can isolate a distant landmark, though vehicle movement becomes harder to manage as you zoom in. Pack light enough that you can operate your camera from your seat. Never ask a driver to adjust their speed or attention for a photograph, and follow crew instructions and local restrictions on photography.
Compose around what the journey gives you
The clearest view is not always the most interesting one. Window frames, a sliver of the interior, or a faint reflection can establish that the picture was made in transit. Decide whether you want a clean landscape or a photograph about the journey. For the first, exclude interior details and place your main subject away from visible smears. For the second, let a frame or reflection contribute deliberately rather than sit across a face or landmark by accident.
Look ahead for open stretches between roadside obstacles. Distant subjects are often easier to photograph clearly than nearby ones because they sweep across the frame less abruptly. If shooting through a plane window, try different positions within the available clear area; curved or marked portions of the window may soften fine detail. Be patient with changing light, and take the photograph when the view and the glass work together.
Edit gently and practice on an ordinary route
In editing, begin with a crop that removes distracting edges. Adjust contrast and brightness cautiously: increasing contrast can make faint reflections more visible, while lifting shadows may reveal the interior. Small local adjustments may help a clear subject stand out, but a strong reflection covering important detail may be better treated as part of the picture or left out of your selection.
For practice, photograph the same kind of scene through a window in three ways: from your normal seat position, with the lens closer to the glass, and with the lens shaded by a hood or dark cloth. Keep your seat and safety arrangements unchanged. Compare the images afterward for reflections, sharpness, and smudges. The exercise will show which simple adjustment helps most on the vehicles you actually use.