Decide what the haze is doing
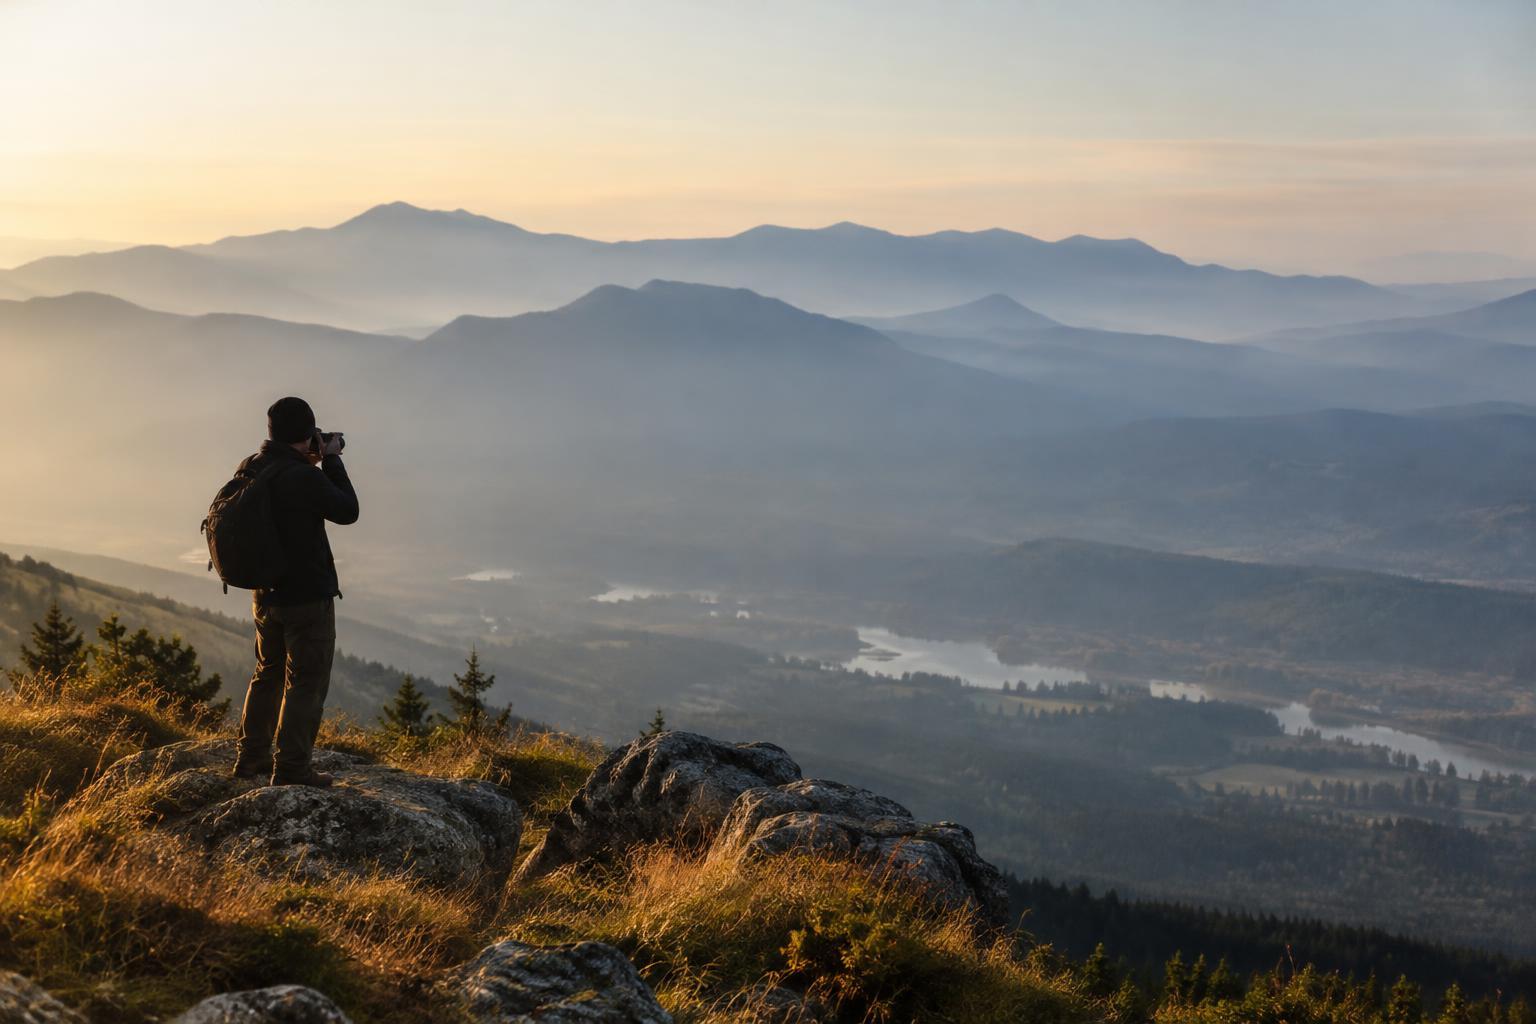
A distant mountain, skyline or coastline may look vivid to your eyes but pale in a photograph. Light traveling through the atmosphere loses contrast as it passes through moisture, dust and other particles. The farther the subject, the more noticeable that effect can be. The first useful decision is whether you want a clearer record of the landmark or an image that uses the soft, layered look of the haze.
Before changing equipment, study what remains visible. Look for a recognizable silhouette, a bright edge or a sequence of ridges that becomes lighter with distance. If the view has little distinct detail, a tight photograph of the distant subject may feel empty. A wider frame with a strong foreground can give the viewer a place to start, while the hazy distance supplies depth and mood.
Work with light and viewpoint
If your schedule allows, revisit the viewpoint at another time of day. Light coming toward the camera can make haze glow and reduce apparent contrast; light from behind or the side may reveal more shape. Conditions can also change during a short visit, so it is worth watching the scene before packing up. None of these changes guarantees a clear view, but each gives you a different photograph to make.
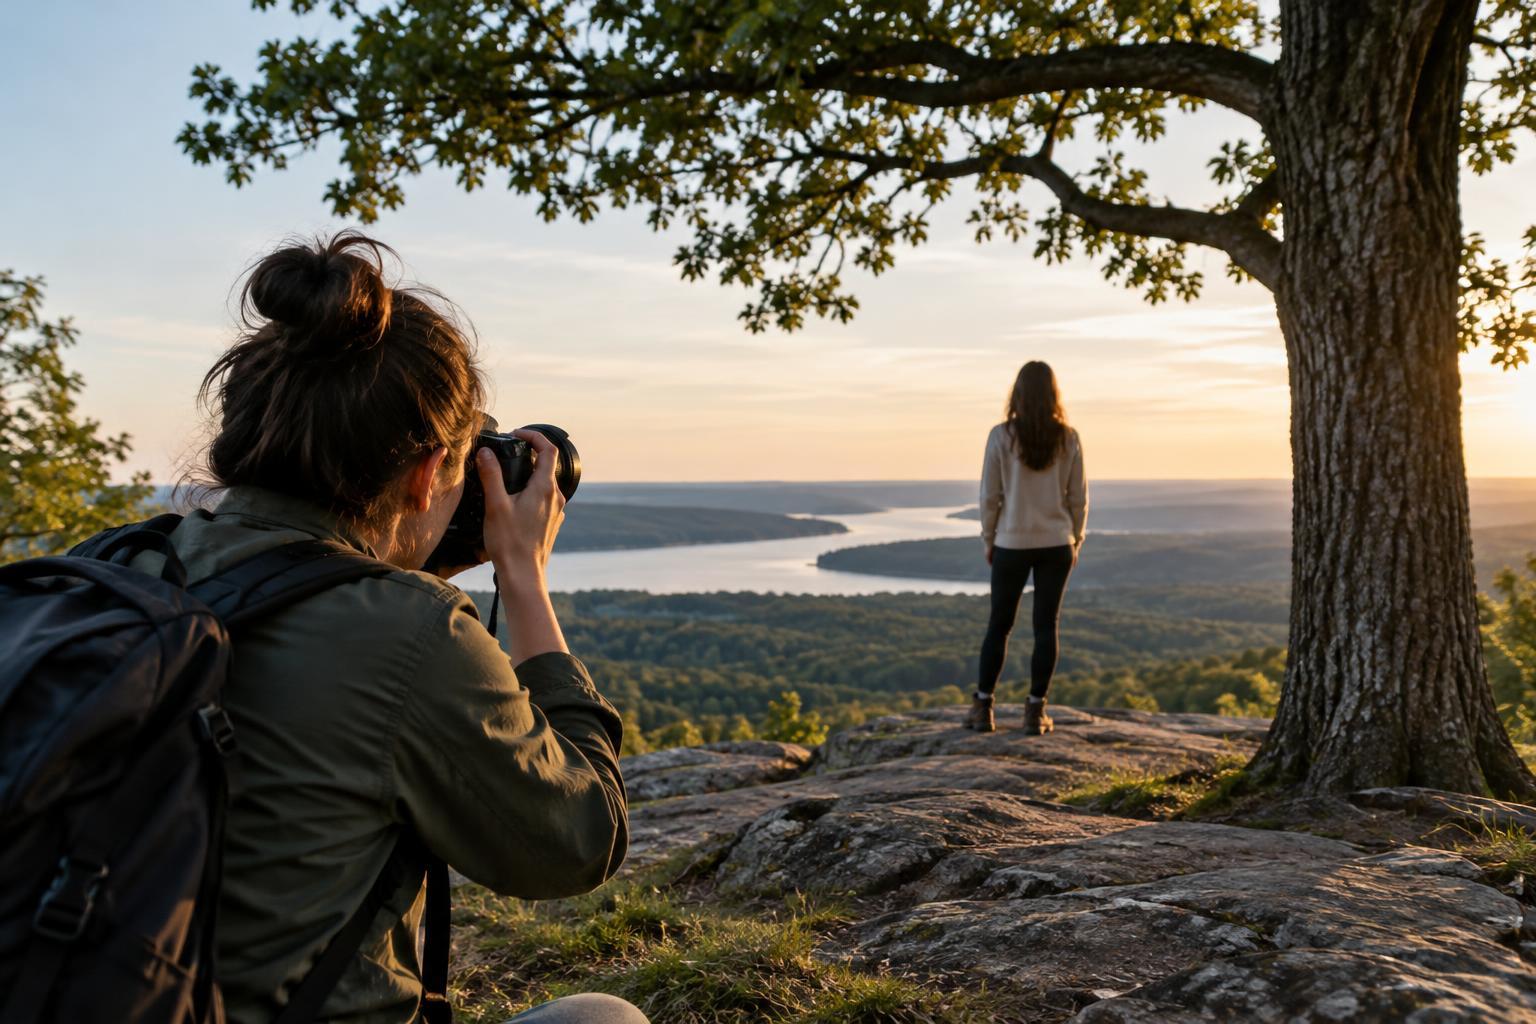
Move your feet before reaching for a longer lens. A few steps may let you place a tree, rooftop or path against the pale background, creating separation between near and far. From an accessible higher viewpoint, you might find a cleaner line of sight, although haze can still cover the subject. Keep the frame simple: a dark foreground shape, one middle-distance feature and a distant silhouette are often enough. Avoid letting a busy foreground compete with the view you came to photograph.
Choose framing and equipment for the view you have
A telephoto lens can isolate a distant feature and make overlapping ridges or buildings more prominent. It cannot remove atmospheric haze: magnifying the subject also magnifies the softened detail you see through it. Try several focal lengths rather than assuming the longest one is best. A wider lens can be more effective when the contrast between a crisp foreground and a faint background is the point of the image.
Check focus on an edge you can identify, and review the result at a larger magnification if your camera allows. Use a shutter speed that keeps the camera steady, especially with a long lens. A tripod can help when light is low or you want to compare carefully framed exposures, but it will not restore detail hidden by the atmosphere. A polarizing filter may reduce some reflections and deepen parts of a blue sky; its effect on distant haze varies with the light and viewing angle. Rotate it while watching the scene, and remove it if it makes the sky uneven or costs you light without improving the photograph.
Expose and edit without forcing clarity
Bright haze can make darker landforms look nearly black, while a bright sky can lose texture if overexposed. Check the image and its brightness display if available, paying attention to the areas you want to retain. If your camera offers raw capture, it can give you more flexibility when adjusting tones later. Take a second exposure if you are unsure whether to favor the sky or the foreground.
In editing, begin with overall exposure and white balance, then adjust contrast gently. A modest increase in local contrast or dehaze can help define distant shapes, but pushing those controls too far may create dark edges, odd colors or a gritty-looking sky. Compare your edit with the original at normal viewing size. If the subject was barely visible on location, let it remain subtle rather than trying to manufacture a crisp view. You can also crop away an empty stretch of sky if doing so strengthens the composition.
Try a three-frame travel exercise
At one viewpoint, make three deliberate photographs. First, frame the distant subject as clearly as possible, using the light and position available. Second, include a distinct foreground and use the pale distance as a backdrop. Third, look for layers or silhouettes and treat the haze as the main visual element. Keep the scene roughly the same so you can compare how each choice changes the picture.
Later, choose the frame that communicates the experience best, not simply the one with the most detail. Note where the light came from, which shapes stayed visible and whether your edit helped the viewer read the scene. That small comparison gives you a plan for the next hazy overlook: seek clarity when it is available, and build a composition around atmosphere when it is not.