Start with the trip, not the gear shelf
A lightweight kit is not simply the smallest kit you own. It is the smallest one that helps you make the photographs you care about on a particular trip. Before packing, name two or three likely subjects: street scenes, distant landscapes, portraits of companions, interiors, or small details. Then consider how much time you will have to stop and photograph. A dedicated photography trip can accommodate more equipment than a day spent keeping pace with friends.
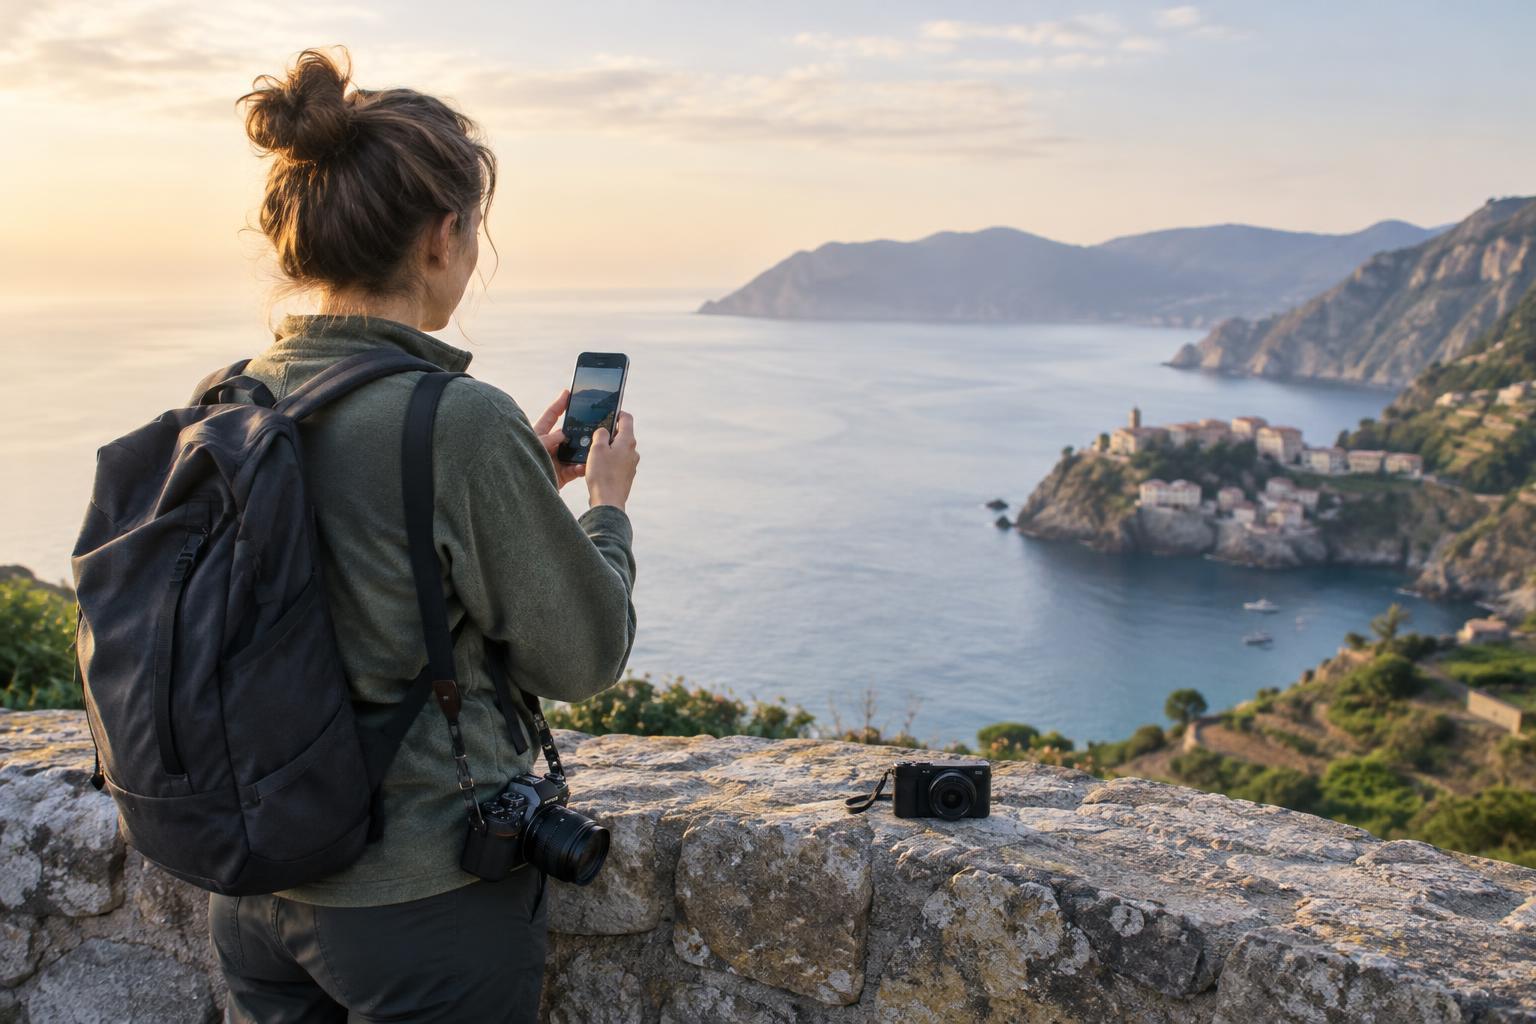
Choose one camera you are comfortable using without searching through menus. A phone may be enough when photography is incidental, while a dedicated camera may offer controls or lens options you value. Neither choice guarantees better pictures. Familiarity, access, and a camera you will actually carry matter more than filling every possible gap in focal length.
As a packing exercise, write down five pictures you hope to make. Beside each one, note the equipment it requires. If an item appears only next to an unlikely photograph, consider leaving it home. This turns packing into a decision about pictures rather than a decision about possessions.
Choose a simple lens plan
For a city break, a single versatile lens often keeps you ready for buildings, food, street details, and informal portraits. A compact zoom offers framing flexibility without frequent lens changes. A small fixed-focal-length lens can be lighter and encourage you to move to find a composition, but you may need to accept that some distant or very wide subjects will be out of reach. Pick the compromise that suits how you like to shoot.
On a landscape-focused trip, it is tempting to pack both an ultra-wide and a long telephoto. Think instead about the views you expect and the distance you will travel on foot. A modest wide-to-normal range can handle many scenes; a longer lens earns its place if isolating ridgelines, wildlife at a respectful distance, or layered scenery is a priority. If the route is strenuous, carrying less may leave you with more energy to explore.
For trips centered on people, prioritize a lens that lets you photograph comfortably at conversational distances. You do not need to pack a separate portrait lens just because you own one. Try making portraits with your planned travel lens before departure, paying attention to backgrounds and the distance between your subject and the camera. That rehearsal will reveal whether a second lens would solve a real problem.
Match the kit to the pace of the trip
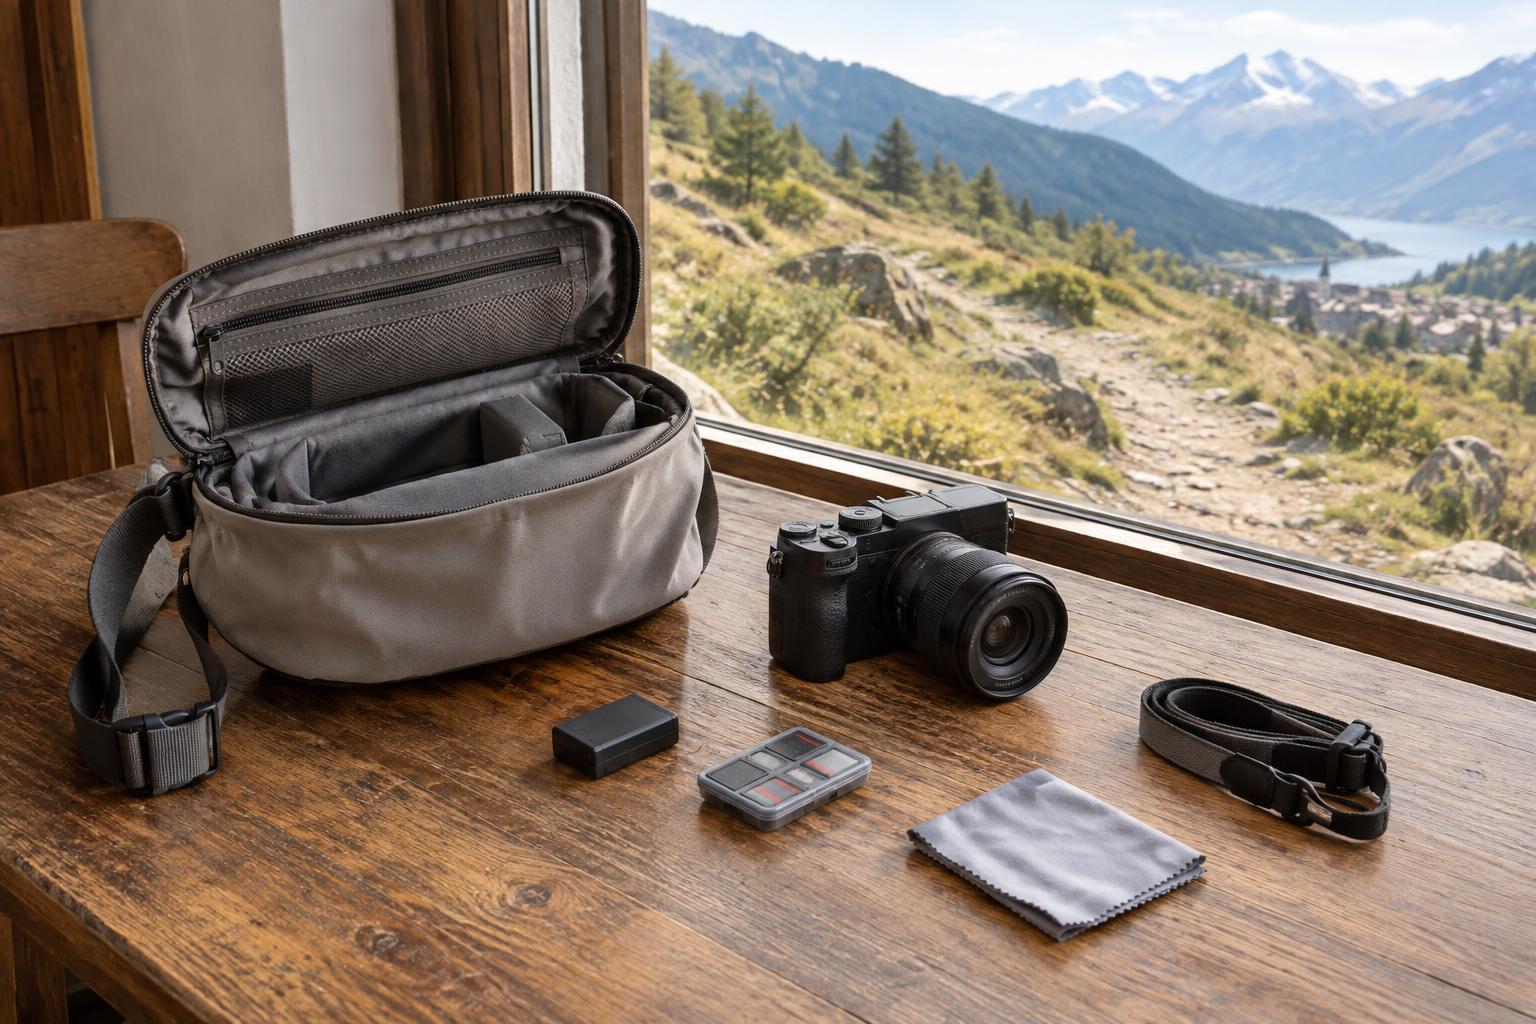
A walking-heavy city itinerary rewards quick access. One camera with one lens, a spare battery, and a small cleaning cloth may be all you need during the day. Keep anything you are unlikely to use until evening at your accommodation rather than carrying it through every museum or meal. If you plan to photograph after dark, test handheld techniques first; bring a small support only if it suits your subjects and where you will be shooting.
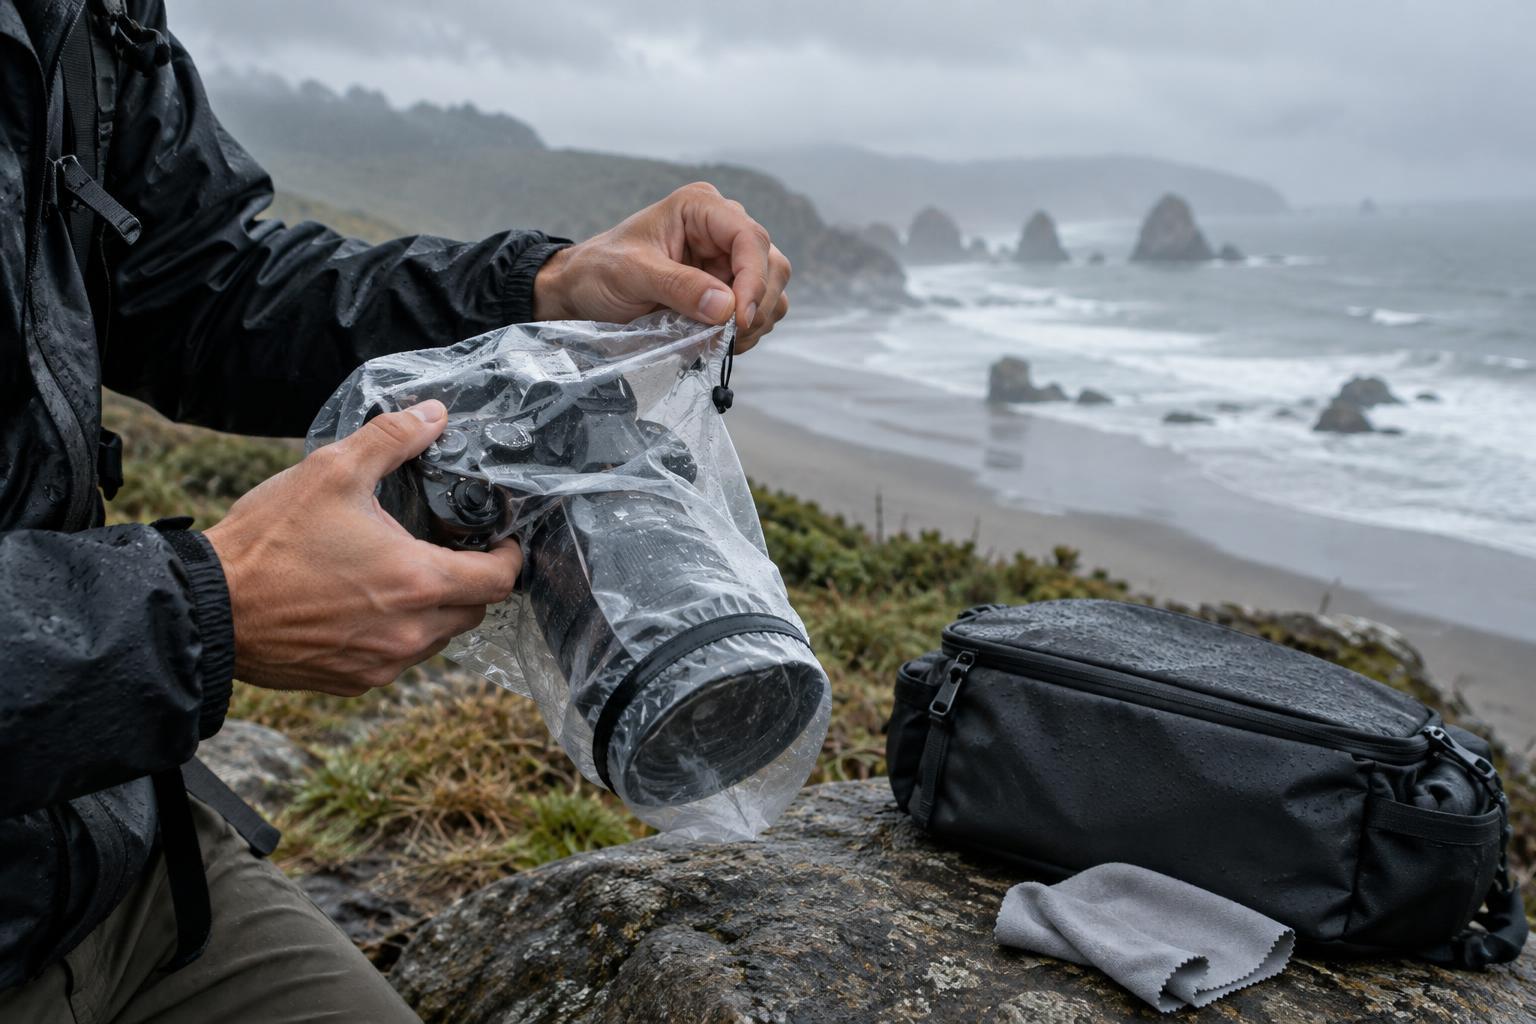
For a hike or outdoor journey, protection and carrying comfort may matter more than adding another lens. Use a bag that stays secure while you move and allows you to reach the camera without unpacking everything. A simple rain cover or protective pouch can be useful when conditions are uncertain, though no cover makes a camera invulnerable. Check the route and conditions before deciding whether a tripod is worth its weight.
On a family or group trip, minimize setup time. A camera that is easy to reach and a lens that works for both wider scenes and people can help you participate rather than constantly rearrange equipment. If you want photographs of everyone together, decide how you will place the camera safely and operate its timer before you leave.
Pack small essentials, then test the whole bag
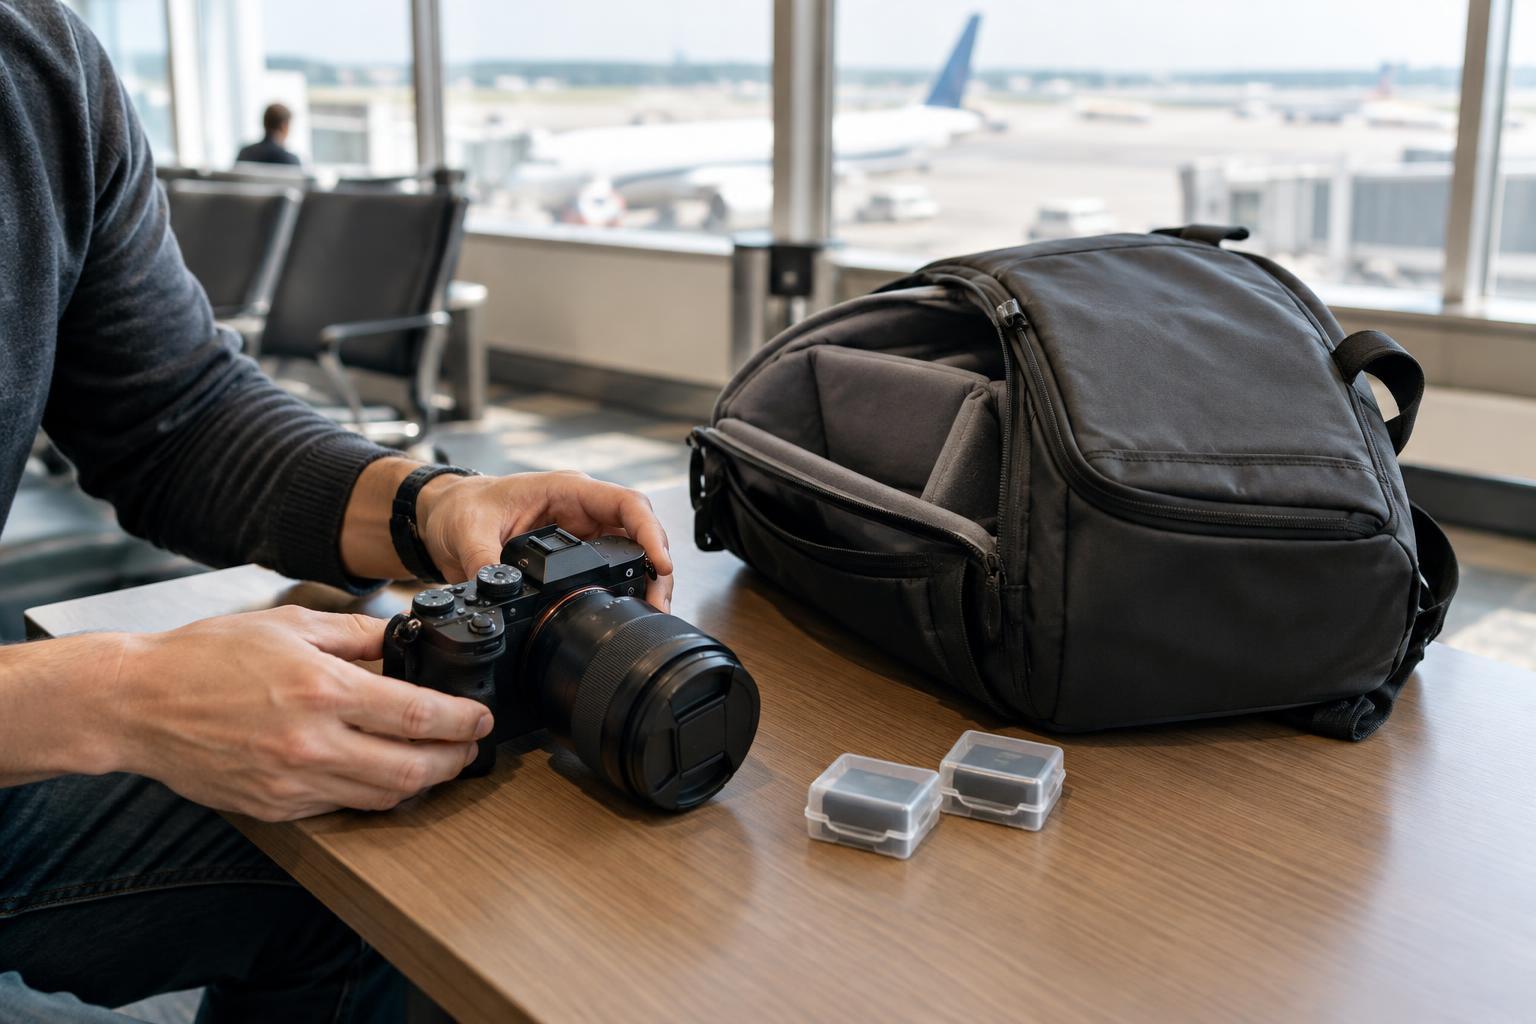
Accessories can quietly become the heaviest part of a kit. Pack enough power and storage for your plans, but avoid carrying every charger, cable, filter, and mount you own each day. Label or separate used memory cards so they are not accidentally reused. If you will back up images during the trip, practice the transfer process at home and check that the necessary cable or reader is in your bag.
Give each item a secure place, with the camera accessible and spare batteries protected from loose metal objects. Keep your bag within any transport limits that apply to your journey, and check carrier rules if you are flying. Before departure, take a walk with the packed kit for as long as you might carry it on a typical day. Notice whether it pulls on one shoulder, blocks access to essentials, or makes you reluctant to take it along.
Finally, make a few trial photographs using only what is in the bag. If you can make the kinds of images you planned without wishing for another item, the kit is doing its job. If not, change one thing and test again. The goal is not to pack perfectly for every possibility; it is to travel comfortably with tools you know how to use.