Start with a stable frame
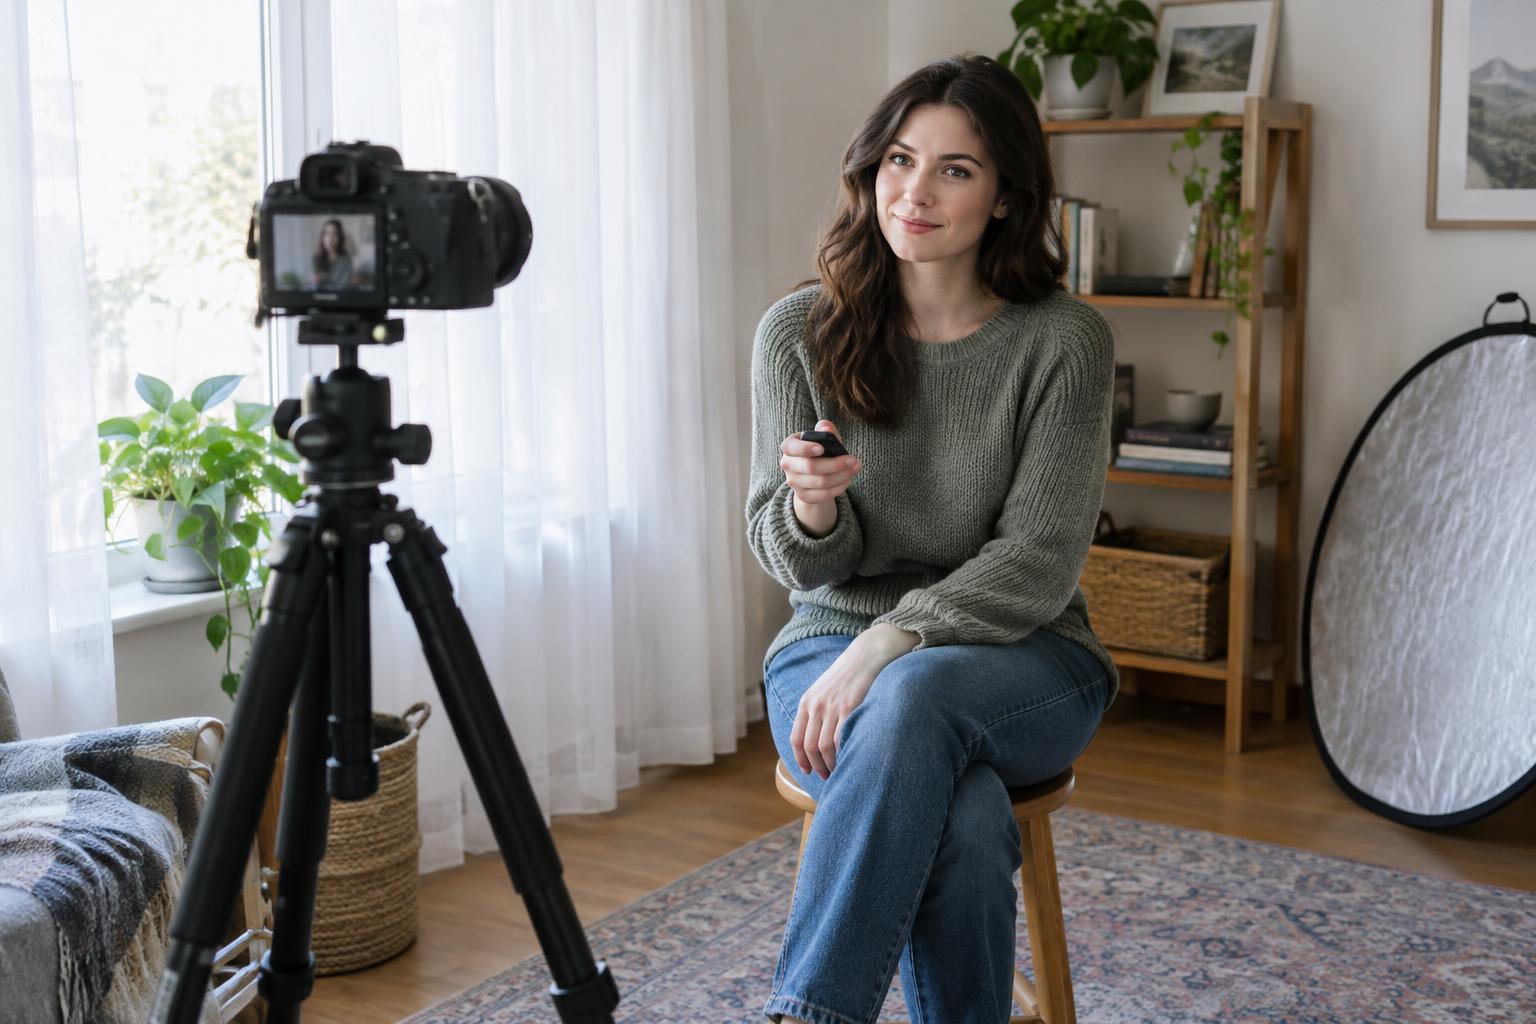
A self-portrait is easier to make when the camera position is settled before you step into the picture. Place your tripod on firm ground, spread its legs fully, and check that the camera is secure. Keep the center column low if you can; raising it may make the setup less steady. If you are working outdoors, be especially careful around wind, uneven ground, and passing people. A shelf or other solid surface can substitute for a tripod, but make sure the camera cannot slide or tip.
Decide where you will stand or sit, then frame a little wider than you think you need. That extra room gives you space to shift your shoulders, move your hands, or crop later. Put a chair or other stand-in at your intended position while you compose. Check the background for bright distractions and objects that appear to intersect your head. Once the frame works, mark your position with something unobtrusive, such as a small piece of tape indoors, so you can return to it between shots.
Choose how to release the shutter
A camera’s self-timer is the simplest place to begin: it needs no extra device and gives you a few seconds to get into position. A longer delay is useful when you must walk several steps or settle into a pose. If your camera offers a sequence of timed frames, try it for small changes in expression without running back after every exposure. Check the settings before you start, since timer options vary between cameras and phones.
A remote release can make the session feel less rushed. Depending on your camera, that might be a handheld remote or a phone app. It lets you trigger the shutter when your posture feels natural, though you may need to hide the device or keep it outside the frame. Whatever you use, take one test shot first. Confirm that the shutter fired, the camera stayed still, and you have enough time to reach your mark. The best choice is the one that lets you concentrate on the portrait rather than the countdown.
Make focus and exposure repeatable
Focus is often the trickiest part of photographing yourself. If your camera supports face or eye detection, test whether it finds you reliably at your chosen distance. Otherwise, place your stand-in where your eyes will be, focus on it, and switch to manual focus if your setup allows. Avoid moving forward or backward after that. Use a moderately narrow aperture when light permits to give yourself some room for small position changes; an extremely shallow depth of field can leave your eyes soft even when the rest of the setup looks right.
Take a test frame and inspect it closely, not just as a small preview. Zoom in on the eyes to check sharpness, then look at the brightest parts of your face and clothing for lost detail. If the light remains consistent, a fixed exposure can keep a series from changing brightness as you move within the frame. A shutter speed fast enough to handle your movements will help if you turn your head or use your hands. When the camera is locked down, stabilization cannot correct motion from the person in front of it.
Shape the light, then vary the pose
You do not need an elaborate lighting setup. A window with indirect light can provide a gentle starting point; stand at an angle to it and turn your face until the shadows feel right. If one side looks too dark for the portrait you want, try a pale wall or a piece of white card to reflect some light back. With a lamp, watch for harsh shadows and distracting light sources in the frame. Set the light first, then keep returning to the same mark so you can judge changes in pose rather than changes in illumination.
Instead of attempting a different pose for every frame, work in small groups. Keep your feet in place and change only your gaze: toward the lens, past it, then downward. Next, vary your shoulders or hands. Give yourself a moment to breathe between releases; a relaxed posture often reads differently from one held through a countdown. Review the frames for details you can act on, such as a hand blocking your face or a shadow crossing an eye, rather than judging the whole portrait at once.
Try a short self-portrait exercise
Make three sets of five frames in one location. For the first set, keep the framing and light unchanged while you experiment with expression. For the second, alter only your body angle. For the third, move the camera closer or farther away and recheck focus. Use a timer for one set and a remote for another if both are available. Notice which method gives you more time to settle and which makes it easier to catch a fleeting expression.
Afterward, choose one frame from each set and compare them at the same size. Ask whether the eyes are sharp, the background supports the subject, and the pose feels intentional. Make modest edits to brightness, color, and crop, saving an untouched original so you can reconsider your choices. The exercise is not about finding a single perfect picture. It is a way to learn which parts of your setup are reliable, so your next self-portrait session starts with fewer technical interruptions.