Recognize what is lighting each part of the scene
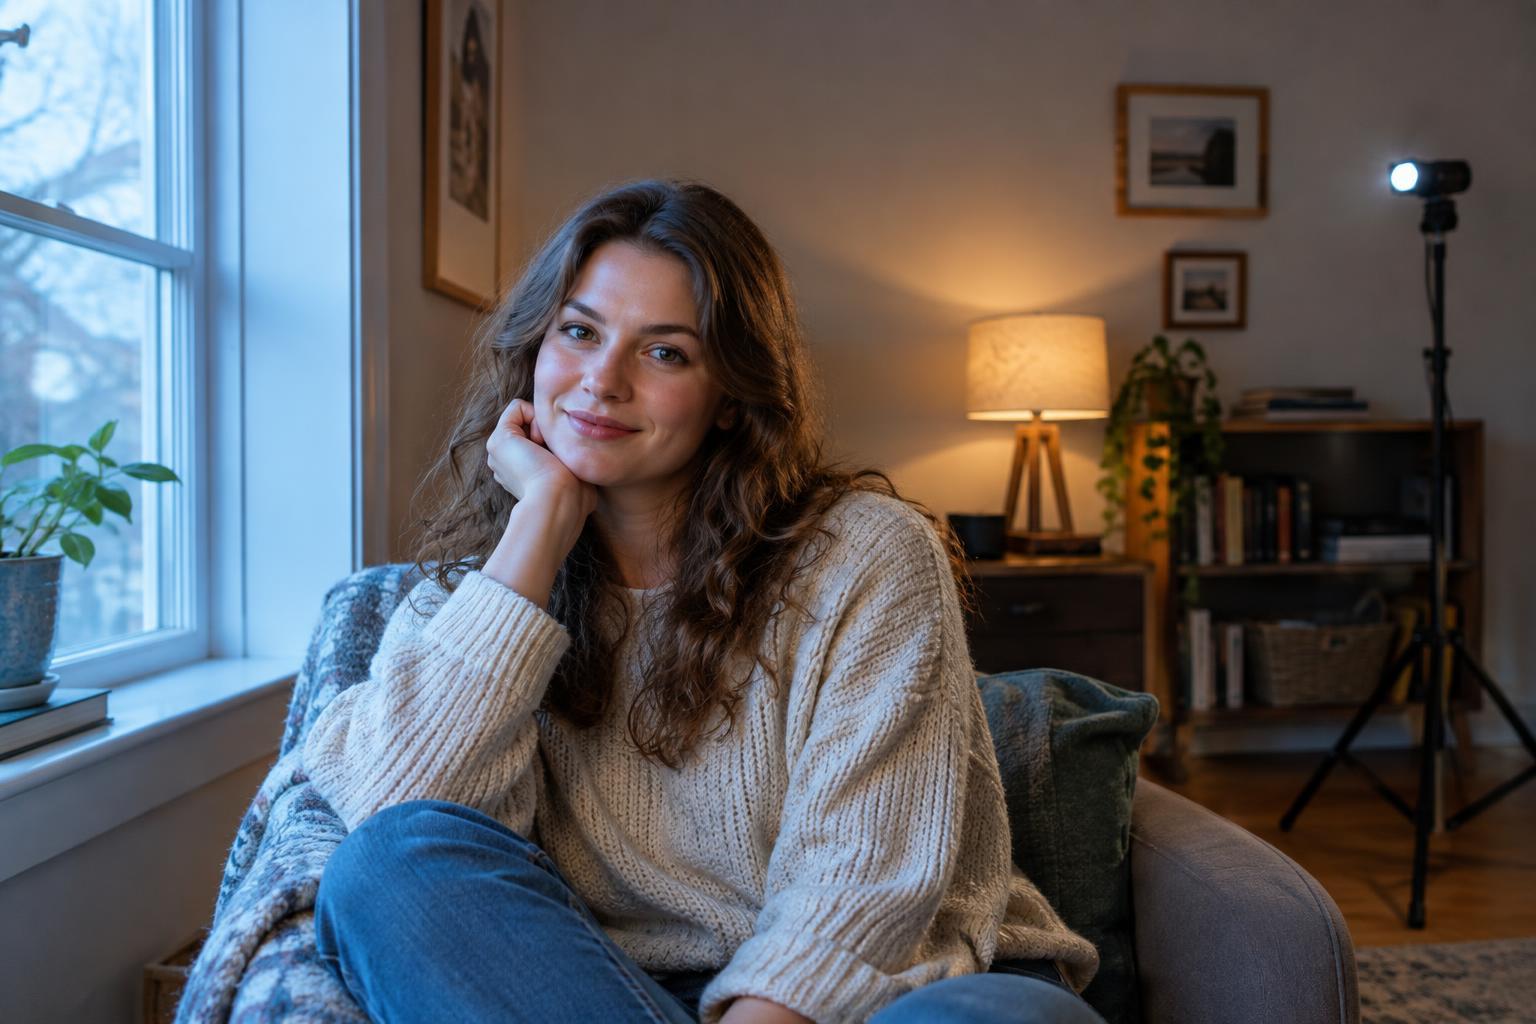
Mixed light appears when sources with different color qualities illuminate the same photograph. A person beside a window may receive cool-looking daylight on one cheek and warm-looking lamplight on the other. A flash may add a third look. The problem is not that one source is necessarily wrong; it is that a single white balance setting cannot make every differently lit surface neutral at once.
Before changing camera settings, look for where each source falls. Check skin, white clothing, walls, and any reflective surfaces. Is the window lighting your subject while a lamp lights only the background? Or are both sources crossing the face? That distinction matters: a warm background can feel inviting, while a face split into unrelated color casts can be distracting. Color temperature is a useful starting point, but lamps may also have green or magenta casts that a simple warm–cool adjustment will not fully correct.
Simplify the light before trying to correct it
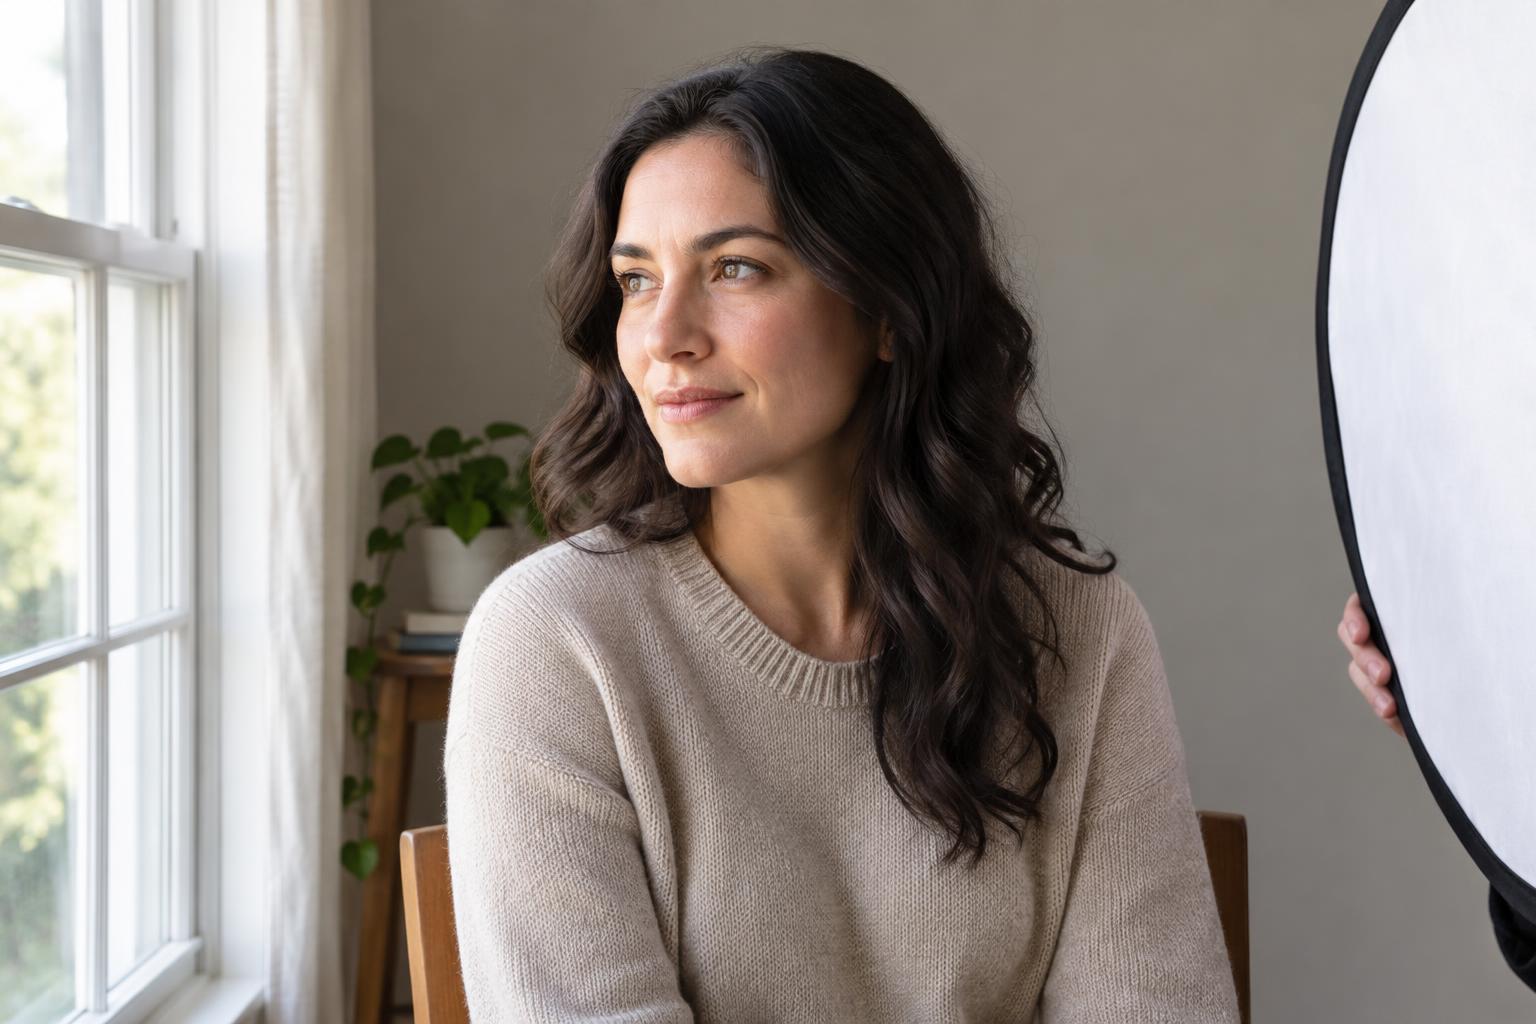
The most reliable fix is often to give one source the main job. Move a portrait subject closer to the window and turn off the nearby lamp, or place them where the lamp lights their face and the window becomes background detail. You can also change your camera angle so that conflicting light falls on less important parts of the frame. Small changes in position may do more than extensive editing later.
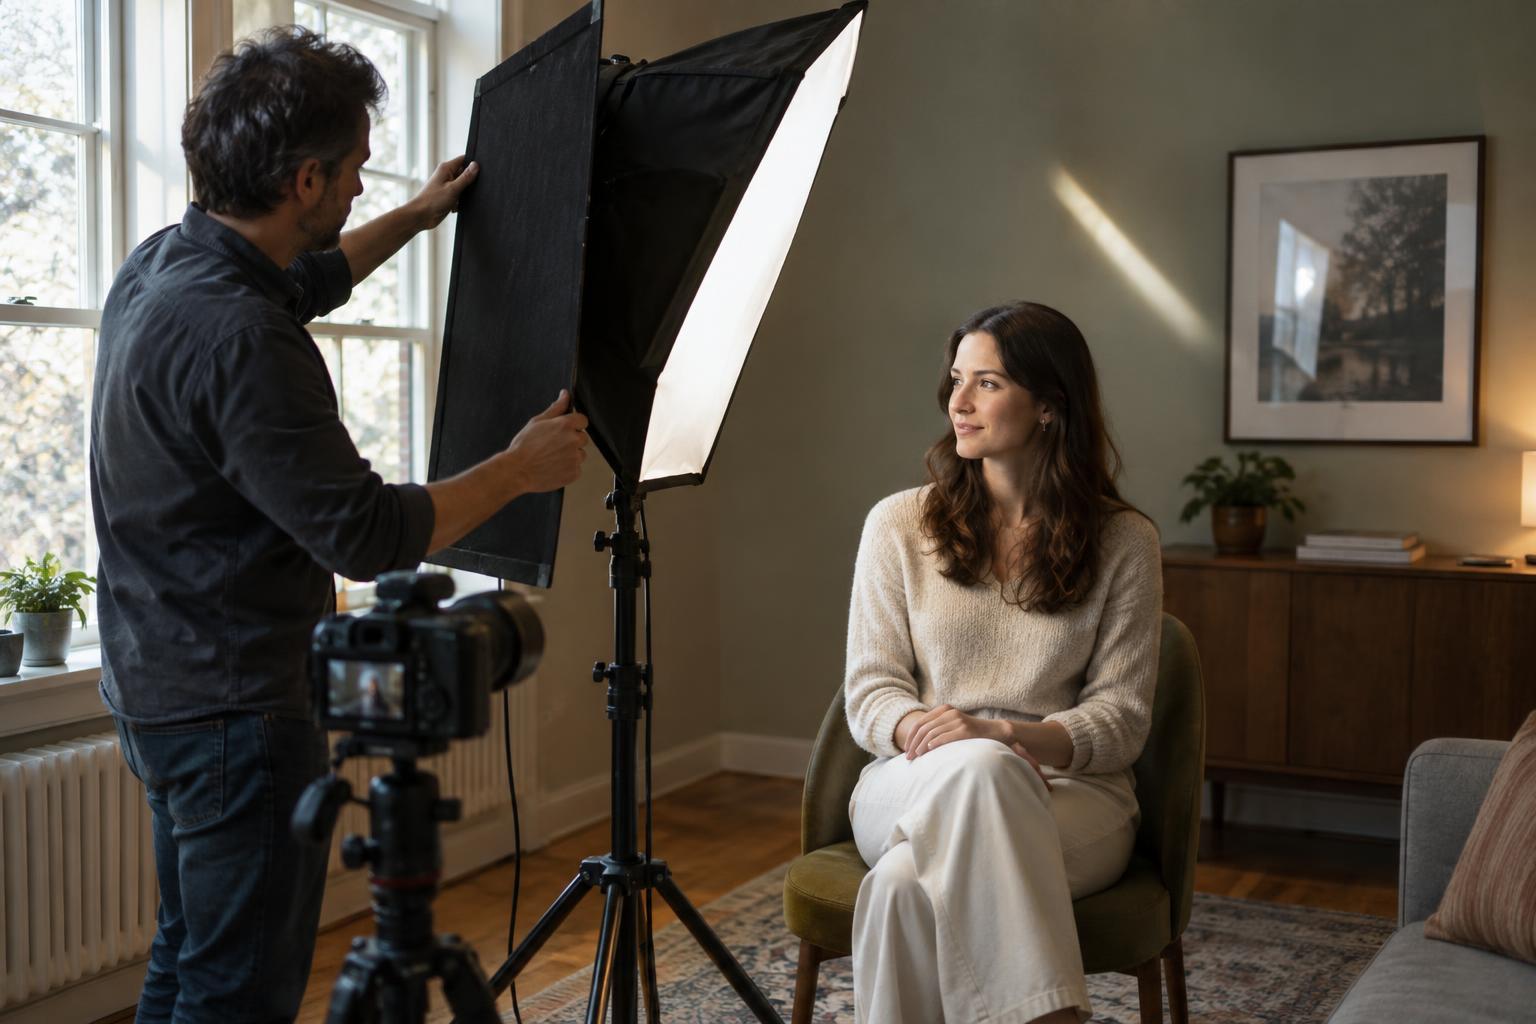
If you want to keep both sources, decide which one should define the subject. A lamp illuminating only the room behind a daylight-lit subject creates separation without forcing two colors onto the same skin. Watch for pale walls that bounce unwanted light back into the scene, and use a curtain, door, or piece of dark card to reduce a spill when practical. Take a test frame after each change; your eyes adapt to a room’s lighting more easily than the camera does.
Choose a white balance for the subject
White balance changes how the camera interprets color across the whole image. In mixed light, set it for the area that matters most, usually a face, a product, or another main subject. Auto white balance can be a quick starting point, but it may shift between frames as your composition changes. A fixed setting gives a series of photographs a more consistent baseline, even if some background lights remain visibly warm or cool.
Shooting RAW gives you more flexibility to refine that baseline in editing, but it does not erase a color boundary running across a face. If accurate color matters, photograph a neutral gray card in the subject’s light as a reference. Place it where the subject is, not across the room under a different lamp. You can use that reference to establish a neutral starting point and then adjust for the mood you intended; not every scene benefits from making every surface look white.
Match sources when the color difference is distracting
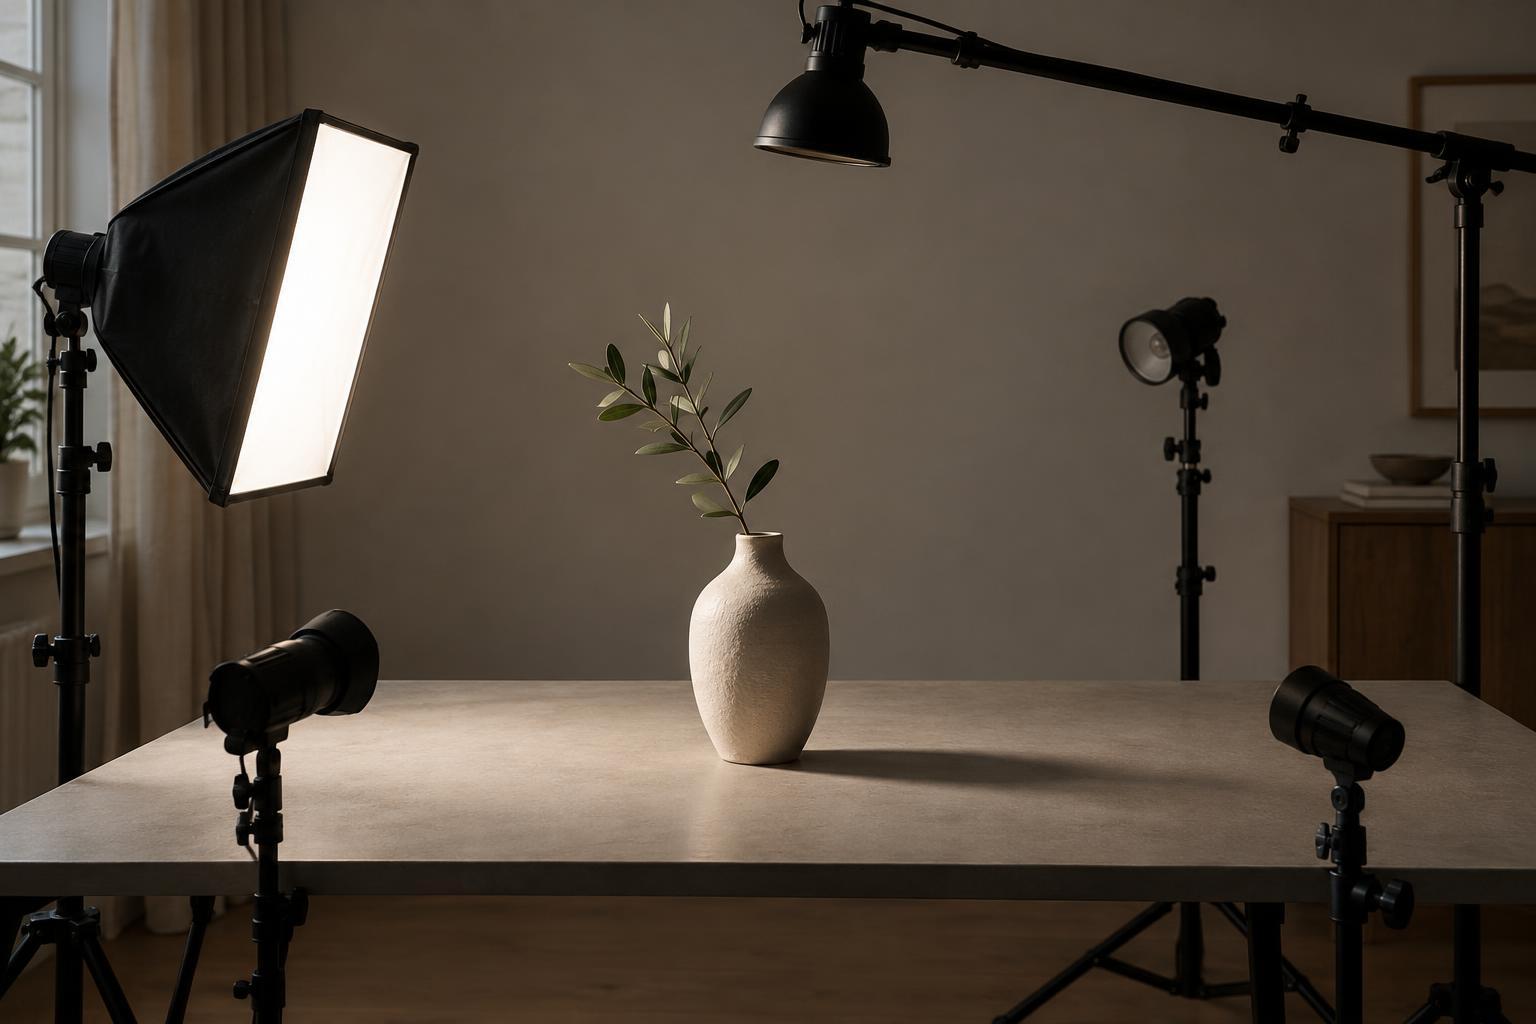
When you control an added light, you can bring it closer to the color of the light already in the room. A warming gel on flash, for example, can help it blend with warm lamps. A tunable LED can serve a similar purpose if it offers an appropriate setting. Make a test photograph rather than relying only on a dial or label: different bulbs can look different even when they seem similarly warm to the eye.
Matching is not always necessary. A cool window and warm lamp can communicate the feel of an interior, especially when each lights a different part of the frame. Aim to avoid accidental color patches on important details rather than chasing perfect uniformity everywhere. If a lamp casts an unusual green tint, changing its position or switching it off may be simpler than trying to match it with another light.
Edit locally, then practice with one room
In editing, first set an overall white balance that makes the subject believable. Then use restrained local adjustments if a separate area needs attention. A mask can reduce excessive warmth in a wall or soften a cool patch on clothing, but strong corrections may make edges and shadows look unnatural. Compare your edit with the original occasionally so you preserve the scene’s atmosphere rather than flattening every color difference.
For a useful exercise, photograph the same simple subject beside a window with a lamp in the background. First use both lights as you find them. Next, turn off the lamp; then turn it back on and reposition the subject so it no longer strikes their face. Keep your exposure and framing as consistent as you can, and compare where the color changes appear. The goal is to learn which differences improve the image—and which are easier to prevent before you press the shutter.