Start with comfort, not a perfect pose
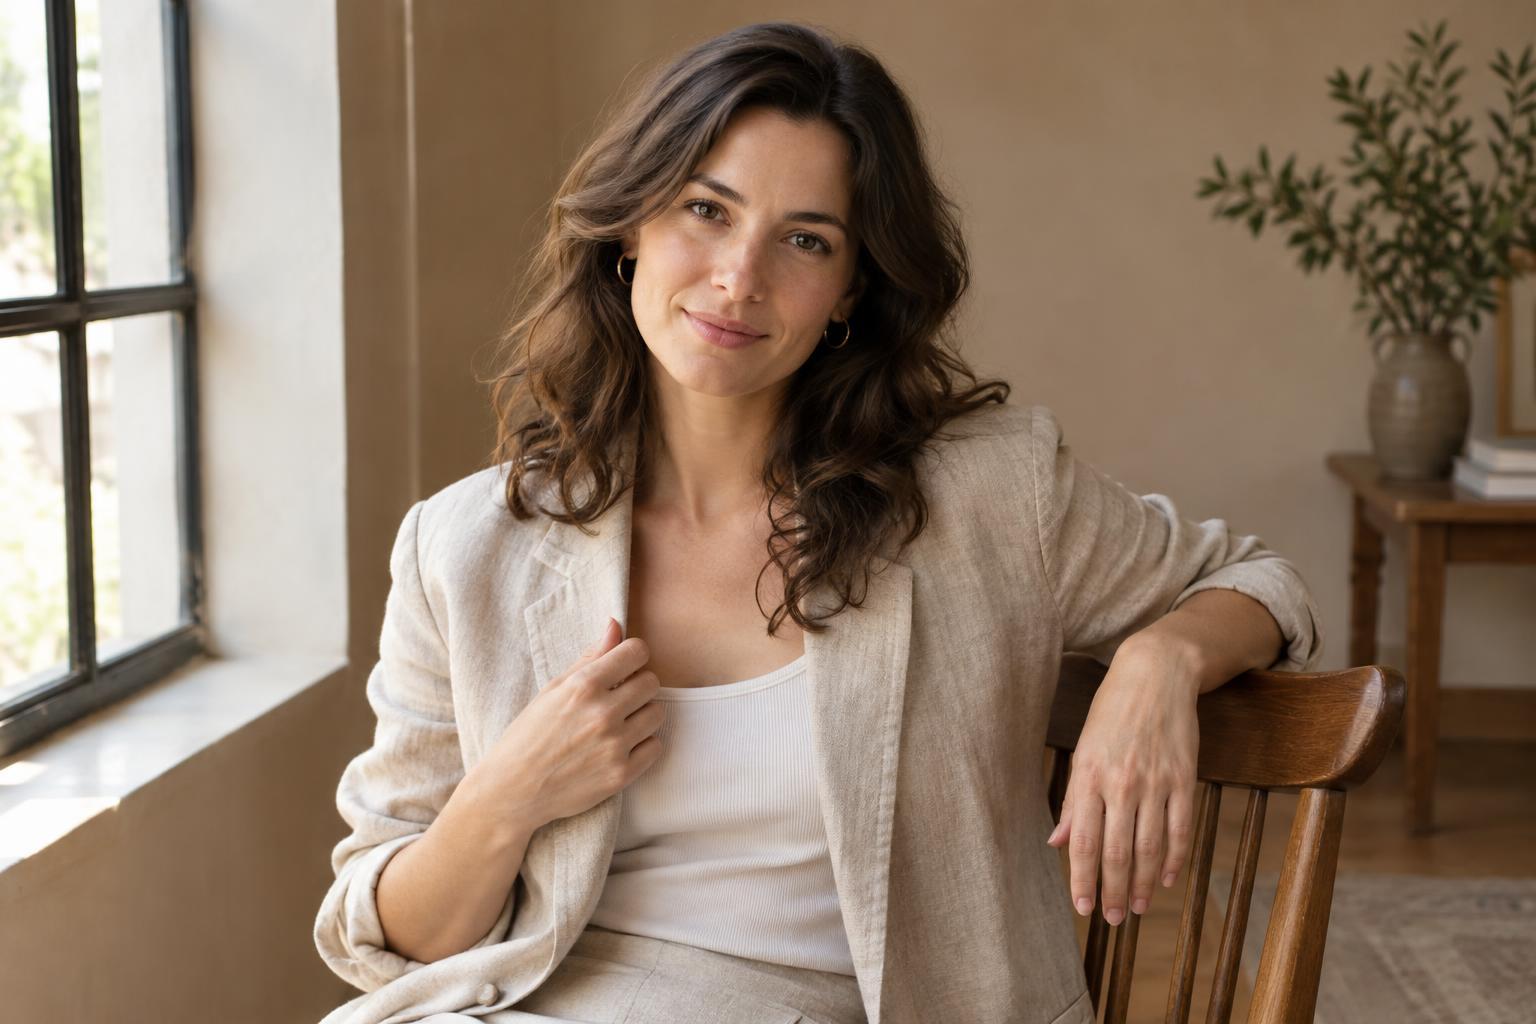
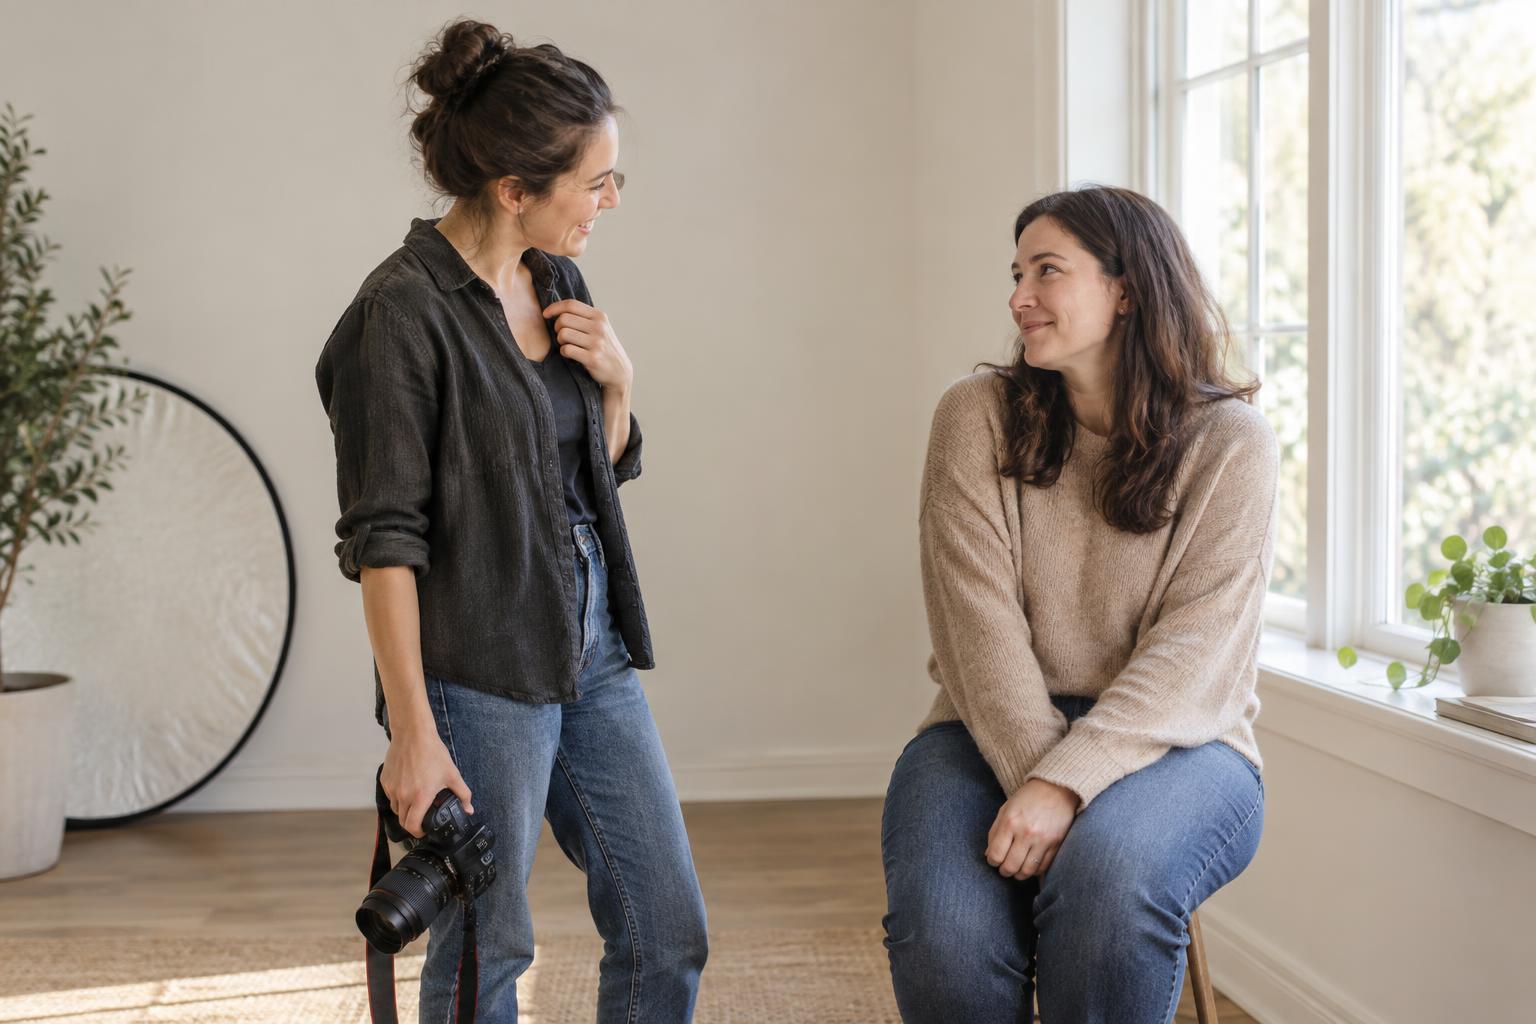
A person can feel awkward the moment a camera points at them, even if they were relaxed a second earlier. Before arranging arms and shoulders, explain what you are making together. Tell your subject whether you want a quiet portrait, a lively one or a mix of both. Show them where the best light falls and give them an easy starting position, such as standing near a window or sitting sideways on a chair. A simple plan leaves less room for the question, “What am I supposed to do?”
Keep your first directions broad and reassuring. You might say, “Settle your weight onto one foot and turn toward me a little.” Take a few frames while they adjust rather than waiting for a flawless pose. Conversation can help, but it need not be constant. Some people relax while talking; others prefer a moment of quiet. Notice what makes this particular person more at ease, and avoid making them hold an uncomfortable position for long.
Give one small direction at a time
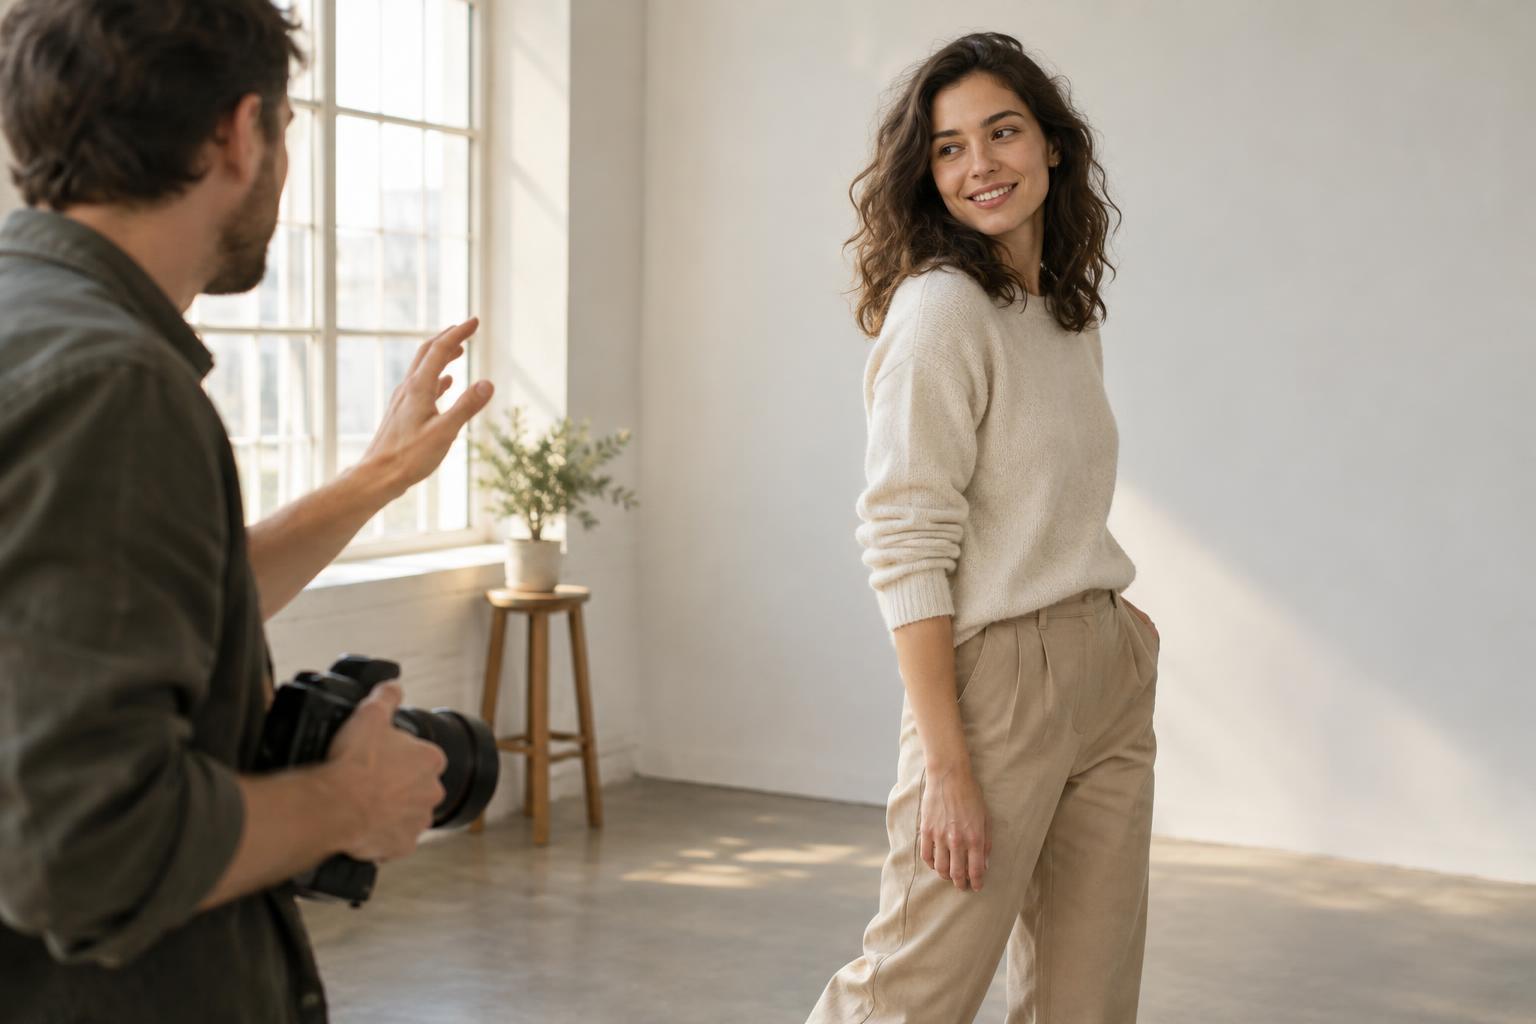
“Be natural” is hard to act on because it gives no physical task. Precise prompts work better: “Turn your shoulders slightly away from the camera,” “Let your hands rest on the chair,” or “Look toward the window, then back at me.” Make one change, take a few frames and decide what to adjust next. A series of small choices feels more manageable than a list of instructions delivered all at once.
Think about the pose from the ground up. Where the feet point affects the hips and shoulders; where the shoulders point affects how the face meets the light. For a standing portrait, ask the subject to shift weight onto one leg and leave the other relaxed. For a seated portrait, invite them to sit toward the front of the chair and lean forward slightly if that feels comfortable. These are starting points, not rules. If a position looks strained or feels unlike the person, change it.
Hands often draw attention because people do not know what to do with them. Offer a purpose instead of prescribing every finger: hold a jacket, rest a hand on a railing or lightly touch a sleeve. Check that the action fits the subject and setting. If they keep gripping or pressing their hands flat, ask them to release the pressure and try the action again.
Use movement to find the moments between poses
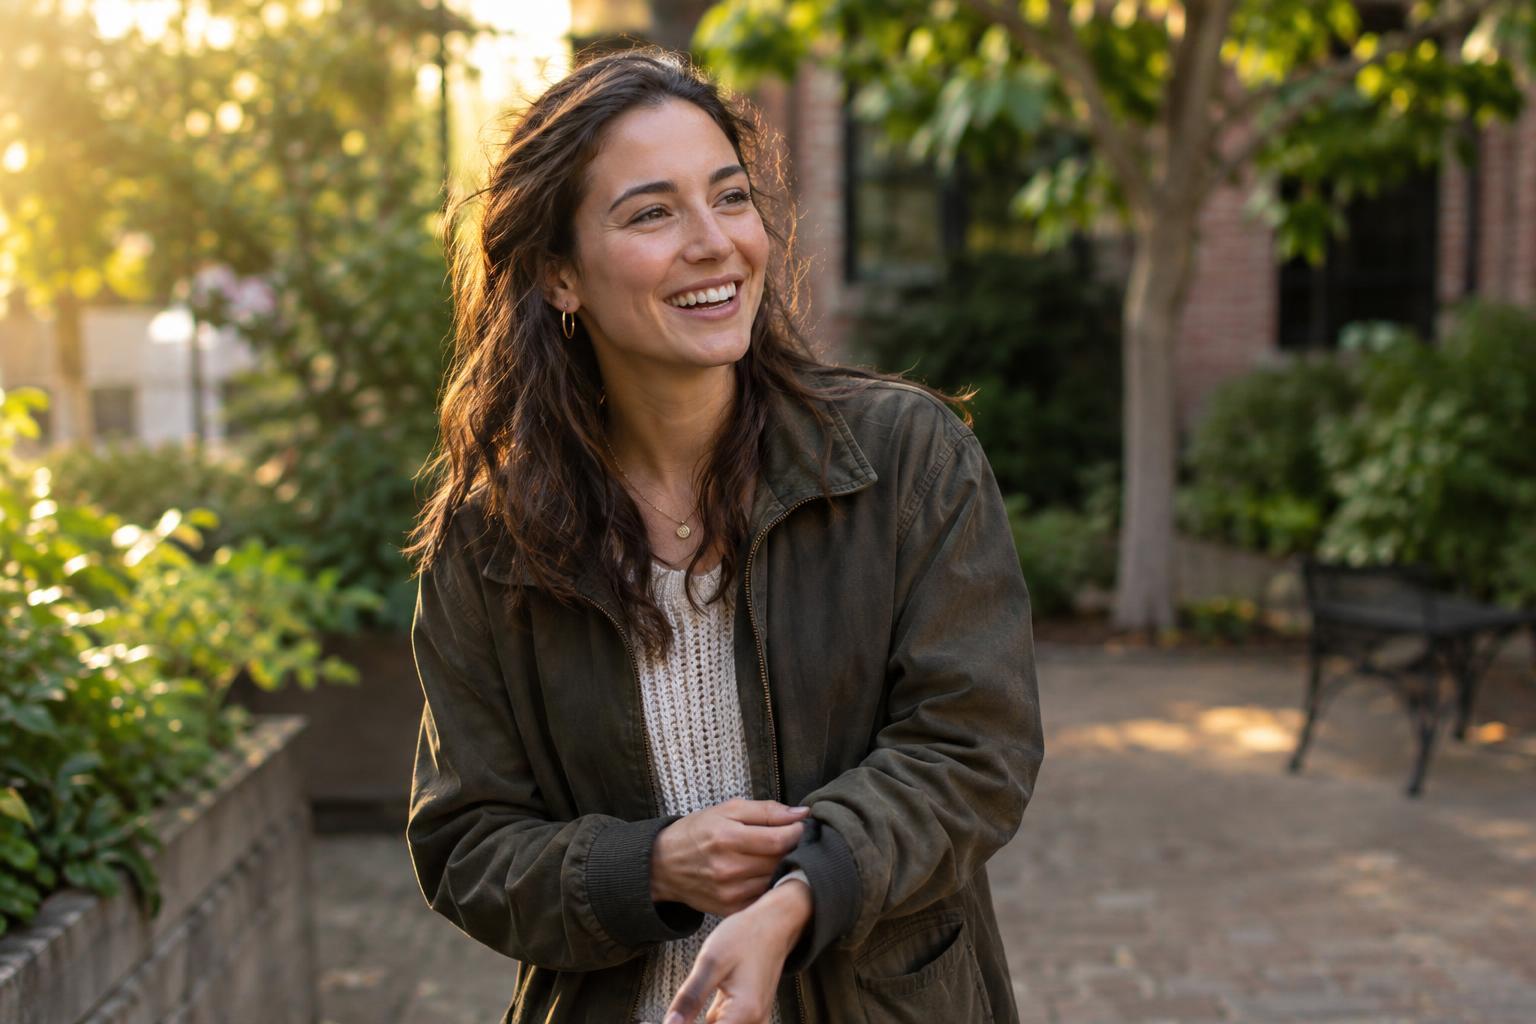
A fixed pose can become stiff when someone holds it while waiting for the shutter. Give them a short action they can repeat: take two slow steps, turn toward the light, sit down and settle in, or look away before returning their gaze to the camera. Photograph the transitions as well as the end position. A change in balance or a brief pause after movement can look more at ease than the pose you planned.
Keep the action small enough for your space and light. If you are working beside a narrow window, a full walk may move the subject out of the useful light; a gentle turn may be enough. Leave space in your frame for the movement, and choose a shutter speed that avoids unwanted motion blur. You do not need special equipment for this approach. A lens that lets you work at a comfortable conversational distance can make direction easier than one that forces you to shout from across the room or stand uncomfortably close.
Direct expression without demanding a smile
Expressions can tighten when every frame comes with a request to smile. Instead, describe a mood or give the subject something specific to respond to: “Take a breath and look just past the camera,” or “Think about the part of your work you most enjoy.” A prompt may produce a subtle change rather than a dramatic expression, and that is often enough. If a suggestion does not land, move on without making the subject feel they performed it incorrectly.
Pay attention to the moments after you lower the camera, too. If someone relaxes immediately, consider keeping the conversation going while you raise it again. You can also show a promising frame on the camera screen, if the subject wants to see it. Point out what is working, such as the light or the shape of the pose, rather than focusing on features they may feel self-conscious about. Useful feedback builds trust and gives them a clearer sense of what to repeat.
Practice directing, then review the whole sequence
Try a short exercise with a willing friend. Choose one spot with consistent light and make three sets of portraits: first with a simple standing position, next with one hand given a task, and finally with a small turn or step. In each set, change only one direction at a time. Afterward, look beyond the single best image. Which prompt helped your subject relax? When did their posture begin to tighten? Did you give them enough time to respond before changing course?
Use those answers to build a small collection of prompts you can say comfortably in your own voice. The aim is not to make every person pose the same way. It is to offer clear options, watch their response and keep what feels right for them. Direction works best as a collaboration: you handle the light and framing, while making room for the person in front of your camera to look like themselves.