Check before you pack
A place that welcomes visitors may still limit photography. Museums might permit personal snapshots in permanent galleries but prohibit them in a temporary exhibition. A historic site may allow handheld cameras while restricting tripods. A place of worship may welcome photographs outside visiting hours but ask visitors to put cameras away during a service. Treat permission as specific to the location, activity, and moment rather than assuming that a general admission ticket covers every image you want to make.
Before your visit, look for the venue’s visitor information or photography policy on its official website. Check whether it distinguishes personal from commercial use and whether it mentions flash, video, tripods, selfie sticks, drones, or large bags. If the wording is unclear and a particular shot matters to you, contact the venue in advance with a concise question: where you hope to photograph, what equipment you plan to bring, and how you intend to use the images. Keep the reply accessible during your visit, but remember that staff may need to respond to conditions on the day.
Read the room when you arrive
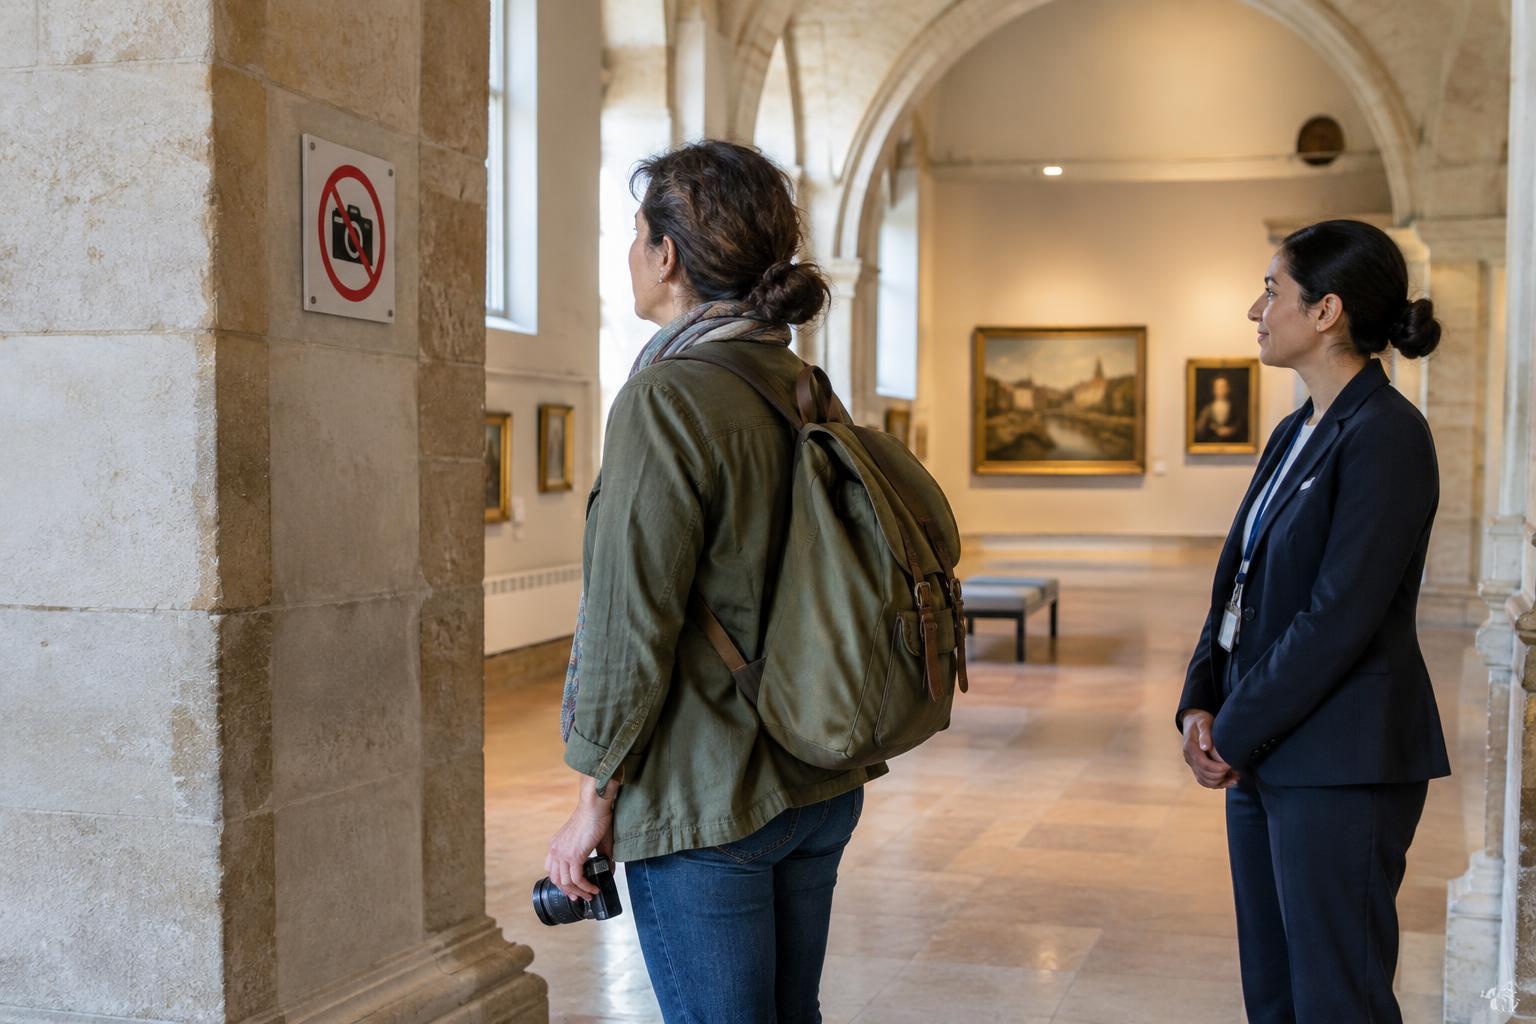
Look for signs at entrances, ticket desks, galleries, and individual objects. Rules may vary within the same building, particularly around borrowed works, fragile interiors, or active worship spaces. If a sign seems to conflict with information you read earlier, pause and ask a staff member rather than testing the boundary with a quick exposure. A simple question—“Is handheld photography without flash permitted here?”—is easier to answer than “Can I take pictures?”
Permission to photograph a space is not necessarily permission to photograph everyone in it. Avoid interrupting ceremonies, blocking a doorway, or framing a stranger as the subject without their agreement. Be especially careful where people may be praying, grieving, or taking part in a private moment. If photography is allowed but the atmosphere calls for quiet, silence camera sounds where possible and take fewer, more deliberate frames.
Match your kit to the rules
A compact setup makes it easier to work within common restrictions. One camera and a versatile lens let you move without repeatedly setting down a bag or changing equipment in a crowded space. If flash is prohibited, turn it off before entering and check that an automatic mode will not reactivate it. When tripods are not allowed, steady the camera with a comfortable stance and choose a shutter speed you can hold reliably. Raising sensitivity or accepting a little natural grain may be preferable to making a blurred image—or breaking a rule.
Avoid treating equipment restrictions as creative obstacles to work around secretly. A monopod, clamp, or small tabletop tripod may still count as support equipment even if a policy only names tripods; ask before using one. The same applies to lighting panels, microphones, and extensive video rigs. In historic interiors, keep bags and gear away from delicate surfaces. If you cannot make the image safely and within the stated rules, let it go.
Make stronger pictures with permission
Once you know where photography is welcome, slow down and look for a clear subject. A doorway can frame an architectural detail; a repeating row of arches can guide the eye; soft light from a window can reveal texture without flash. At a busy site, wait briefly for a clean composition rather than asking other visitors to move. Photographing a few wide views, details, and contextual scenes can tell a fuller story than collecting many near-identical frames.
At places of worship, distinguish between a quiet visitor period and an active gathering. Even where cameras are permitted, it may be more considerate to photograph exterior details or an empty interior than to document participants. If you want a portrait of a guide, artisan, or fellow visitor, ask clearly and accept a refusal without negotiation. Respect for the people who use a place is part of making a thoughtful travel photograph.
Have a plan for no-photo spaces
A restriction does not have to end your visual exploration. Put the camera away and notice the features you might otherwise rush past: the direction of the light, the scale of a room, or the way visitors move through it. After you leave, jot down a few observations for your travel journal. You can also look for a permitted exterior viewpoint or photograph nearby streets and signs without implying that those images show the restricted interior.
As a small exercise, choose one site and prepare a two-column shot list before you go: images you hope to make if allowed, and alternatives if photography is limited. On arrival, confirm the rules, then make three considered frames from permitted areas or write three visual notes instead. The goal is not to return with a photograph at any cost; it is to leave with a more attentive record of the place.