Camera height is a compositional choice
Before you change lenses or rearrange a scene, try moving the camera vertically. A photograph made from standing height can feel entirely different when made from a crouch or from a safe, slightly elevated position. Camera height affects what overlaps, how much ground or sky appears, and which parts of the scene command attention.
Height is not the same as camera tilt. You can lower the camera while keeping it level, or stay at the same height and point it downward. Both choices change the frame, but only moving the camera changes the position from which objects line up. To compare heights fairly, start by keeping your subject in roughly the same place in the frame and notice what happens around it.
Notice what the foreground reveals
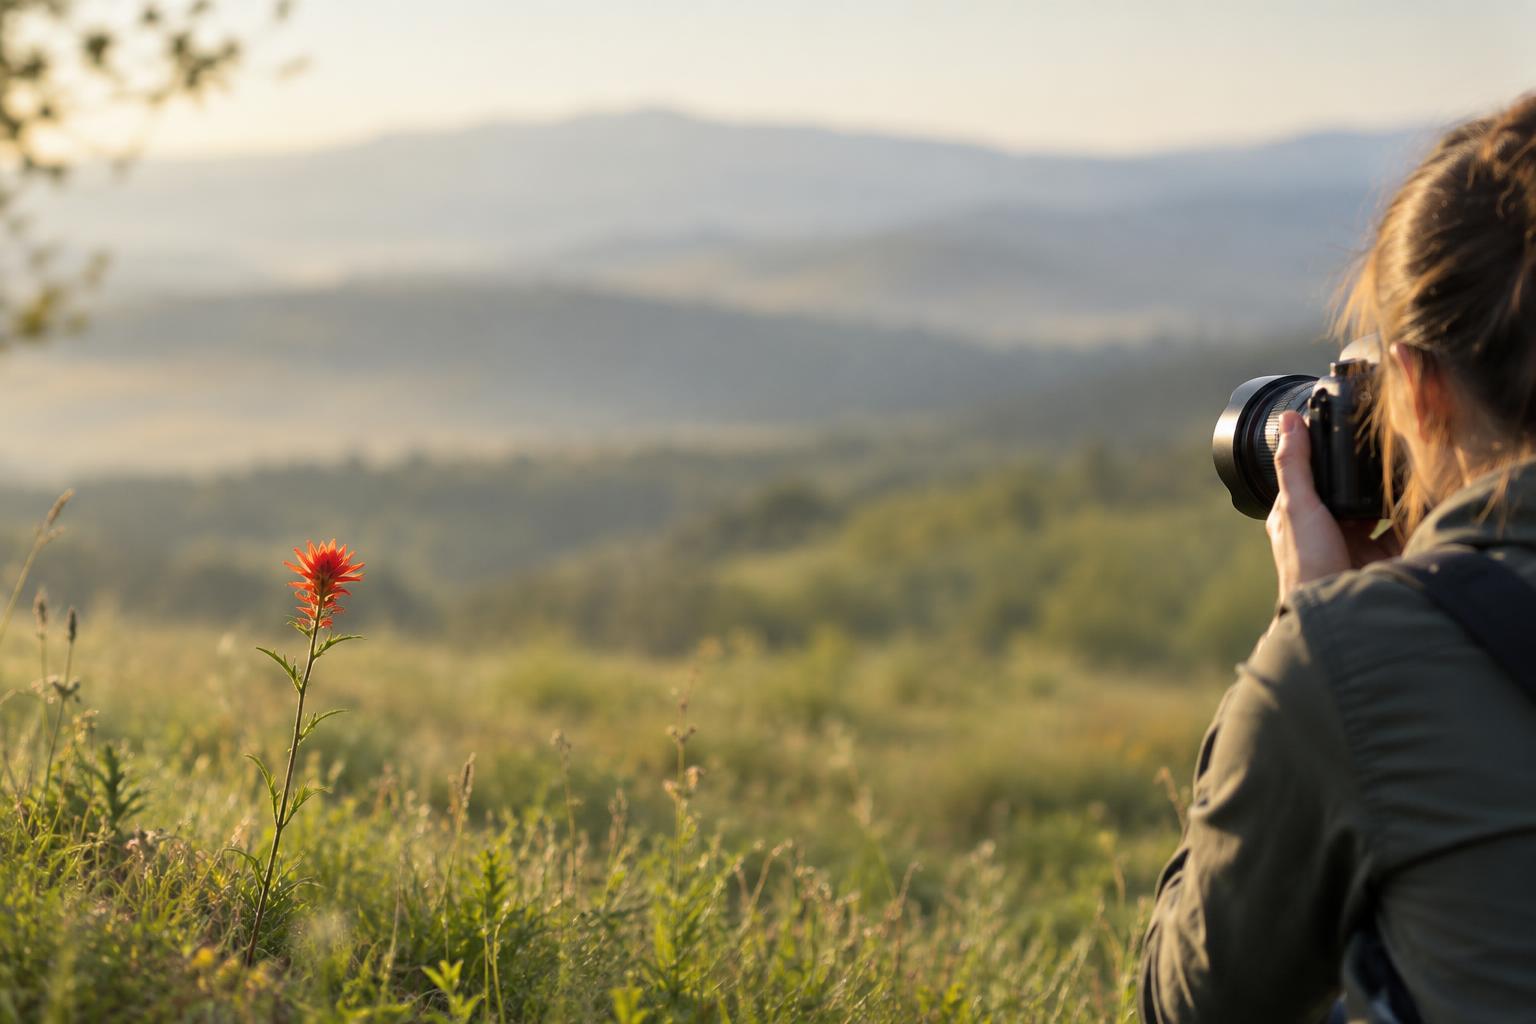
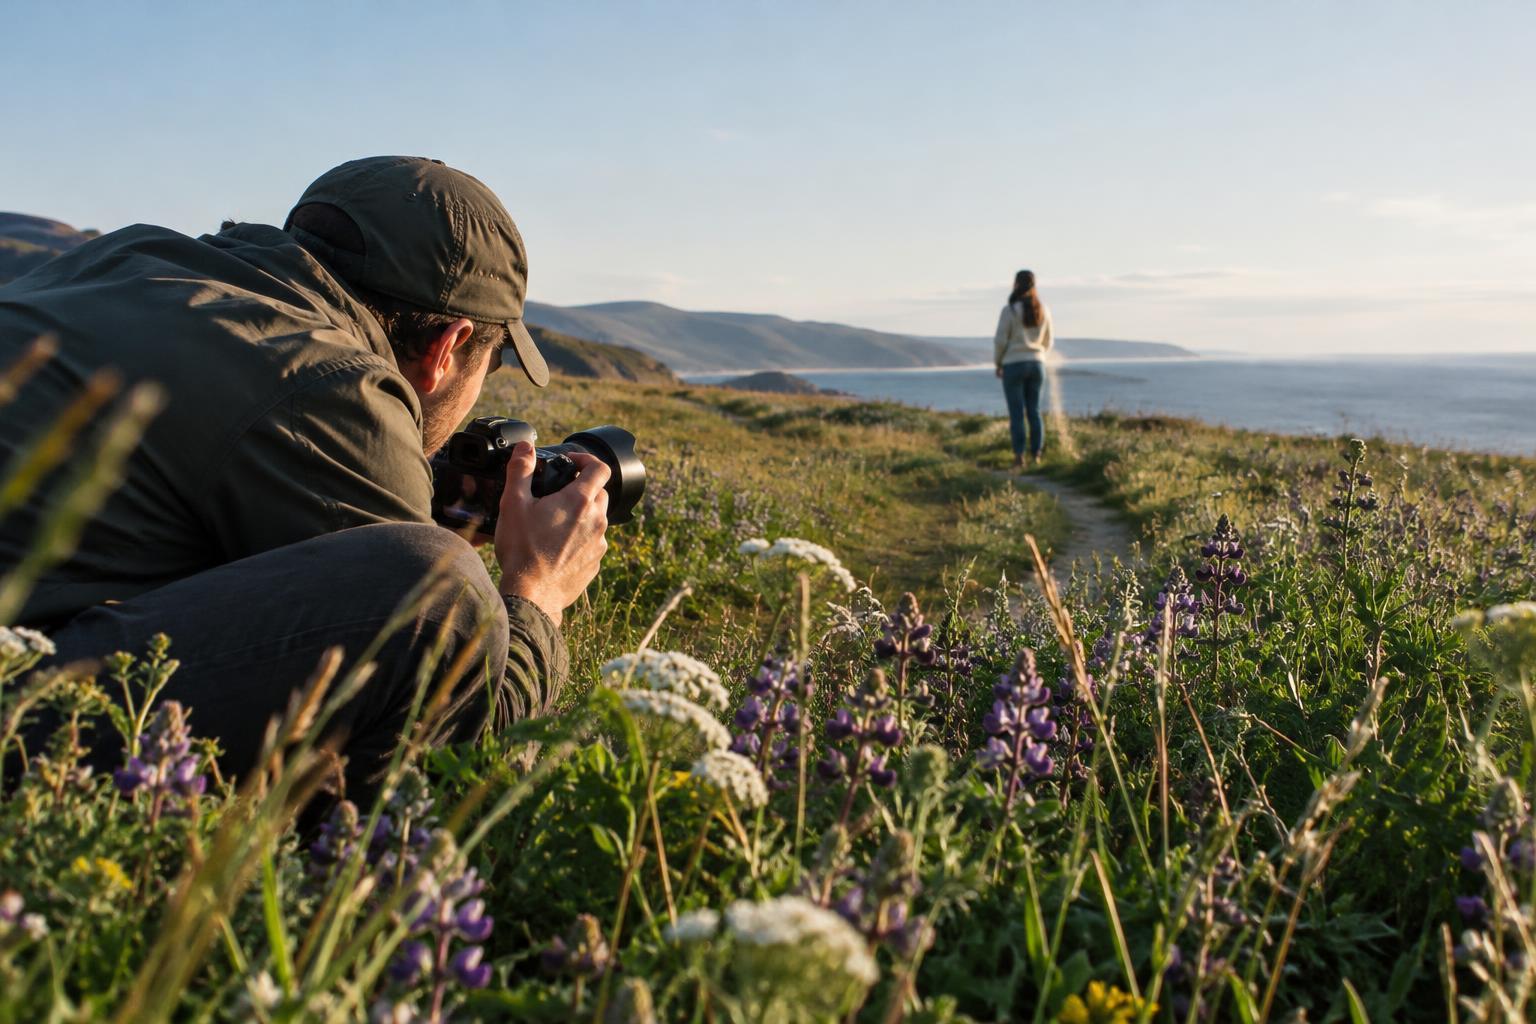
At a low camera height, nearby ground can become a prominent foreground. A path may seem to lead toward your subject, while grass, pavement texture or a puddle can add depth. Move even lower and those details may hide the subject instead. Check the edges of the frame: a foreground shape that looks interesting in person can turn into a distracting blur when it sits close to the lens.
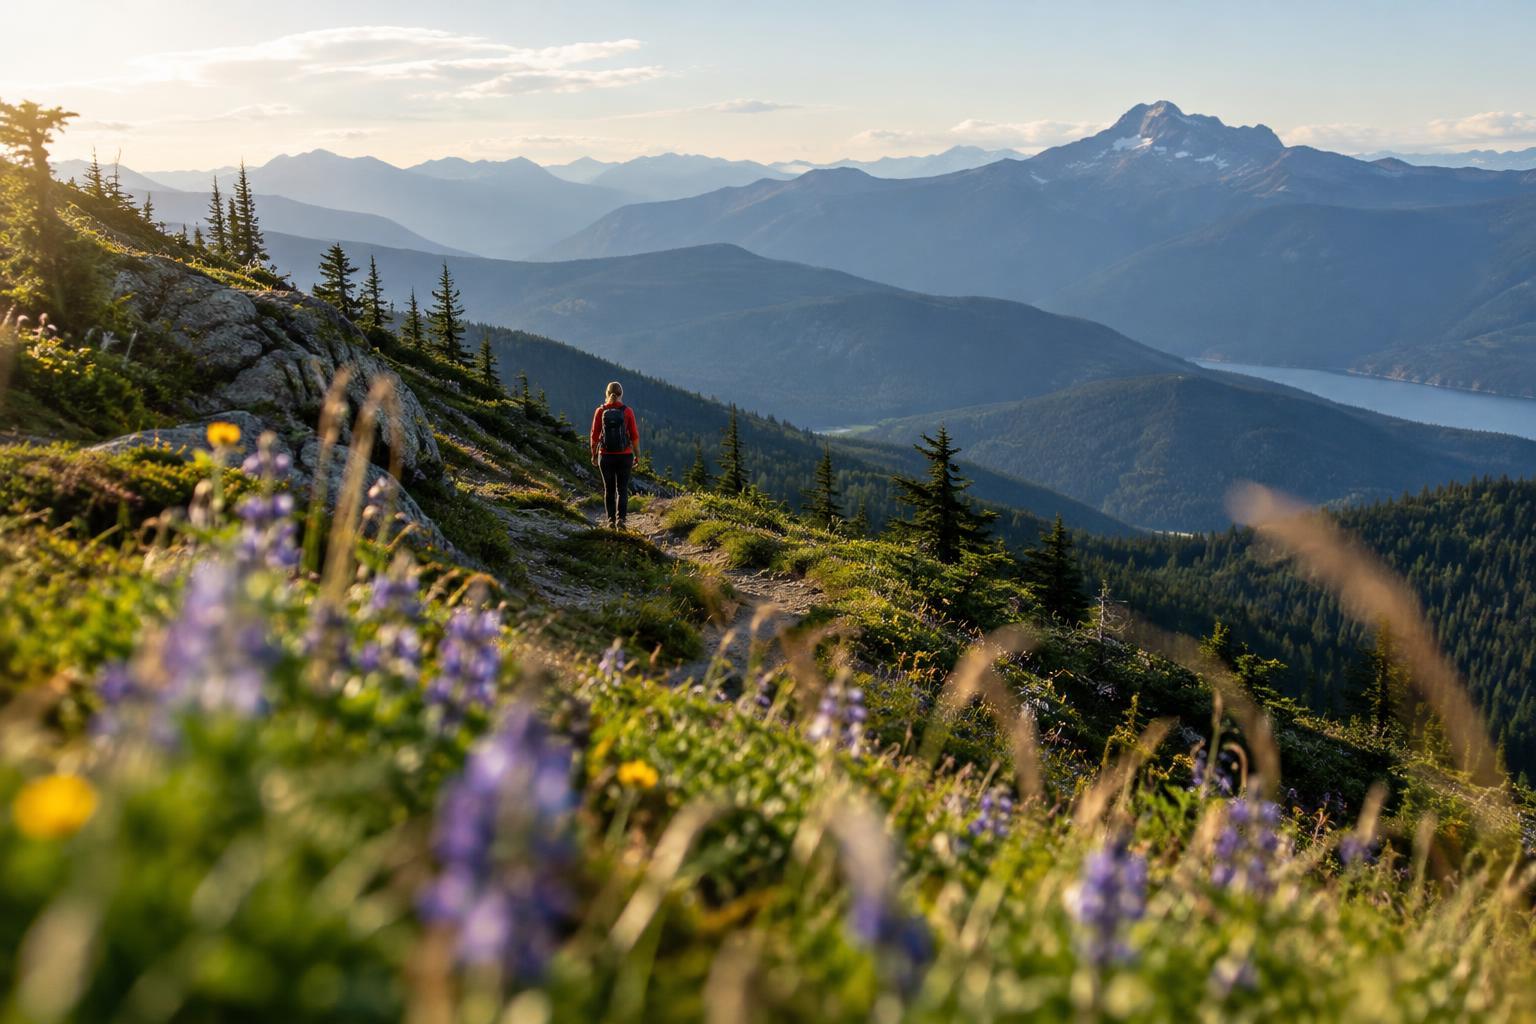
A higher position usually lets you see more of the surfaces below you. From a staircase or a suitable overlook, a tabletop, patterned floor or winding street may become a clear part of the design. This can help separate objects that overlap from a lower viewpoint. Avoid climbing onto unstable objects for a photograph; a modest change in height is often enough to improve the arrangement.
Watch the background and horizon
Changing height also moves the background relative to your subject. When you crouch, a person's head might rise above a distant fence or line of parked cars. Stand up, and those same elements may cut across the face. In a still life, raising the camera might replace a busy wall behind an object with a simpler tabletop. These shifts are easy to miss if you concentrate only on the main subject.
The horizon deserves a deliberate check, especially outdoors. A low viewpoint may place it behind or above your subject, depending on your framing and tilt; a higher viewpoint can reveal more ground beyond nearby obstacles. There is no required horizon position. Instead, look for awkward intersections and decide whether the sky, land or subject should carry the picture. Moving a few inches can be more useful than trying to repair a distracting overlap later.
Choose height for the subject
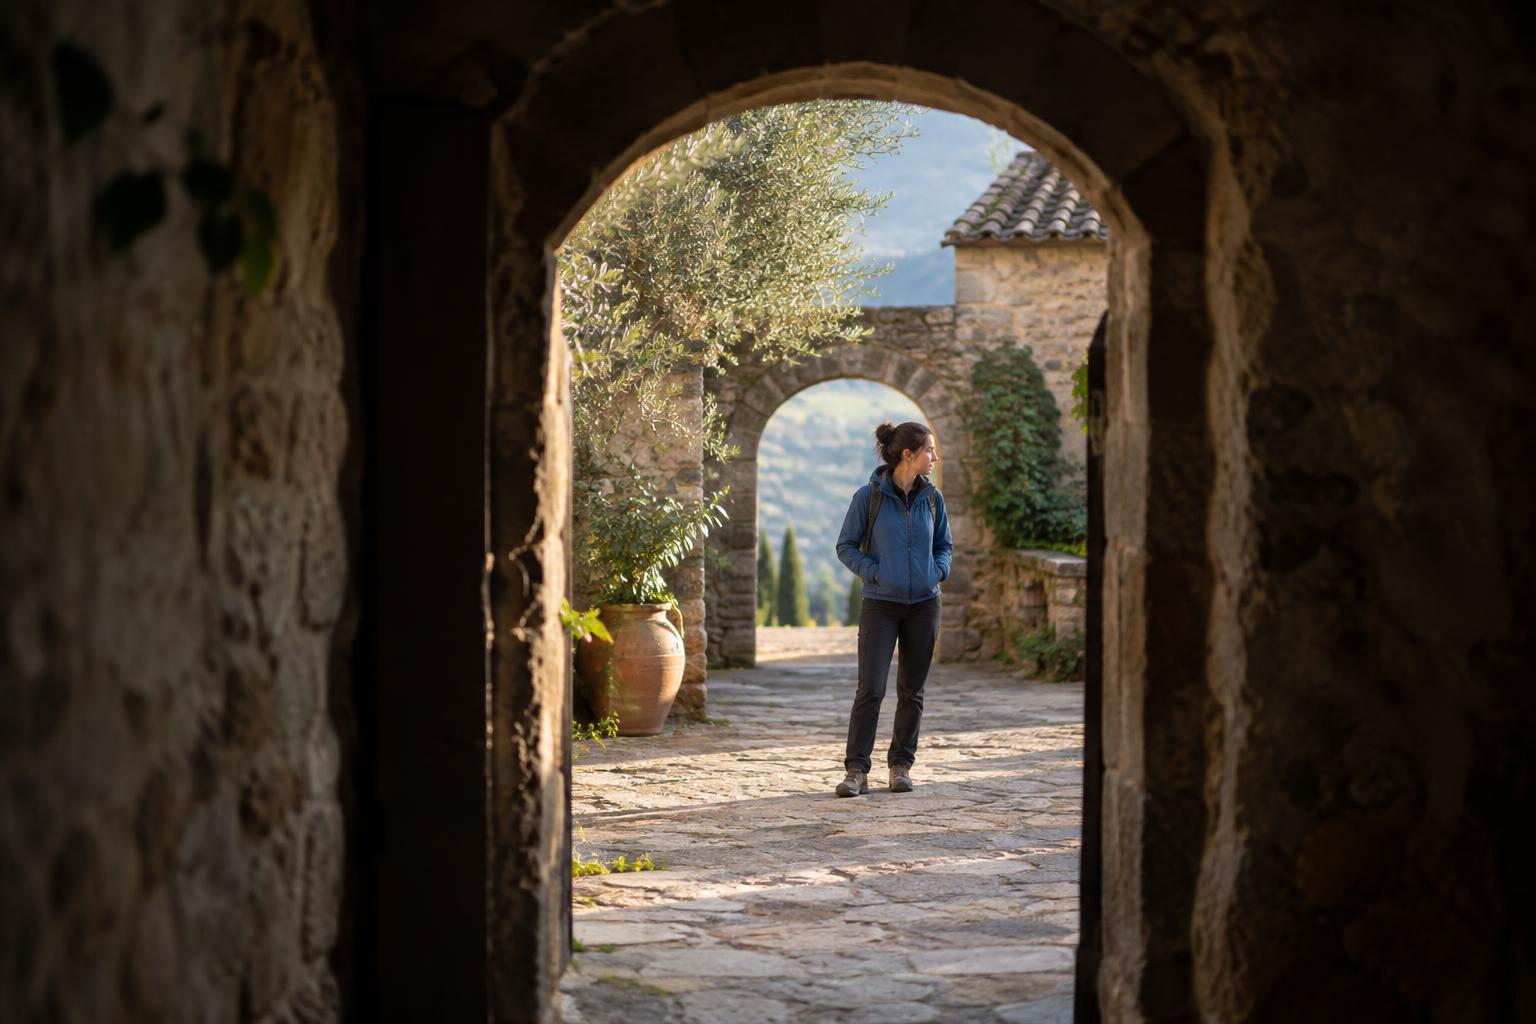
For portraits, camera height influences both connection and shape. Photographing someone near their eye level often feels direct because the viewer meets their gaze without looking sharply up or down. A lower camera can emphasize height or make a person stand out against the sky; a higher one can bring the setting into view. Neither is automatically flattering. Look at how the nearest features, shoulders and surroundings appear, and adjust with your subject rather than relying on a fixed rule.
The same thinking applies to smaller subjects. Getting close to a pet's eye level can make its world feel more present, while a higher view may better show its position within a room or landscape. For travel scenes, an elevated view can clarify the layout of a market or square, whereas a lower view can emphasize the rhythm of footsteps and street-level details. Choose the height that makes the relationship you care about easiest to read.
Try a three-height exercise
Find a stationary subject with a visible foreground and background, such as a chair beside a window or a bicycle near a wall. Make one photograph from your usual standing position, one from about seated height, and one from a safe higher position. Keep the same lens setting if possible, and try to give the subject a similar amount of space in each frame. If you need to move closer or farther away to do that, note that distance changes perspective too.
Review the three images side by side. Which objects overlap the subject? Where does the horizon or strongest background line fall? How much attention goes to the foreground? Pick the frame that best serves your intended subject, then make one more photograph with a small height adjustment. This final step turns the exercise into a useful habit: before pressing the shutter, check whether the camera is at the height the composition needs, not merely the height at which you happened to be standing.