Two names for changing light
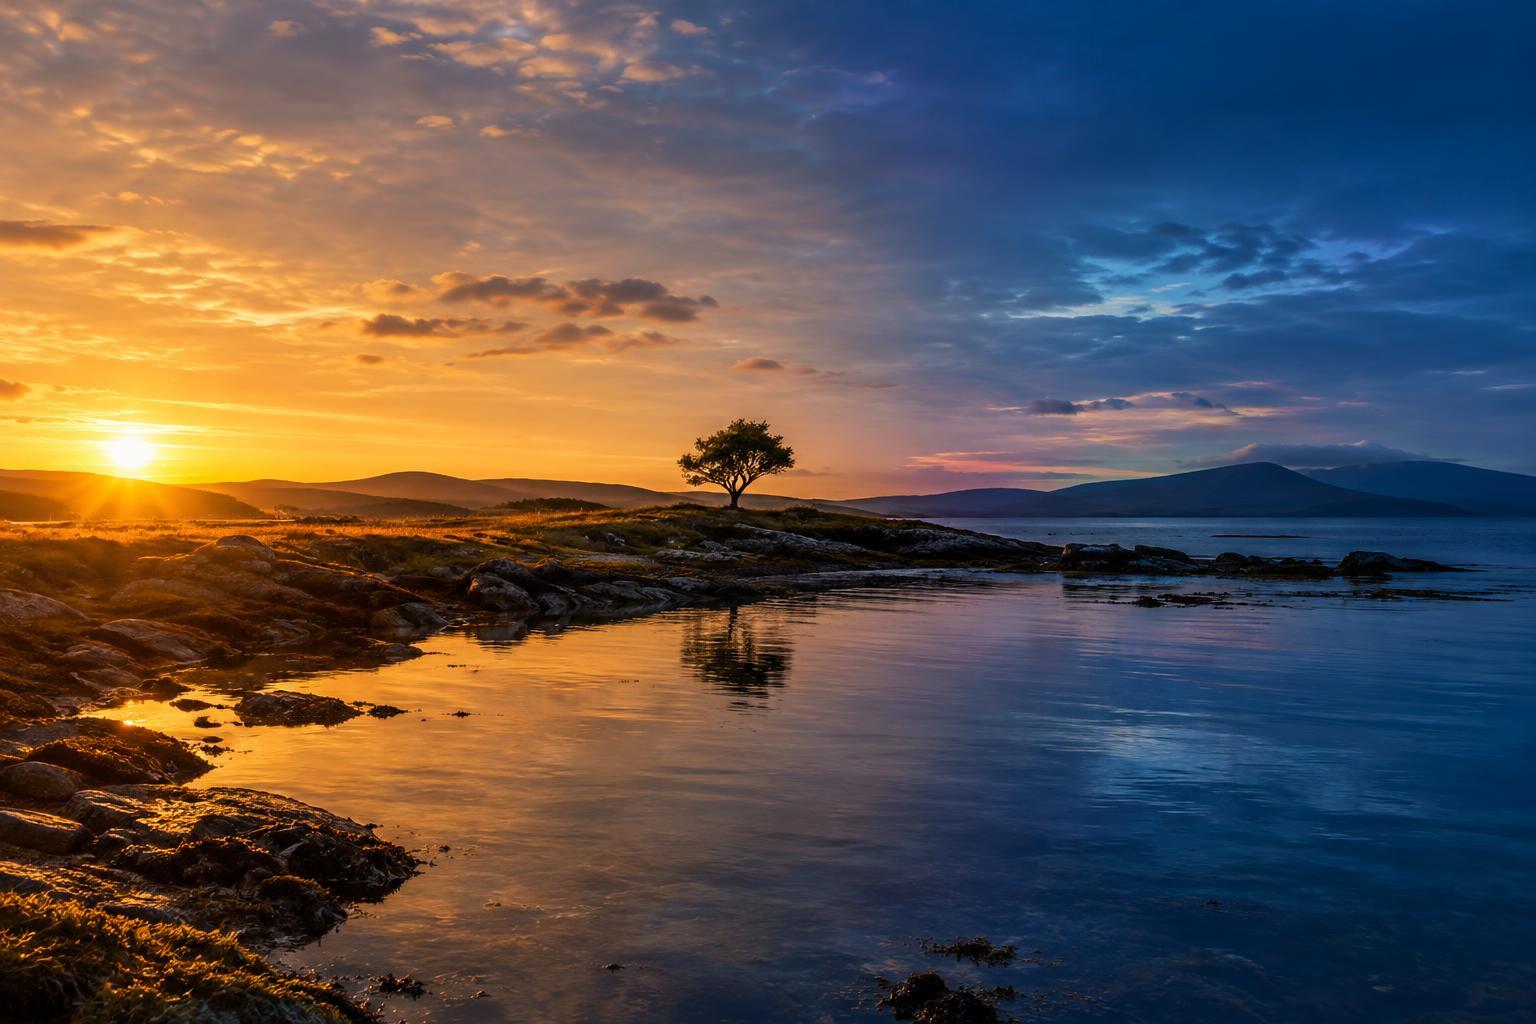
Golden hour describes the period when the sun is low in the sky, shortly after sunrise or before sunset. Its light often looks warm, and long shadows can give shapes more definition. Blue hour generally refers to twilight, when the sun is below the horizon and the sky still provides visible light. The overall scene may look cooler and softer, while streetlights, windows, and other artificial lights become more noticeable.
Neither name guarantees a particular look or an exact amount of time. Cloud cover, haze, the season, your location, and the direction you face all affect what you see. Think of these labels as prompts to watch the light rather than appointments with a clock. If possible, arrive early enough to photograph the transition: the changes are easier to understand when you watch them happen in one place.
What golden hour does to a scene
With the sun low, light reaches your subject from the side more easily than it does around midday. Side light can reveal texture in a wall, bring depth to a landscape, or shape a face. Turn toward the sun and you may find glowing edges around hair or leaves; turn away and the light can fall more directly on your subject. Shadows are often long, so they can become compositional elements rather than patches to avoid.
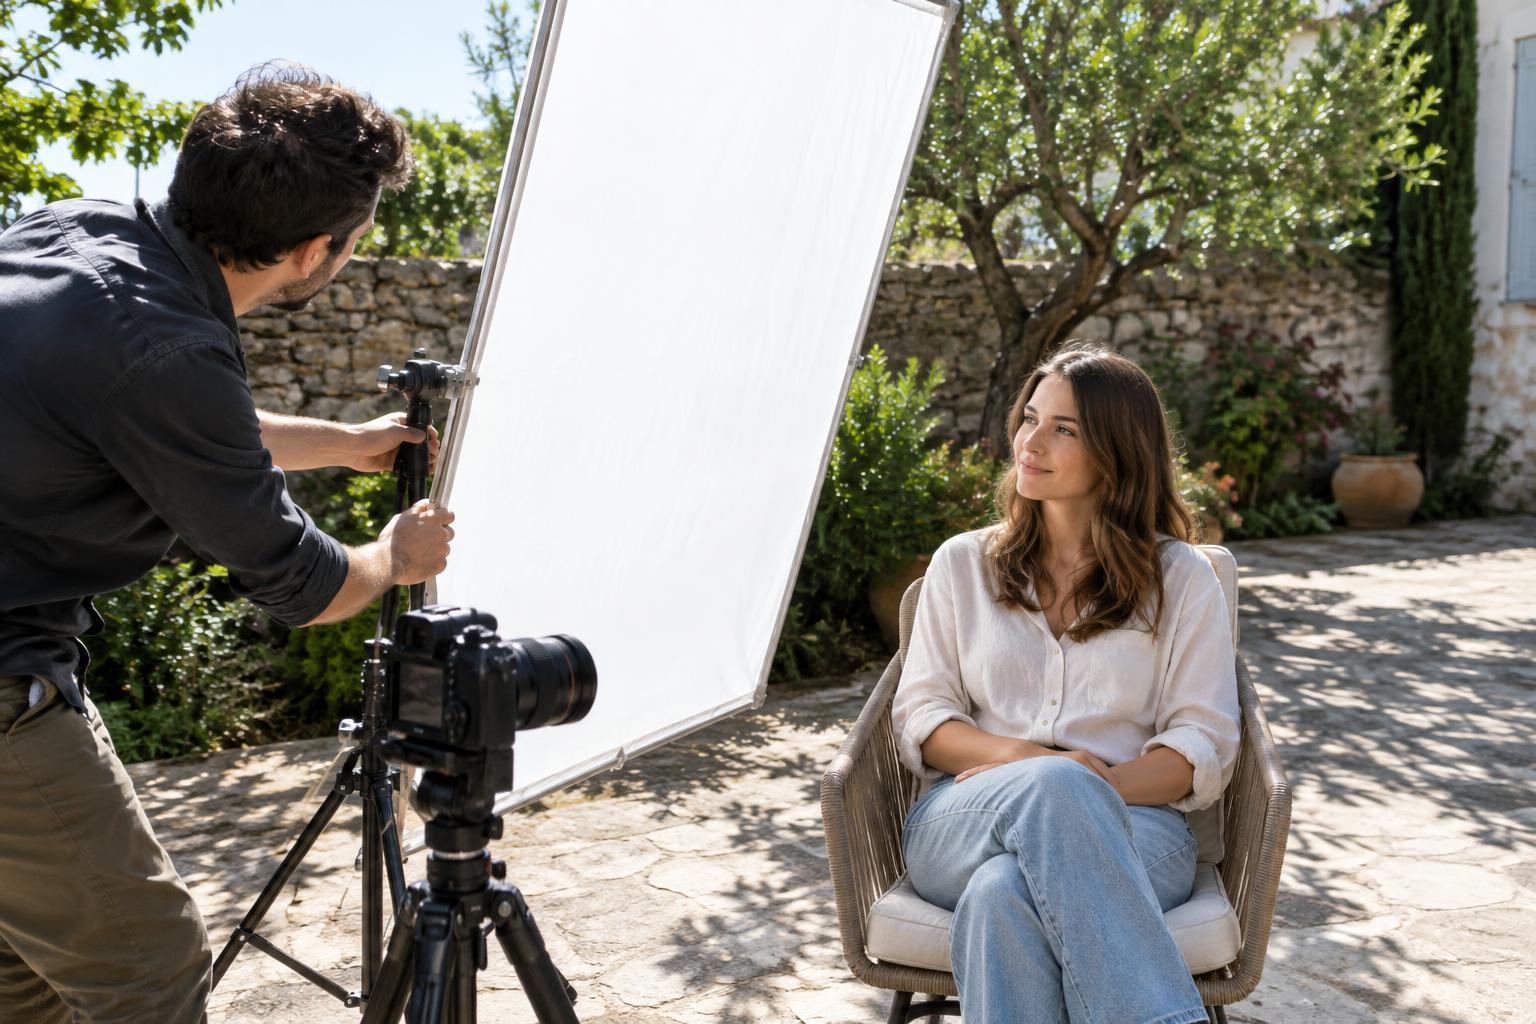
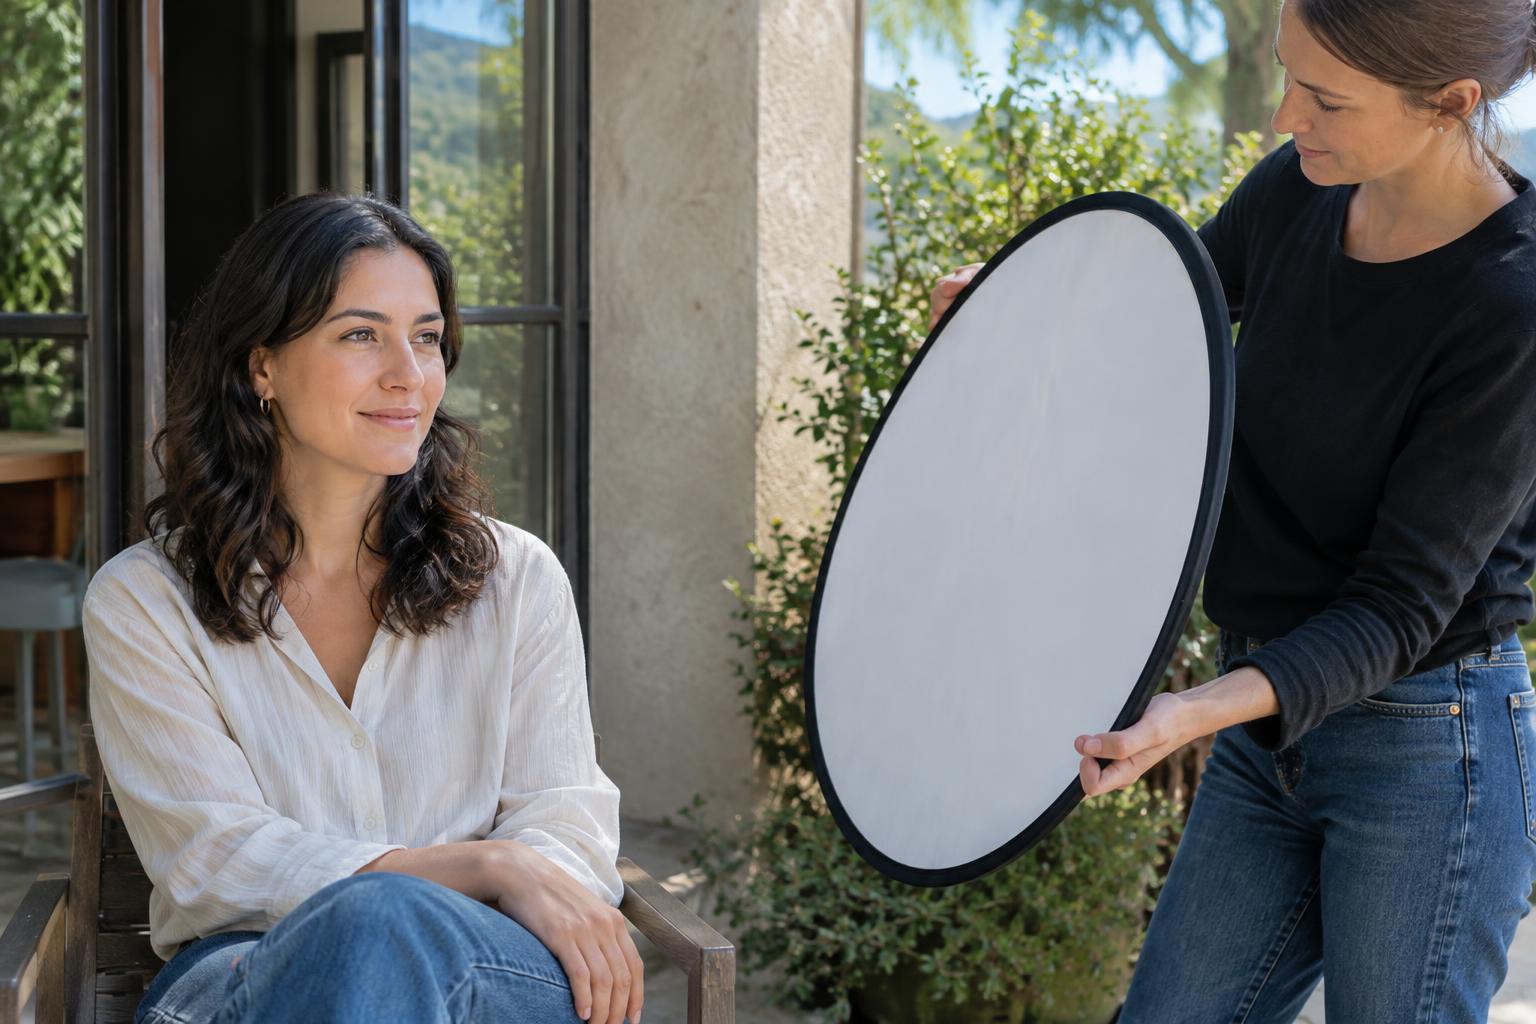
Warmth is part of the appeal, but it is easy to overstate it in editing. Start by looking for a useful relationship between bright areas and shadows. For a portrait, place your subject where the sun is not causing them to squint, then check whether the face is bright enough against the background. A reflector or a nearby pale wall can return some light to deep shadows, but moving the subject a few steps may be simpler. If the sky is much brighter than the subject, expose with the important highlights in mind and decide how much shadow detail you need.
What changes during blue hour
After sunset or before sunrise, direct sunlight no longer defines the scene in the same way. Light from the sky can fill shadows more evenly, reducing the hard separation between lit and unlit areas. Colors may appear cooler, but the most useful change is often contrast between that remaining sky light and artificial light. A window or streetlamp can become a clear point of interest while the sky still has enough brightness to show its surroundings.
Because the light is fading or building quickly, exposure needs more attention. Watch your shutter speed: a handheld photograph of a still building may be possible when a moving person would blur. A tripod helps when you want a low ISO, a smaller aperture, or deliberate motion blur. For portraits, ask your subject to hold still for a moment, or use a faster shutter speed and accept a higher ISO if needed. Mixed light can also make white balance tricky. Choose a setting that keeps the scene believable rather than trying to make every light source the same color.
Choose the light that serves the photograph
Golden hour is useful when you want visible direction, warm color, and pronounced shadow shapes. It can suit portraits, textured details, and landscapes with a strong foreground. Blue hour is useful when you want a quieter atmosphere, a luminous sky, or a balance between outdoor light and illuminated buildings. Neither is automatically better. A busy street might gain structure from long golden-hour shadows, then become more about signs, windows, and silhouettes in twilight.
Plan your position as well as your time. An open horizon may give you an unobstructed low sun, while tall buildings can block it well before sunset. For blue hour, look for a view where the sky remains part of the composition and artificial lights have a purpose. If you can carry only one lens, choose a focal length that fits the subject you intend to photograph; changing light does not require a special lens. A lens with a wide maximum aperture can help in dim conditions, but stable support and thoughtful exposure may matter more for stationary scenes.
A simple exercise for seeing the difference
Pick one accessible location and frame a subject you can return to easily: a tree beside a path, a storefront, or a view across a courtyard. Make a photograph while the sun is low, then repeat it as twilight develops. Keep your camera position and framing roughly consistent. Take one set with your chosen exposure settings, and another in which you adjust deliberately for what matters most, such as a bright sky or a person’s face.
Compare the pairs later without immediately changing their color or contrast. Notice where shadows point, which details disappear, how the sky relates to the subject, and when artificial lights begin to draw your eye. Then edit lightly to support the character of each period rather than forcing both images to match. The exercise will give you a more useful guide than a fixed rule: you will know what the changing light does to subjects you actually like to photograph.