Start by watching the shadows
Lighting direction describes where the main light sits in relation to your subject and camera. Move that light, or move your subject, and you change which surfaces face the light and where shadows fall. Those shadows help a viewer read the curves of a face, the folds of fabric, or the roughness of a wall. Before adjusting your camera, look for the brightest area, the darkest area, and the edge between them.
You do not need a studio to explore direction. A window can provide a broad source, while a desk lamp or small LED can create a more concentrated beam. The size of the light as it appears from the subject matters too: a broad source usually gives softer shadow edges than a small, distant one. Keep that difference in mind as you compare directions; otherwise, a change in softness may be mistaken for an effect of direction alone.
Front light keeps details clear
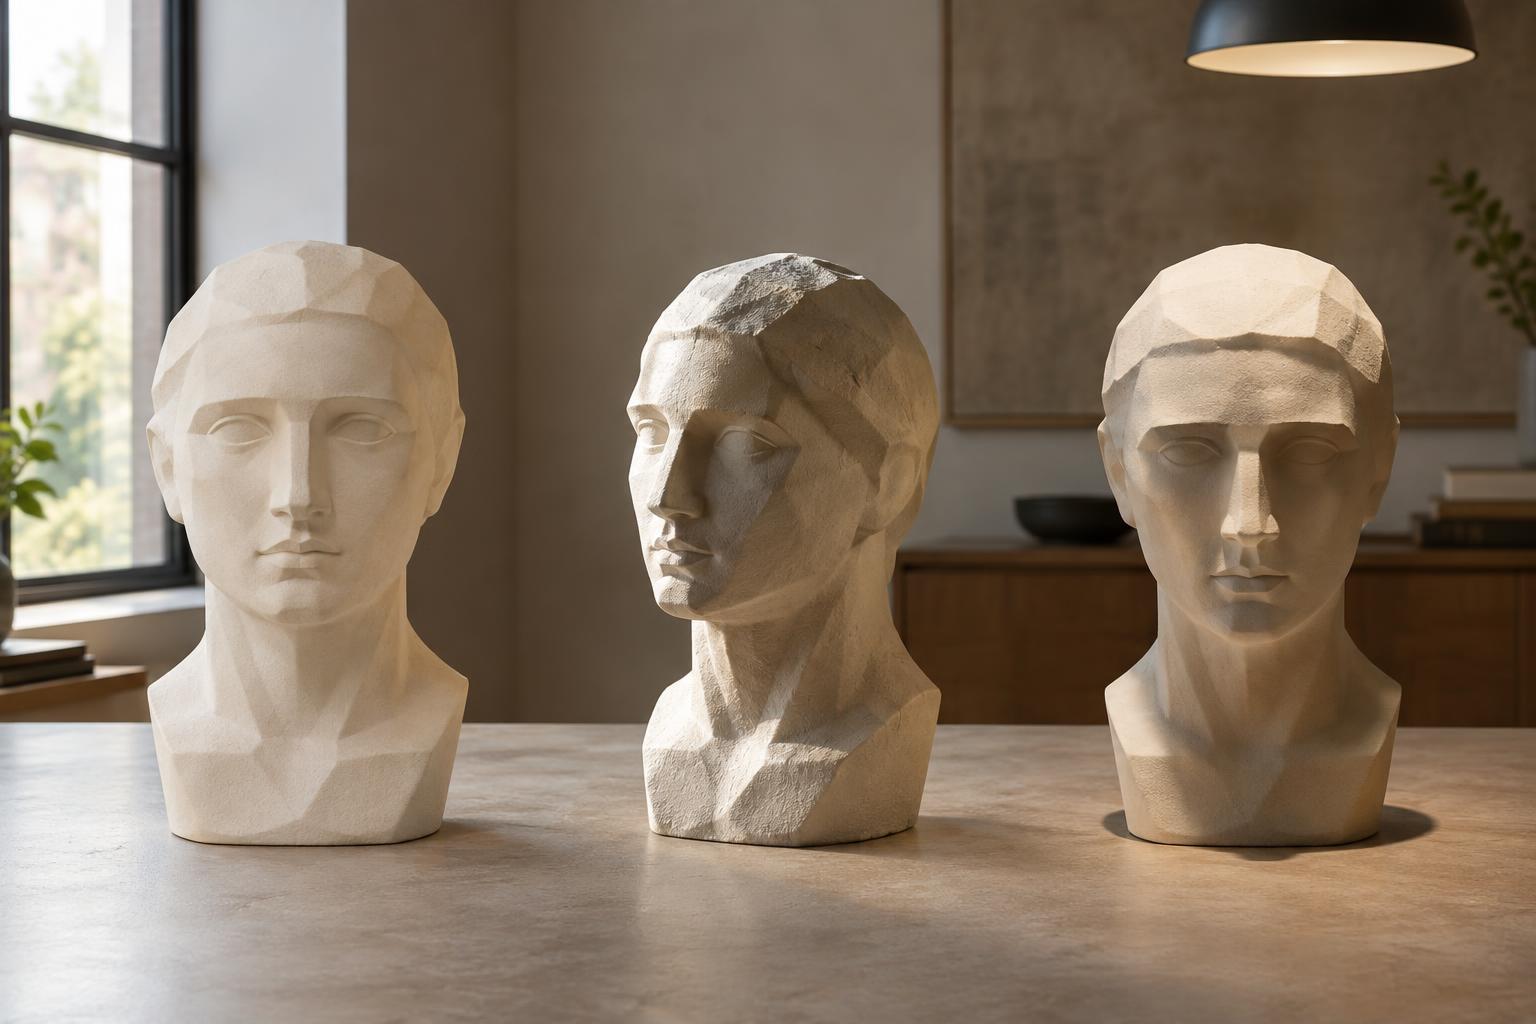
With front lighting, the main light comes from roughly the same direction as the camera. It illuminates the surfaces facing the lens, so shadows often hide behind the subject or appear as small marks around raised features. This can make colors and details easy to see. It can also make rounded objects look flatter, because there is less visible transition from light to dark across them.
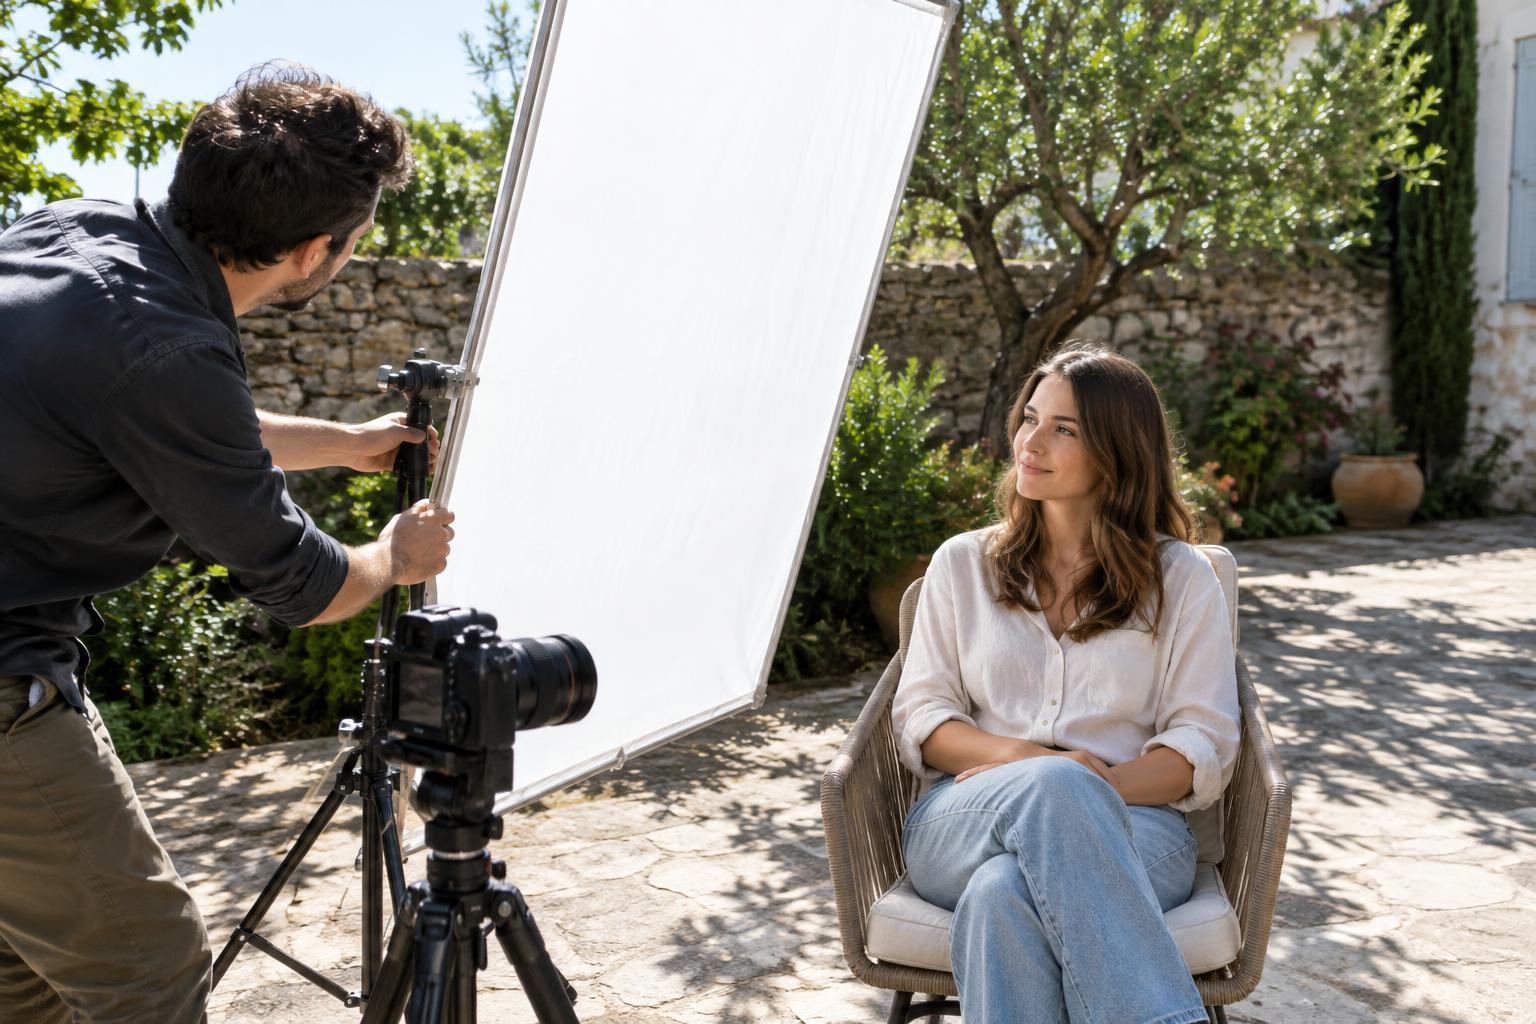
Try front light when you want a clear record of a patterned object or a straightforward portrait. For a portrait near a window, place the camera between the person and the window without blocking the light. Watch for unwanted glare on glasses or shiny surfaces, and shift slightly to one side if needed. If a face looks too flat, move the light or subject off-axis rather than assuming you need a stronger light.
Side light gives shape room to show
Side lighting places the main light to the left or right of the subject. One side receives more light, while the other falls into shadow. Across a curved surface, that change can make volume easier to see. Across a textured surface, tiny ridges and recesses cast small shadows that emphasize their pattern. This is why a low beam skimming across wood, stone, or crumpled paper can reveal marks that front light barely shows.
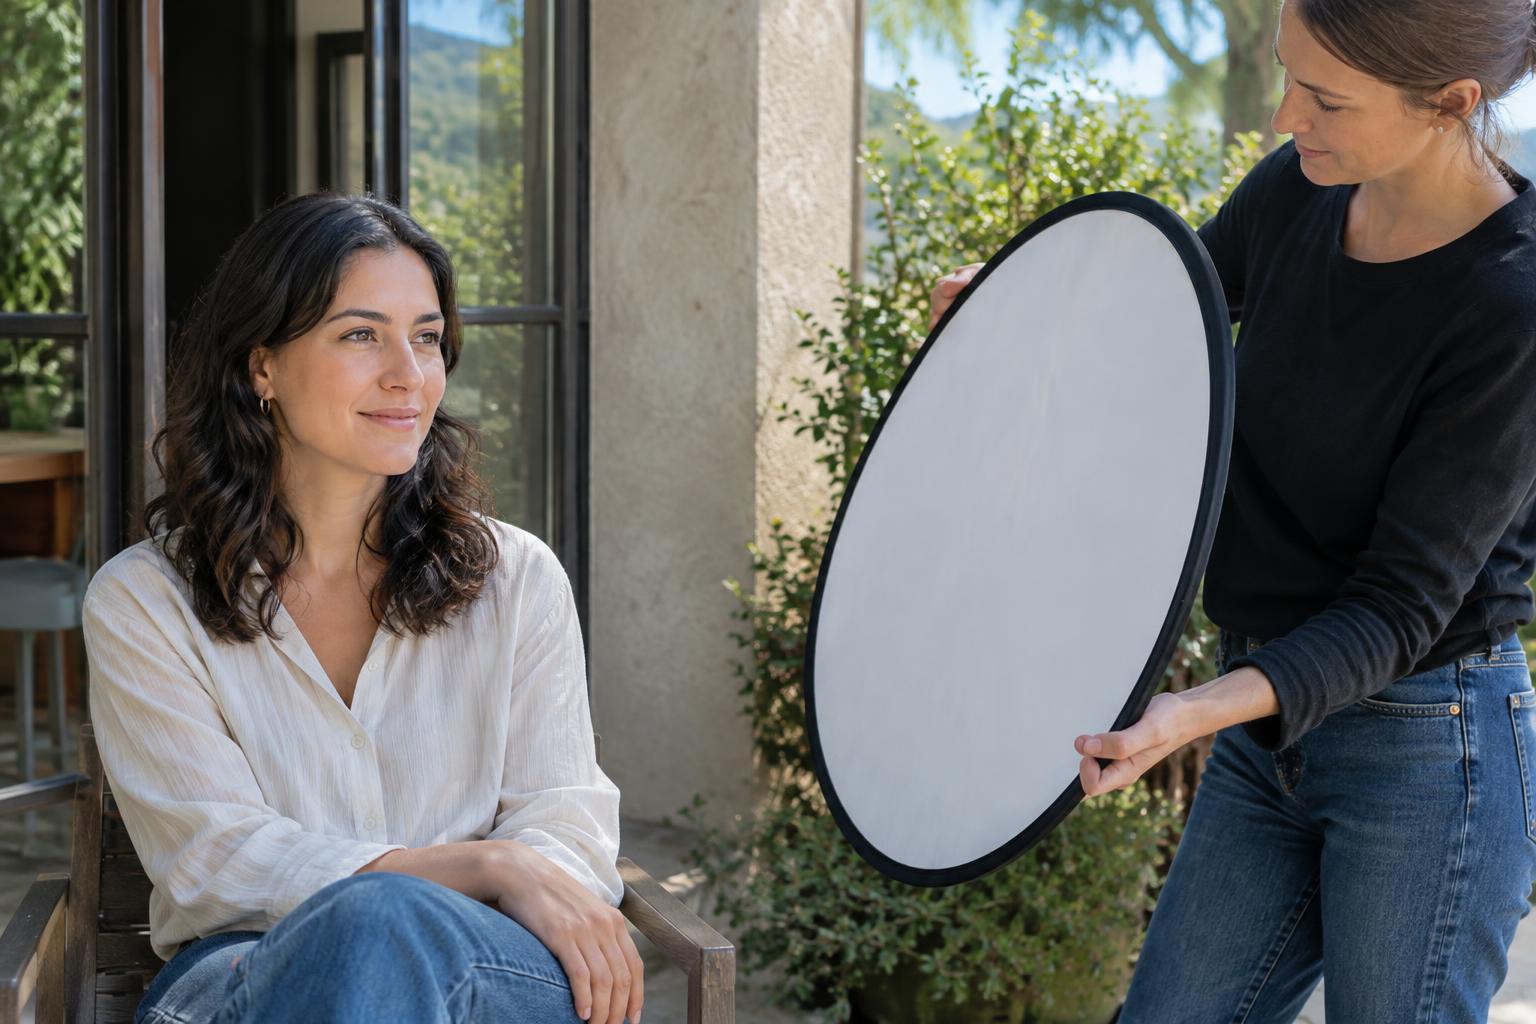
Side light can be gentle or dramatic. Near a large window, turn the subject so the window sits beside it and examine the darker side. If you want detail there, hold a piece of white card opposite the window to bounce some light back. Move the card closer for a stronger fill, or remove it to preserve deeper shadows. For portraits, check whether the nose and cheek shadows support the expression you want rather than following a fixed lighting rule.
Top light changes what stands out
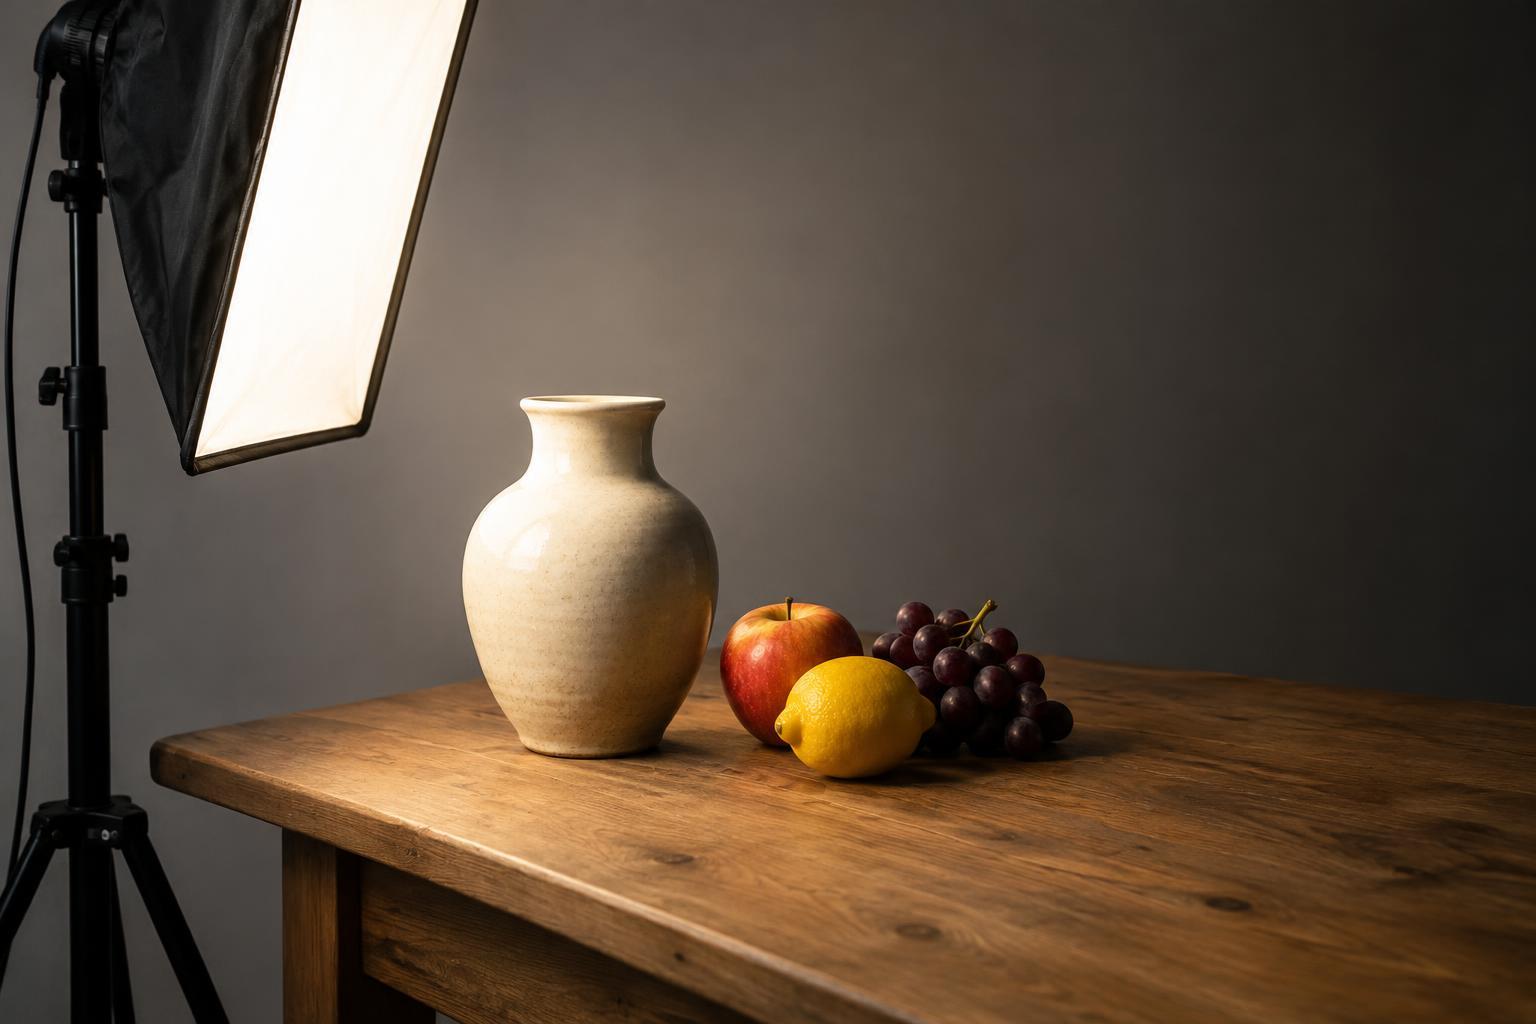
Top lighting comes from above the subject, as with a ceiling fixture, midday sun, or a light placed high on a stand. It brightens upward-facing surfaces and sends shadows downward. On a tabletop subject, that can separate raised details from the surface below. On a face, it may create shadows beneath the brow, nose, and chin; if the light is small and nearly overhead, the eyes may appear darker than you intend.
Use top light deliberately by checking both the subject and its surroundings. For a still life, a high light can draw attention to the tops of objects and the shadows they cast on the table. For a portrait, a broad source positioned above and slightly in front of the person may keep more light in the eyes than a source directly overhead. Outdoors, moving a person into open shade can change the balance between bright areas and downward shadows.
Practice by changing one thing at a time
Choose a subject with visible form and texture, such as a mug beside a folded towel. Place it on a stable surface and keep your camera position and exposure settings consistent. Make one frame with light near the camera axis, one with light from the side, and one with light from above. A movable lamp makes this easy, but you can also rotate the subject near a window. If the light enters the frame or changes brightness substantially, adjust the setup before comparing results.
Review the three images for more than overall brightness. Where do the shadows begin? Which frame best shows the mug’s curve, and which reveals the towel’s weave? Then try one small change: add a white card to fill a shadow, move the light closer to soften it, or turn the subject a few degrees. The goal is not to find one universally correct direction. It is to recognize what each direction reveals so you can choose it with purpose.