Look for a beat, not just a pattern
A pattern is a set of similar elements; rhythm is the way your eye moves through them. A row of windows may read as a steady beat when each window has similar spacing. Tree trunks can feel less regular, encouraging your eye to pause and start again. Neither is automatically a strong photograph. The useful question is where the repetition leads the viewer and what makes that journey worth taking.
Start with familiar subjects: paving stones, stacked books, fence posts, café chairs, roof tiles, or bands of shadow. Look for repeated shapes, but also for repeated gaps. Empty space between objects can be as important as the objects themselves. Before raising the camera, follow the sequence with your eyes. If your gaze drifts out of the frame without finding a point of interest, try changing your position or waiting for something to enter the scene.
Use viewpoint to set the pace
Where you stand changes how a pattern feels. Photographing a wall straight on emphasizes its grid and makes small differences easier to notice. Moving to one side turns rows into diagonal lines that narrow with distance. Getting lower can make paving stones stretch toward a doorway, while looking down may turn a cluster of umbrellas into a study of circles. Take a few steps before changing lenses; a modest shift in viewpoint can have more impact than a different focal length.
Pay attention to the edges of the frame. Cutting through repeated elements at random can make a composition feel unsettled, especially when the pattern is otherwise orderly. You can include complete shapes for a calm, deliberate effect, or crop tightly so the pattern seems to continue beyond the photograph. Check all four edges and decide whether each partial shape helps that idea. If your camera or phone offers a grid overlay, use it to keep strong horizontal and vertical lines aligned when alignment matters.
Give repetition a reason to change
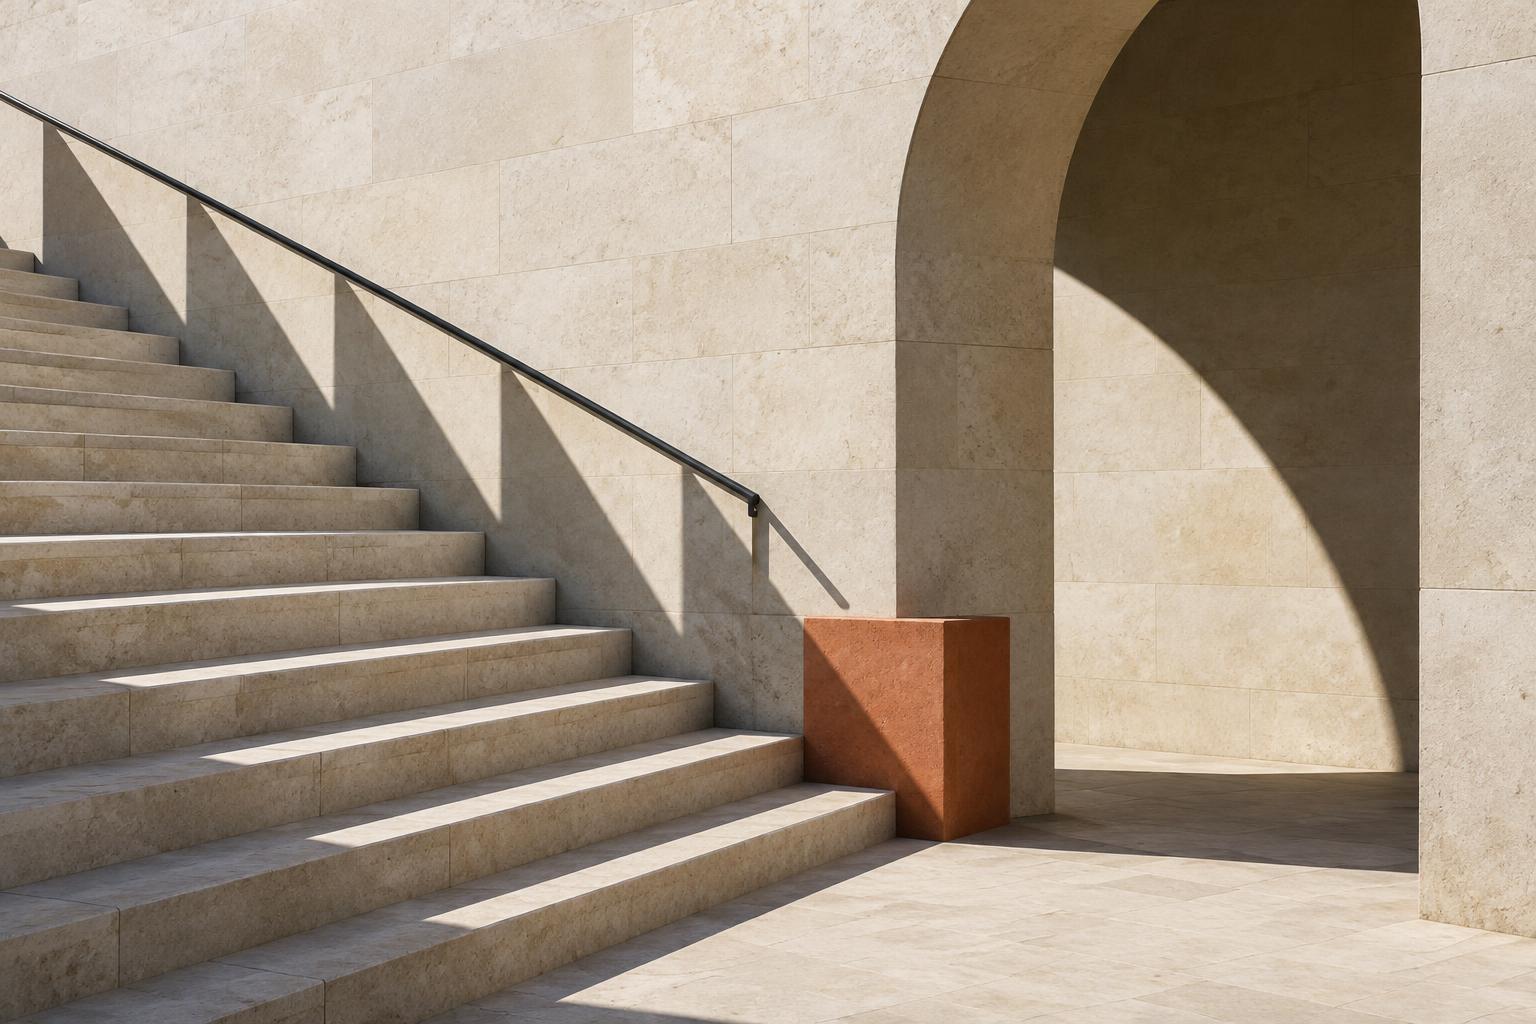
An interruption can turn a pleasing texture into a photograph with a clear subject. One open window in a closed row, a bright leaf among darker leaves, or a person passing through repeated columns gives the eye somewhere to stop. The exception does not need to be dramatic. A slight difference in color, direction, scale, or light may be enough, provided it remains visible at the size the image will be viewed.
Try placing the interruption away from the exact center and see how the surrounding pattern guides attention toward it. Then make a centered version and compare the two. Centering can reinforce symmetry; an off-center subject may add movement or tension. If you are photographing a passerby, leave room for them to move into the composition and take several frames as their position changes. You are not looking for a universal rule, but for the placement that best fits this particular rhythm.
Let light and focus clarify the structure
Light can reveal a pattern or compete with it. Side light often makes texture and small changes in surface more visible, while softer light can help you concentrate on shape and spacing. Repeated shadows are subjects in their own right: railings may cast stripes across a path, and a staircase may create alternating areas of light and dark. Watch where those shadows end, since a bright patch at the edge can pull attention away from your chosen subject.
Focus and depth of field offer another choice. If you want viewers to compare many repeated details, aim for enough sharpness across the important area and keep the camera steady. If one element is your subject, focusing on it while the others soften can make the interruption clearer. A phone, compact camera, or interchangeable-lens camera can all work for this exercise. Choose the tool that lets you control framing and focus comfortably rather than assuming the pattern requires special equipment.
Practice with a three-frame study
Choose one safe, accessible location with repeated forms and make three photographs. For the first, show the pattern as evenly as you can. For the second, change your position until the repetition creates a strong direction through the frame. For the third, include a break in the sequence, such as a contrasting object or an area of different light. Keep the subject the same so you can see what your decisions, rather than a new location, contribute.
Review the images at a small size before editing. Which one gives your eye a clear path? Where does it pause, and is that pause intentional? A simple crop or modest adjustment to brightness and contrast may help separate shapes, but avoid editing away every irregularity: the uneven parts may be what make the scene interesting. Save your strongest frame alongside the other two. Comparing them later is a useful way to recognize the kinds of rhythm you naturally notice—and the ones you might try next.