Start by finding the light you did not intend
Lighting problems are easier to fix when you name what you see. An uneven shadow is a patch of darkness that pulls attention away from the subject or makes part of it difficult to read. Spill is light reaching an area you meant to keep darker. Glare is a bright reflection that obscures detail or competes with the subject. More than one can appear in the same frame, so change one thing at a time.
Before taking a series of photos, make a test frame and look at the edges as well as the subject. Check faces, reflective surfaces, and the background. If your camera offers a highlight warning, it can help flag very bright areas, but judge the image itself too: a bright spot is only a problem if it interferes with your intention.
Make uneven shadows work for the image
Shadows give subjects shape, so the goal is not to remove them all. Trouble starts when several light sources cast competing shadows, or when a hard shadow crosses a face or object at an awkward point. Indoors, try switching off room lights and working with one window first. Outdoors, moving a portrait subject a few steps into open shade can produce more consistent light than asking them to stand in broken sunlight beneath a tree.
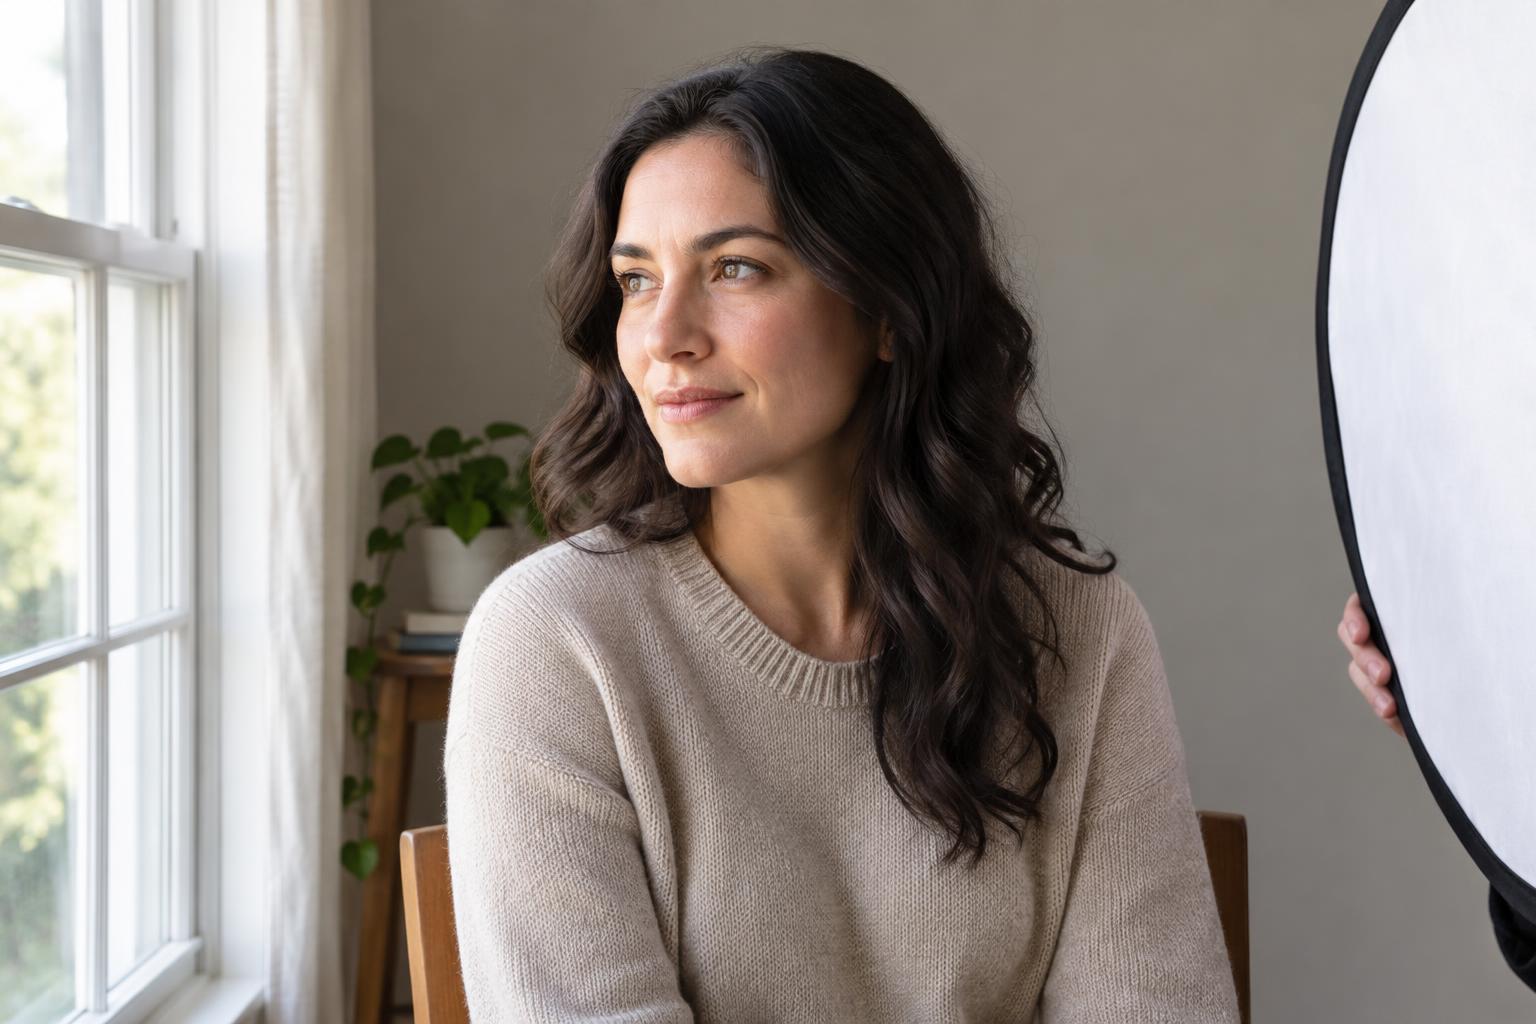
With an artificial light, begin with one lamp or flash and observe where its shadow falls. Moving the light closer to the camera’s direction generally makes the shadow less visible from that viewpoint; moving it sideways reveals more shape. A larger apparent light source, such as a light passed through diffusion, usually softens shadow edges. If the dark side needs a little detail, place a white card there to reflect light back. Add fill gradually so the result does not become flat.
Try photographing the same object beside a window in three positions: with the window to its side, behind the camera, and behind the object. Keep the camera position steady. Comparing the shadow direction in the three frames is a quick way to learn which placement serves the subject.
Control spill instead of lighting everything
Spill can make a background brighter than planned, reveal clutter, or reduce the separation between a subject and a dark setting. First, look at where the light is pointed and how far it spreads. Turning a lamp slightly, bringing the subject farther from the background, or moving the light to the other side may solve the problem without extra equipment.
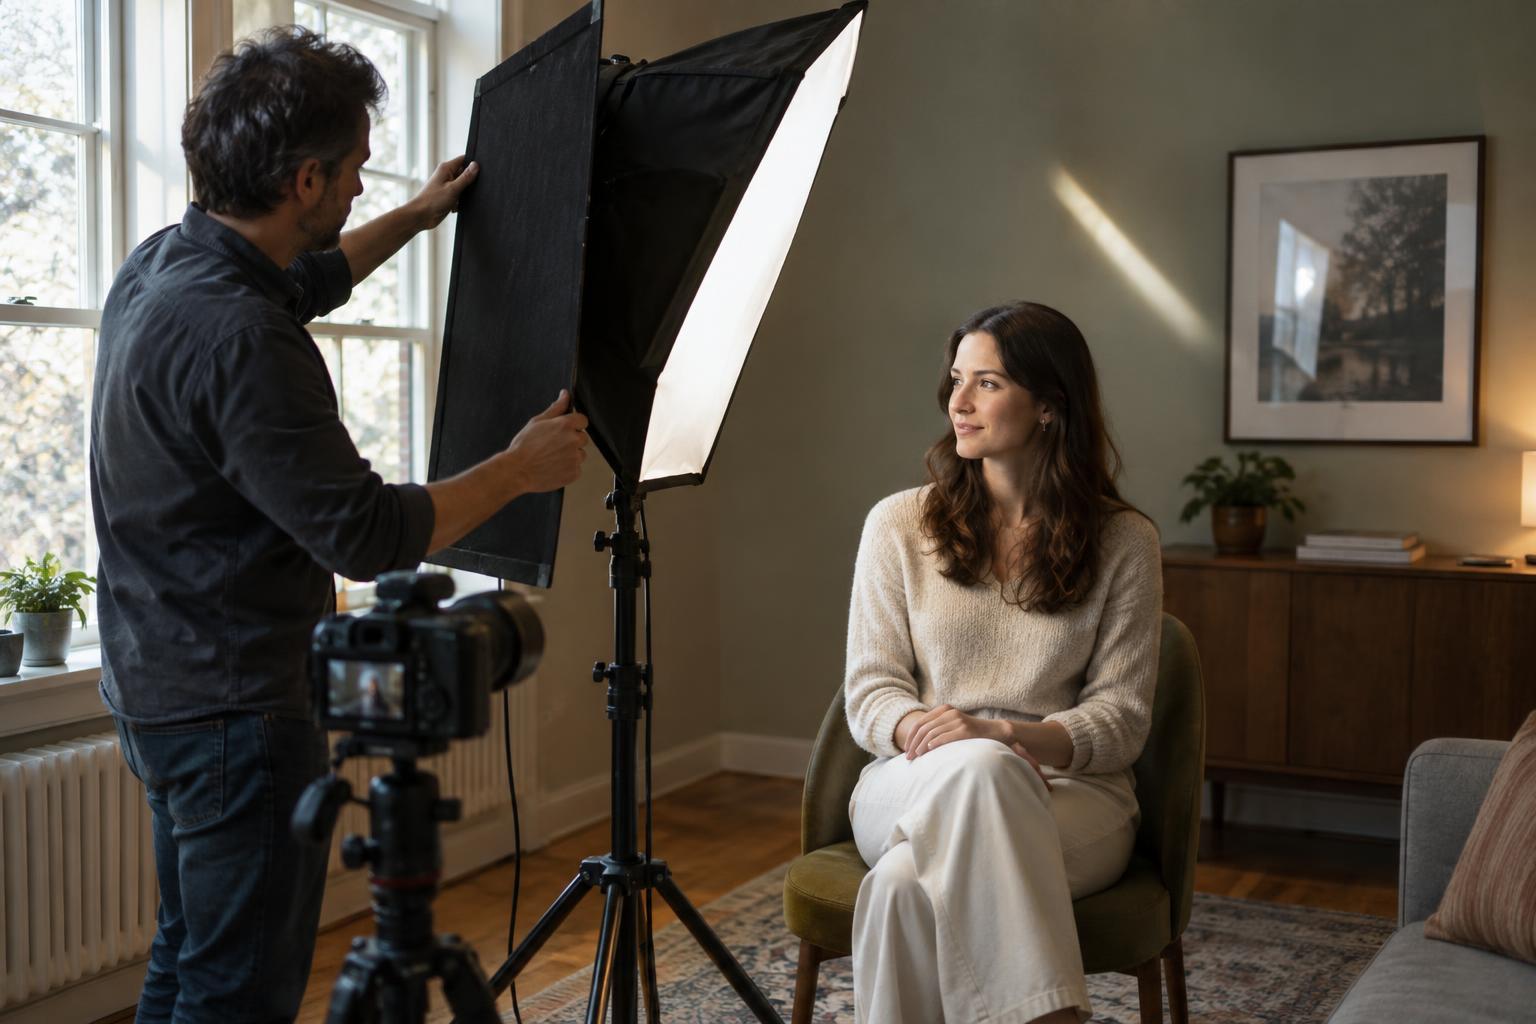
If you need more control, place an opaque card between the light and the area you want to protect, keeping it safely clear of any hot fixture. Photographers often call this a flag. You can also use a shade or modifier designed for your light to narrow its spread. Make a test frame after each adjustment: blocking spill from the background may also remove light you wanted on the subject’s shoulder or hair.
Spill is not automatically a mistake. A little light on a wall can add context and depth. Decide whether that brighter area supports the composition or draws the eye away, then adjust accordingly.
Remove glare by changing the angles
Glare often appears on glasses, glossy products, framed artwork, windows, and shiny skin. It happens when a light source reflects toward the camera. Rather than immediately lowering exposure, move one part of that path: the camera, the subject, or the light. A small shift in camera height or light position may move a reflection away from the detail you want to show.
For a portrait with glasses, ask the subject for a slight change in head angle, or raise and move the light to see whether its reflection leaves the lenses. For a glossy object, watch the reflections while you reposition it; a broad, soft reflection may look more deliberate than a small, harsh hotspot. A polarizing filter can reduce some reflections on nonmetallic surfaces, but its effect depends on the viewing angle and it is not a substitute for careful placement.
Do not try to eliminate every highlight. Reflections can describe a surface’s texture and shape. Keep the ones that help the viewer understand the subject, and move or soften those that cover important details.
Build a quick lighting check into every shoot
Use the same short routine before committing to a setup: identify the main light, inspect the direction of shadows, scan the background for spill, and check reflective areas for glare. Then make one adjustment and take another frame. This keeps you from changing several variables at once and wondering which change helped.
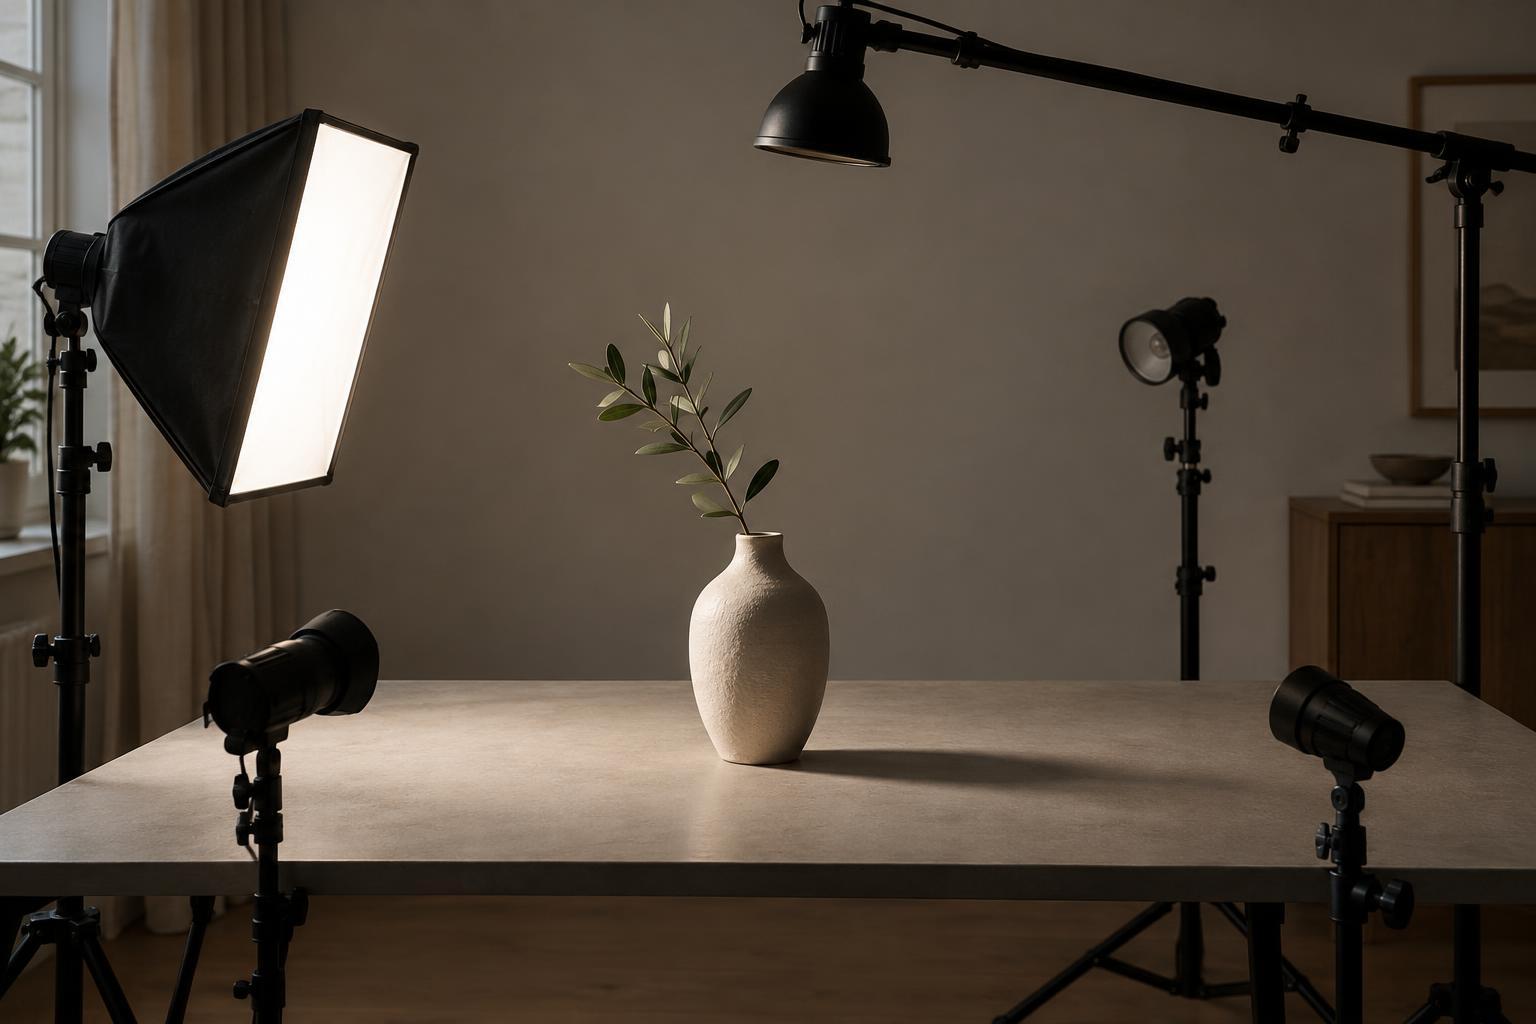
As an exercise, photograph a simple tabletop subject with a nearby glass or glossy object. Use one light source. Make one frame with an awkward shadow, one with deliberate background spill, and one with obvious glare. Correct each problem by moving the light, subject, camera, or a card, and compare the pairs. Practicing with visible mistakes makes them easier to recognize when a real shoot moves quickly.