Why bounce flash looks different
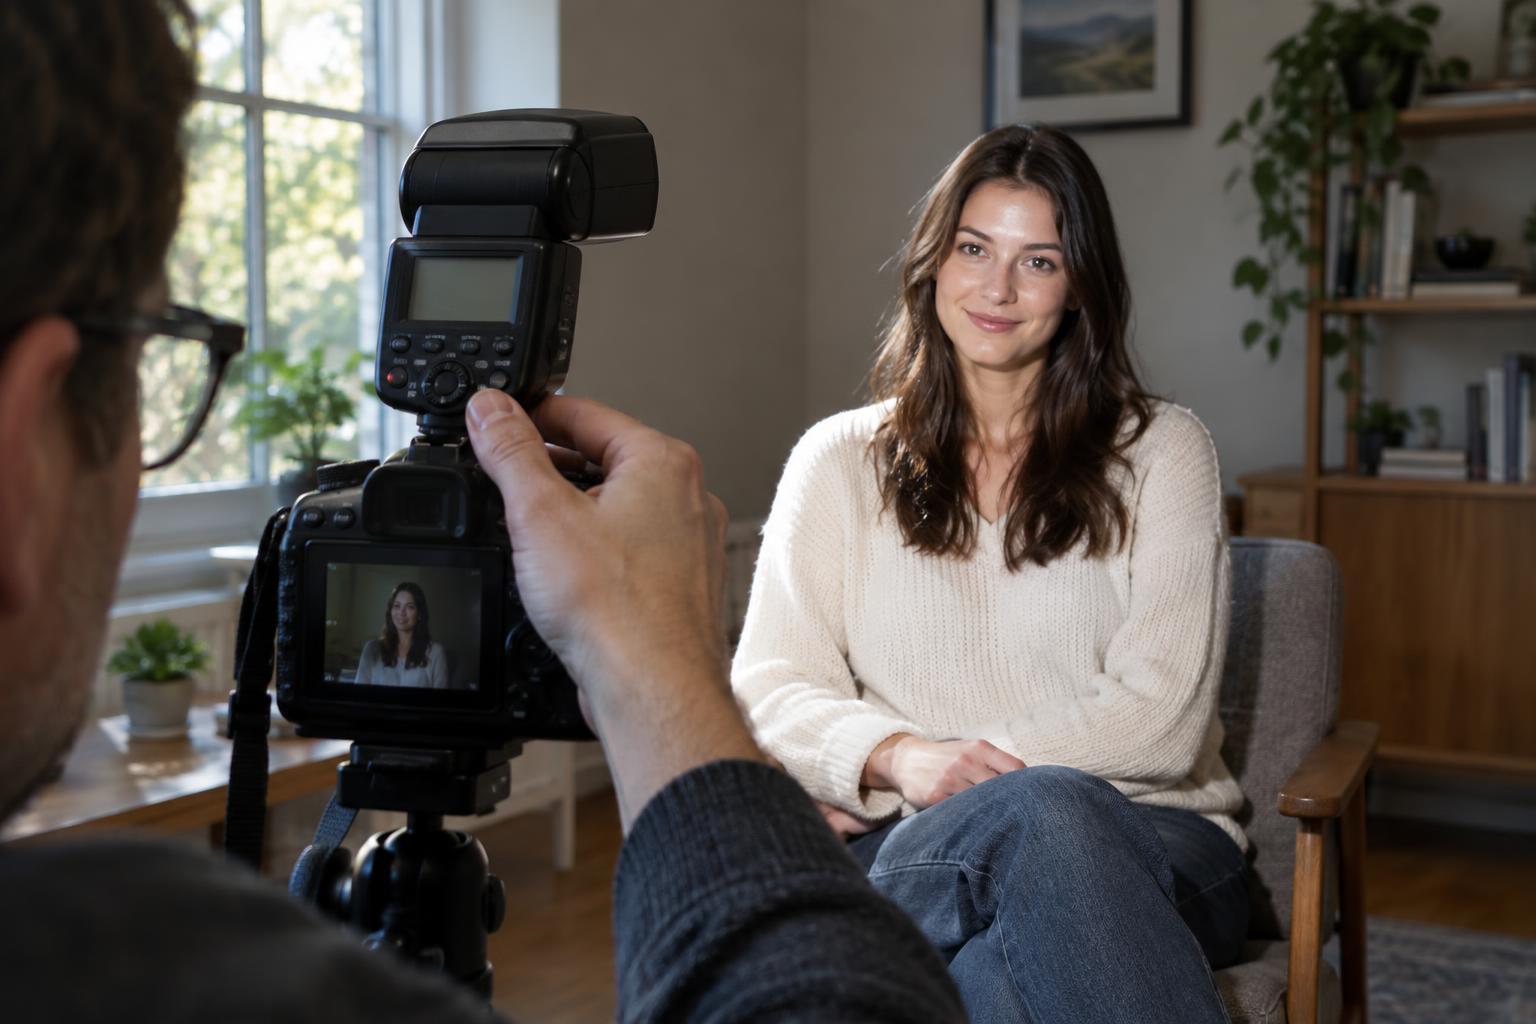
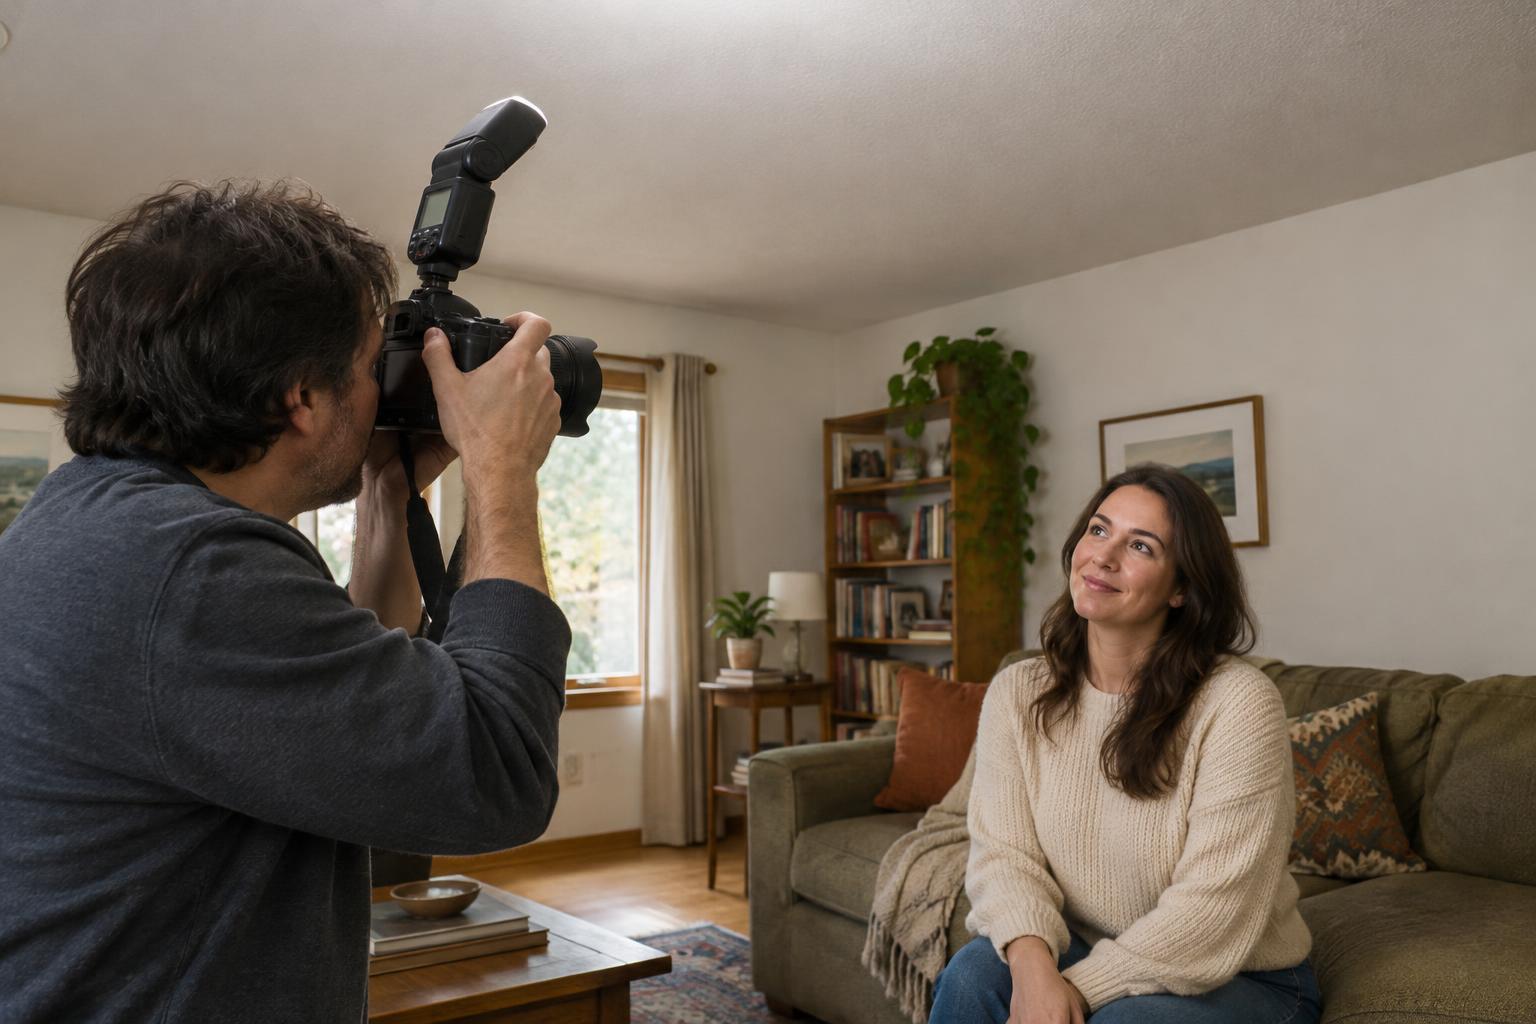
A small flash aimed directly at a person sends light from nearly the same direction as the camera. It can brighten the scene, but it may also create shiny highlights, hard shadows behind the subject, and a flat-looking face. Bounce flash takes a different route: you aim the flash at a nearby ceiling or wall, which reflects light onto the subject. That surface acts like a larger light source, usually producing softer shadows.
The direction of the reflected light matters as much as its softness. Light arriving from above and slightly to one side can give a face gentle shape. Light arriving directly overhead may leave dark eye sockets, while light bounced from a wall beside the subject can create a more noticeable side-lit effect. Before taking the photo, imagine the patch of ceiling or wall you choose as a large lamp. Ask where that lamp would cast its shadows.
Find a useful surface
Start with a light-colored, neutral ceiling or wall that is fairly close to both the flash and your subject. Point the flash head toward a patch that will send light back toward the face rather than straight down onto the top of the head. You do not need to calculate a precise angle: take a frame, look at the direction of the shadows, and adjust the flash head if the light falls awkwardly.
Surfaces change the result. A dark ceiling absorbs more light, so the flash may need to work harder or may not provide enough illumination. A green or orange wall can tint the reflected light. A high ceiling makes the light travel farther and may reduce the effect of the flash. In those rooms, look for a closer neutral wall, use available light if it is sufficient, or accept that direct flash with a suitable modifier may be more dependable than a poor bounce.
Set exposure with the room in mind
Bounce flash does not have to erase the atmosphere of a room. First, choose camera settings that record some of the existing light without making people blur as they move. Then let the flash add light to the subject. A shutter speed that is too slow may leave a blurred trail around a sharper flash-lit face; a faster speed can reduce that trail, though it may make the background darker. Take a test shot and judge both the person and the room.
If your camera and flash support through-the-lens (TTL) metering, it is a convenient starting point because the flash output can adapt as you change your framing or bounce direction. Use flash exposure compensation if the subject consistently looks too bright or too dim. With manual flash power, keep your position and bounce surface reasonably consistent, then adjust power after reviewing a test frame. Remember that bouncing generally uses more flash energy than pointing the unit directly at the subject, so batteries may drain faster and the flash may take longer to recharge.
Keep skin tones and backgrounds believable
Indoor rooms often combine window light, warm lamps, and flash. These sources may give different parts of a photo different color casts. A white or neutral bounce surface helps avoid adding another unwanted tint. If the room light is much warmer than the flash, a warming gel on the flash can bring the two closer together; adjust white balance after a test shot rather than expecting one setting to fix every mixed-light scene.
Watch the background as well as the face. If the person is bright but everything behind them is nearly black, allow more ambient light into the exposure where motion permits, or move the subject to a better-lit part of the room. If reflections appear in glasses or framed pictures, change the bounce direction, your shooting position, or the subject’s angle. Small changes often solve a distraction without requiring new equipment.
Try a three-position exercise
Choose a patient subject or a still object near a pale wall in a room with a light ceiling. Keep the camera position and framing the same for three photos: one with direct flash, one bounced off the ceiling, and one bounced off the side wall. Adjust flash output as needed so the subject has a similar brightness in each frame. Compare shadow edges, the shape of the light on the subject, and how well the background fits the scene.
Next, move the subject farther from the wall and repeat the wall-bounce photo. Notice how distance and angle change the result. This exercise builds a more useful habit than memorizing a single flash-head position: identify the surface that will become your light source, predict where its light will go, and use the next frame to check your prediction.