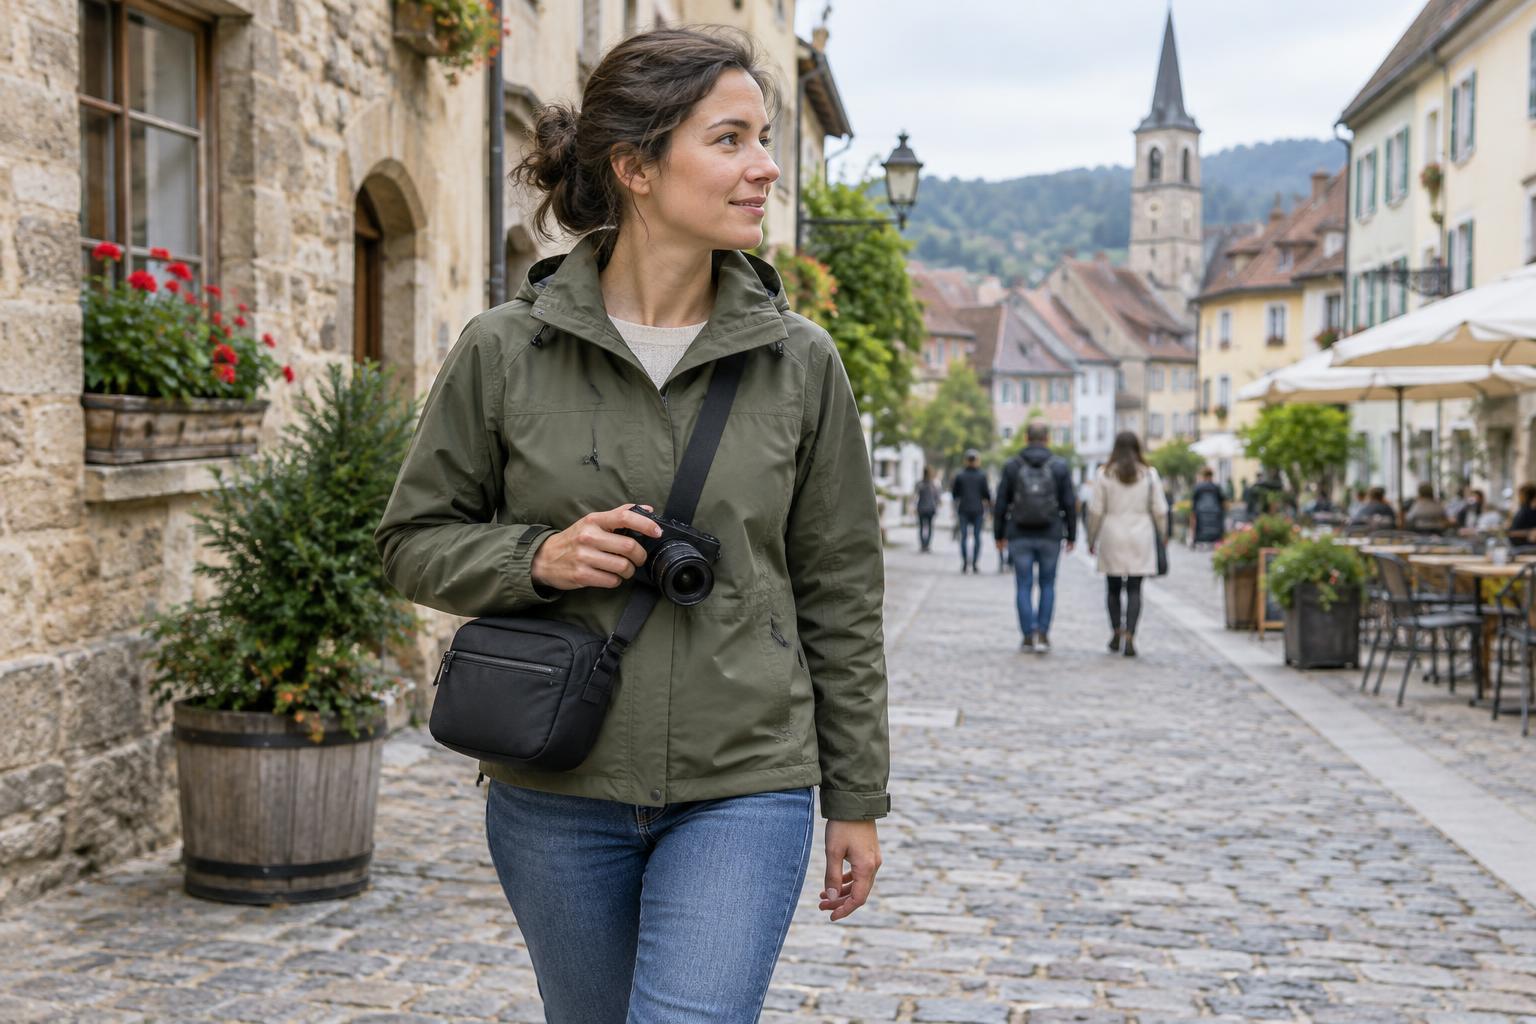
What is a visual tangency?
A visual tangency happens when the edges of two shapes meet or nearly meet in a photograph. A tree might appear to grow from someone’s head, a distant roofline might touch a shoulder, or the edge of a cup might just graze the edge of a plate. The objects are separate in the scene, but the flat photograph makes their relationship harder to read.
Not every touch is a problem. Sometimes connected shapes create an interesting pattern, and a deliberate overlap can show that one object sits in front of another. The question is whether the meeting point helps the viewer understand the picture. If your subject’s outline becomes confusing or a small contact draws attention away from the main idea, it is worth adjusting the frame.
Check the outline before you shoot
Once you have chosen a subject, look around its entire outline in the viewfinder or on the screen. Pay particular attention to the head and shoulders in a portrait, the roofline of a building, and the edges of objects that matter to the story. A bright background shape can be easy to overlook while you are concentrating on a face or gesture.
Look for three situations: edges that barely touch, narrow gaps that may disappear when the image is viewed small, and background lines that seem to continue through your subject. You do not need a perfectly clear outline everywhere. Identifying one or two distracting contacts is usually more useful than trying to remove every overlap from a busy scene.
Move the camera before moving the subject
A small change in camera position often solves a tangency. Step sideways to shift a background pole away from a person. Raise or lower the camera to move a horizon away from a subject’s head. If a foreground object barely touches your subject, try moving closer or farther away so the shapes either separate clearly or overlap with confidence.
These changes work because objects at different distances shift against one another as your viewpoint changes. Moving the camera is often quicker than rearranging a scene, especially when photographing people in a public place or working with a fixed landscape. Check the edges again after moving: solving one contact can create another elsewhere in the frame.
Choose separation or a clear overlap
When two shapes compete, give them a visible gap if you want the viewer to read them as separate. This is useful when a person stands near a tree or when a building’s edge approaches the outline of a mountain. You can sometimes create that gap by waiting for a subject to take a step, or by shifting your own position a few inches.
If separation makes the composition weaker, try the opposite: allow one shape to overlap the other decisively. A strong overlap usually communicates which object is in front more clearly than an edge-to-edge contact. Watch for important details, though. A background shape covering part of a sleeve may be harmless; one crossing an eye or a distinctive silhouette may change what the viewer notices first.
Practice with a contact-point exercise
Choose a stationary subject with several background objects behind it, such as a chair near a window or a bicycle beside a fence. Make three photographs without changing the subject. In the first, let one background edge barely touch its outline. In the second, move until there is a clear gap. In the third, create an obvious overlap. Keep the light and framing reasonably similar so you can compare the relationships between shapes.
Review the images at both full size and thumbnail size. Ask which version makes the subject easiest to recognize and where your eye pauses unexpectedly. Repeat the exercise with a person if they are willing to stand still for a moment. Over time, checking contact points can become a quick part of composing rather than a separate rule to remember.