Start with a controlled space
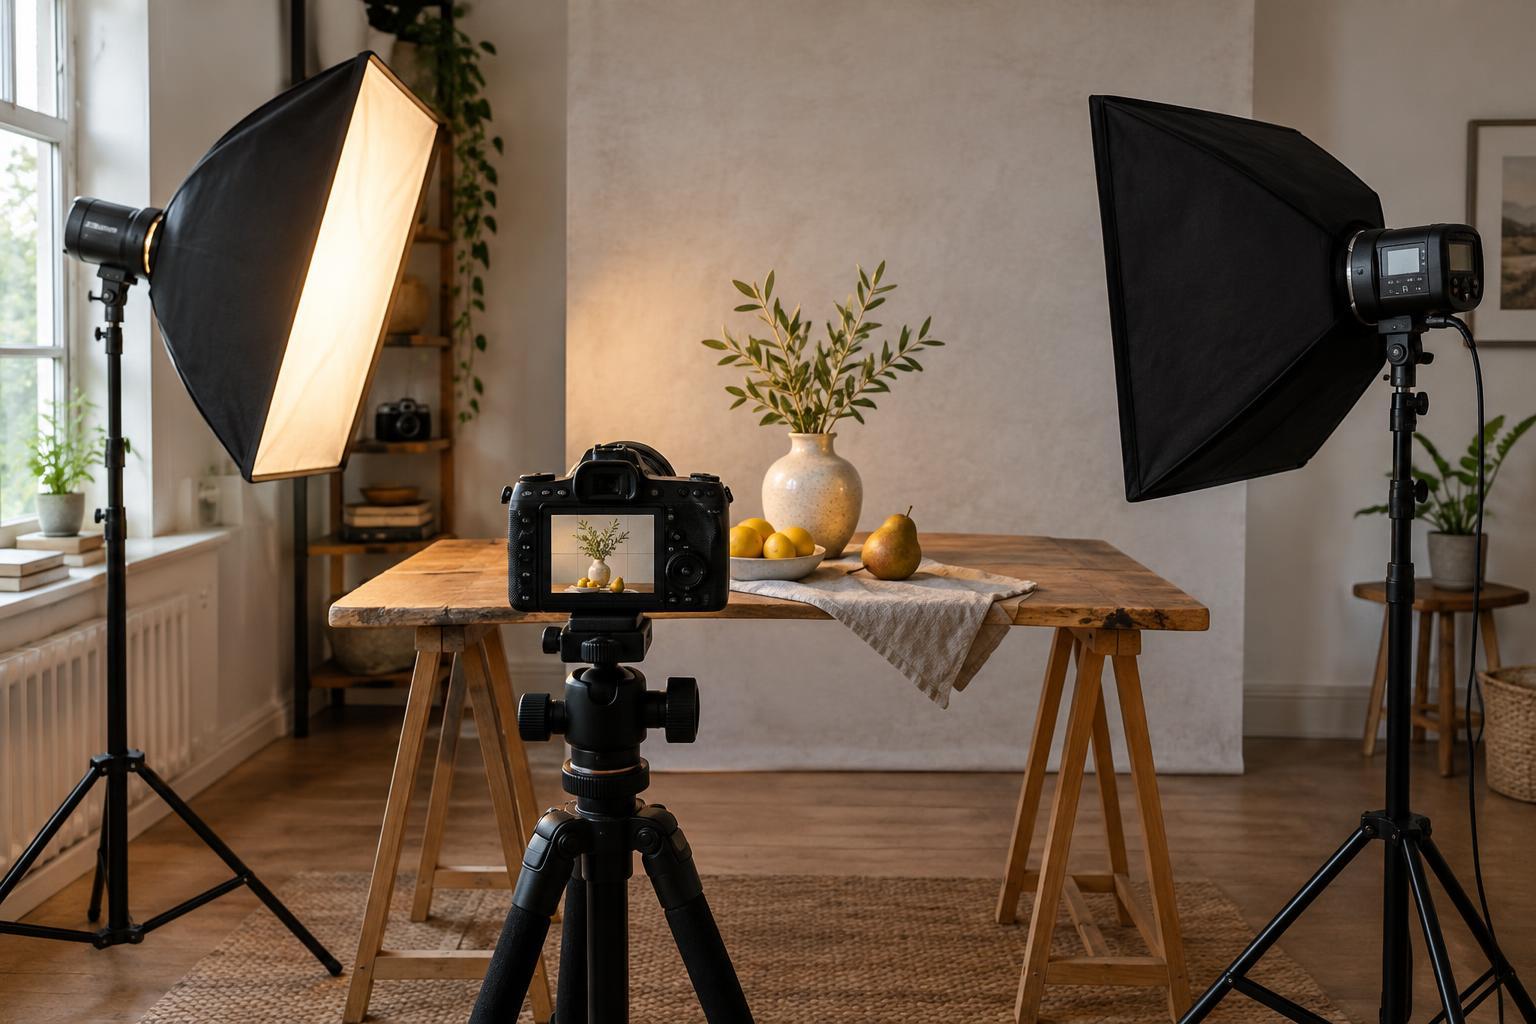
A continuous lamp is useful for small-subject photography because you can see its effect before taking the picture. Set a mug, plant, piece of jewelry or other object on a stable table, then choose a background that will not compete with it. Paper, fabric or a plain wall can all work. Leave enough room behind the subject so its shadow does not become an accidental outline on the background.
Turn off nearby room lights and move away from strong window light if you want the lamp to be your main source. Mixed light can produce different color casts across an object, making editing harder. You do not need a fully dark room; the aim is simply to make the lamp’s direction easy to recognize. Put the camera on a tripod or another stable support if the resulting shutter speed is too slow to handhold comfortably.
Place the lamp to reveal shape
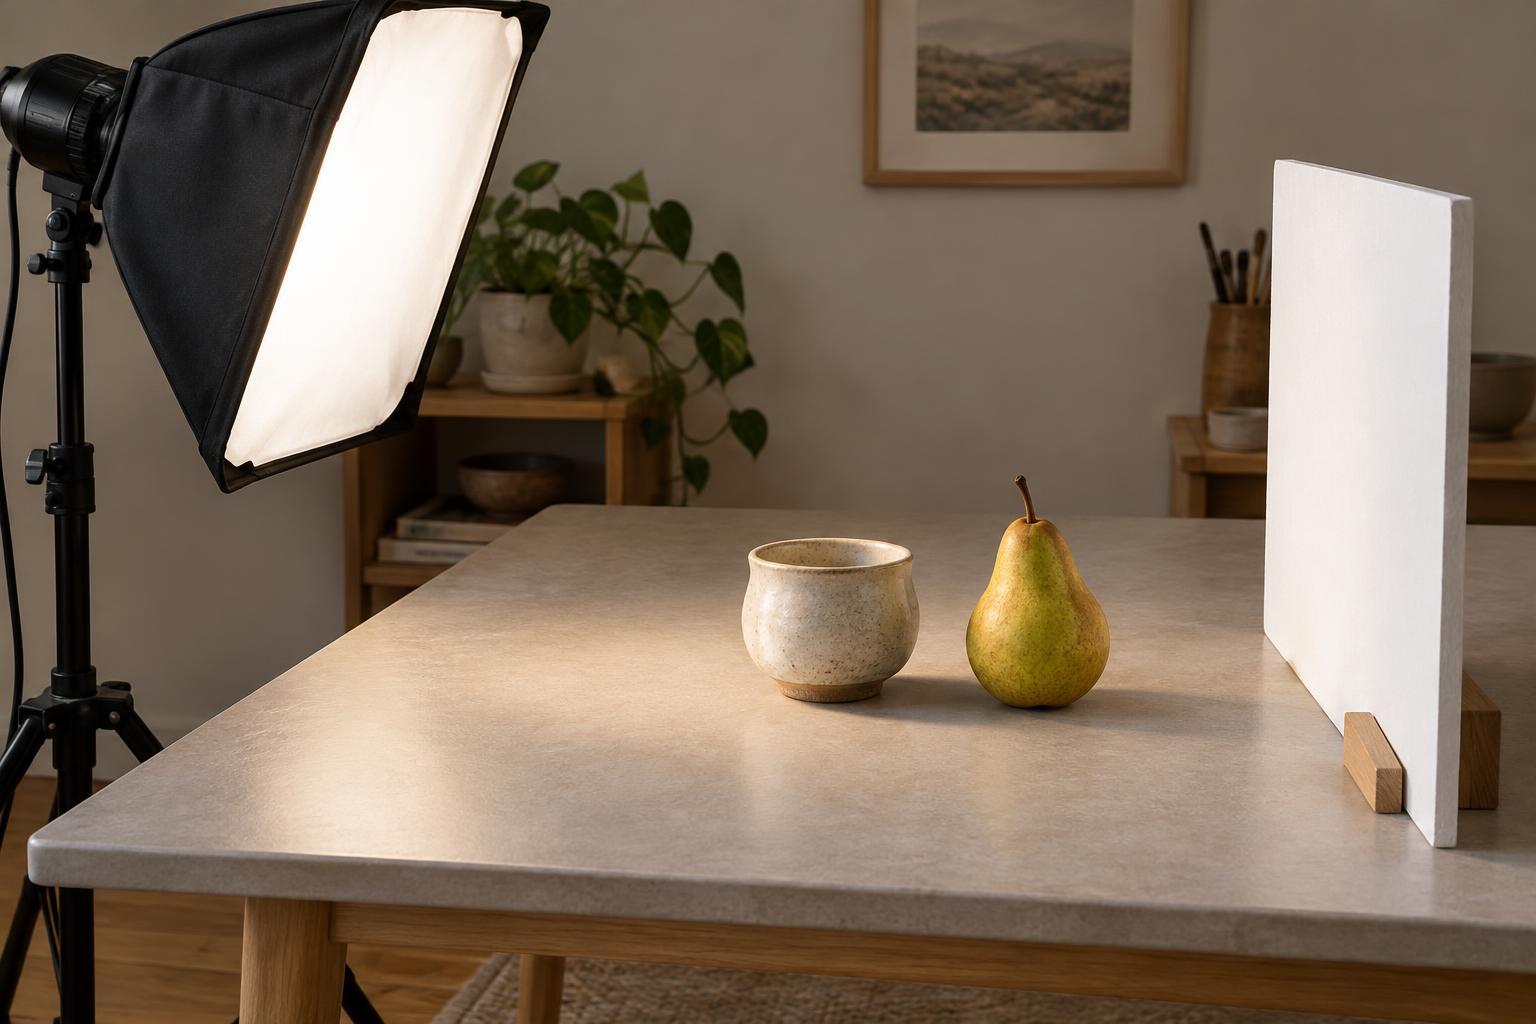
Begin with the lamp to one side of the subject and slightly above it, aimed downward. Look through the camera rather than judging only from where you stand. This position often gives a three-dimensional object a bright side, a darker side and a shadow that helps establish its shape. Move the lamp around the table in small steps and watch what happens to the highlights, texture and background.
Distance matters as much as angle. A lamp close to a small subject can create a noticeable change in brightness from one side to the other. Moving it farther away may make illumination more even, though you may need a longer exposure or higher ISO. For a reflective object, pay particular attention to what appears in its surface. Moving the light a little can change a distracting bright spot into a useful highlight that describes an edge.
Soften the light and manage the shadow
If the shadow edge looks too sharp, use a larger light source or place a suitable diffuser between the lamp and subject. A purpose-made softbox is convenient, but a diffusion panel can serve the same purpose. Keep any improvised material clear of hot bulbs and fixtures, and follow the lamp maker’s guidance on ventilation and attachments. An LED lamp may run cooler than some other types, but its housing can still become warm.
On the side opposite the lamp, try a white card as a reflector. Bring it closer to brighten the dark side, or pull it away when you want more contrast. The card does not add a second powered light; it redirects some of the light already in the scene. For a darker, more dramatic result, replace the white card with black card to reduce bounced light. Make one change at a time so you can tell which adjustment improved the photograph.
Set exposure and color with intention
Start with a low ISO if the camera is steady, then choose an aperture that keeps the parts of the subject you care about in focus. A very wide aperture can leave a small object surprisingly soft from front to back, especially at close range. Adjust shutter speed to reach a suitable exposure and check the image for lost detail in bright areas. If you are shooting handheld, prioritize a shutter speed that avoids camera movement, raising ISO when necessary.
Set a consistent white balance rather than relying on a setting that may shift between frames. You can use a camera preset that looks appropriate for the lamp or photograph a neutral card for reference. Some continuous lamps can flicker or change appearance at certain shutter speeds or dimmer settings. If you notice bands or uneven brightness, try a different shutter speed or lamp brightness and compare a few frames before continuing.
Practice with three deliberate variations
Keep the subject and camera fixed for a short exercise. First, photograph the lamp at a side angle with no reflector. Next, add a white card opposite the lamp without moving anything else. Finally, remove the card and move the lamp toward the camera for a more front-lit version. Compare the images at the same size: which one best shows the object’s shape, texture and important details?
Repeat the exercise with a glossy subject and a matte one. You may find that a placement that flatters textured ceramic produces awkward reflections on glass or metal. That is the central skill of one-light photography: not memorizing a diagram, but noticing what the light does to the particular surface in front of you and making small, purposeful adjustments.